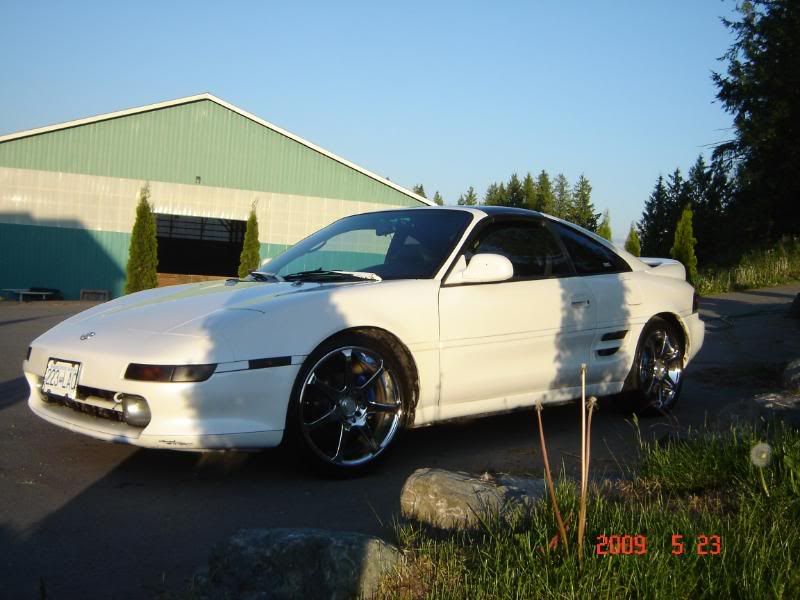
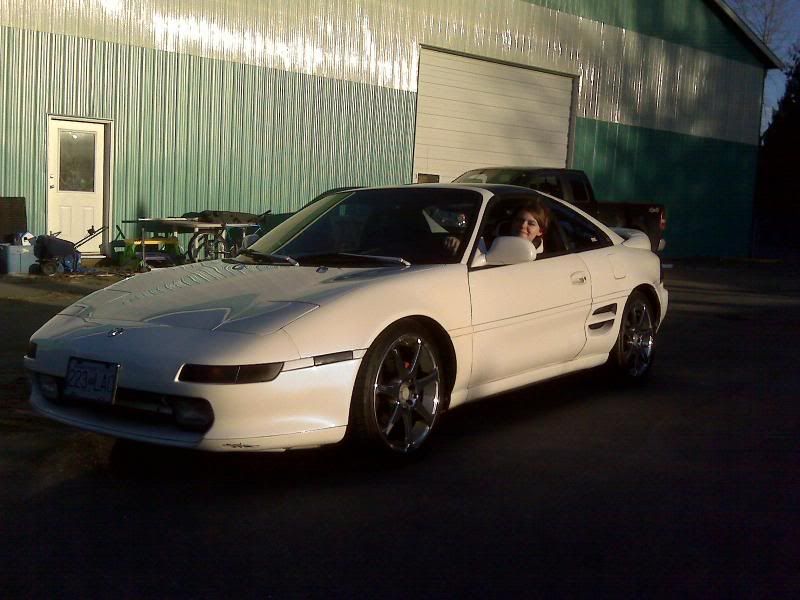
My MR2 Project (Turbo swap)
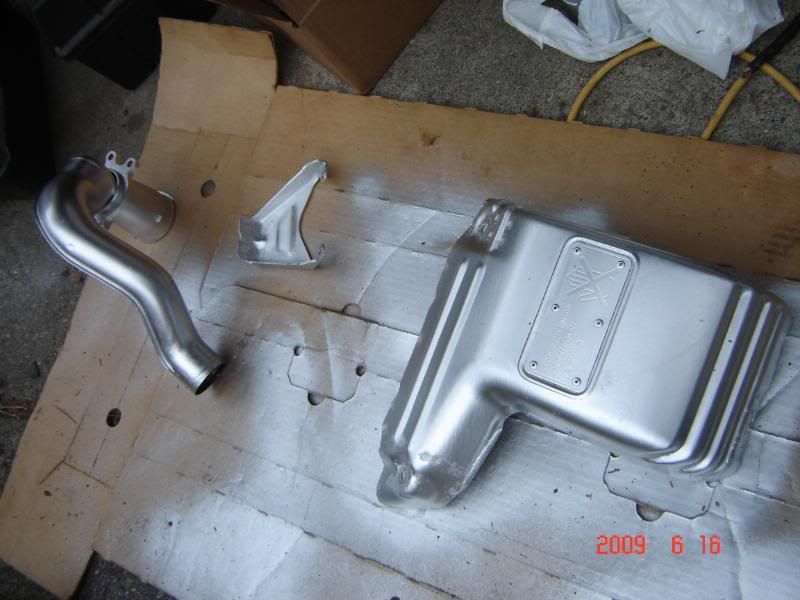
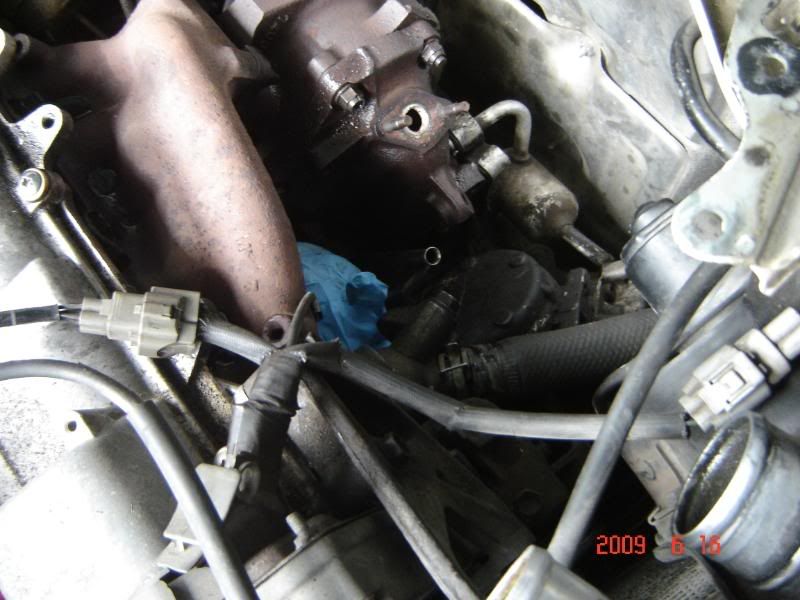
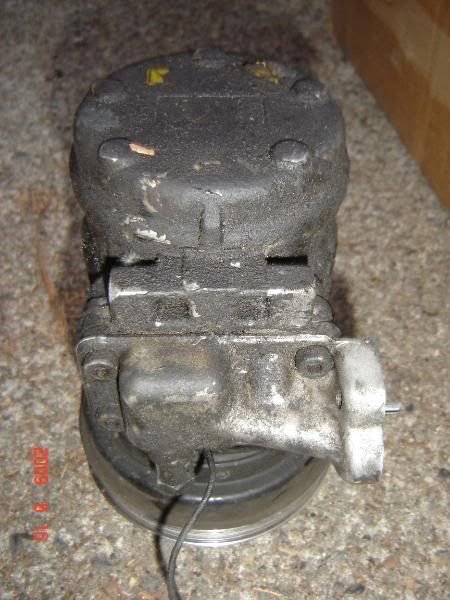
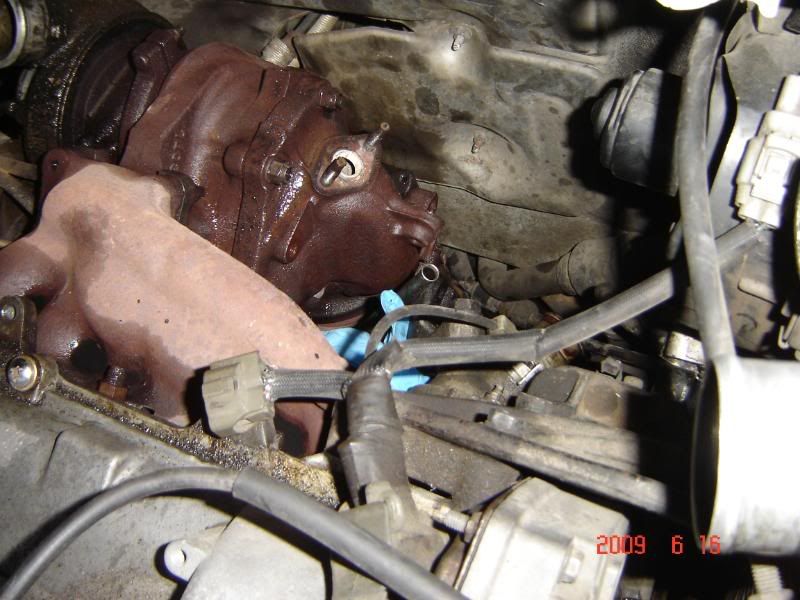
Hey everyone, I decided to make a little project out of my turbo swap because I really enjoy following everyone else's picture diaries of their work. I learn a lot from them and I think they really give people a better idea of just how much work you put into your car! For those who aren't aware I'm swapping out my seized CT26 for an ATS Racing CT27, with a 2.5" KO Racing downpipe.
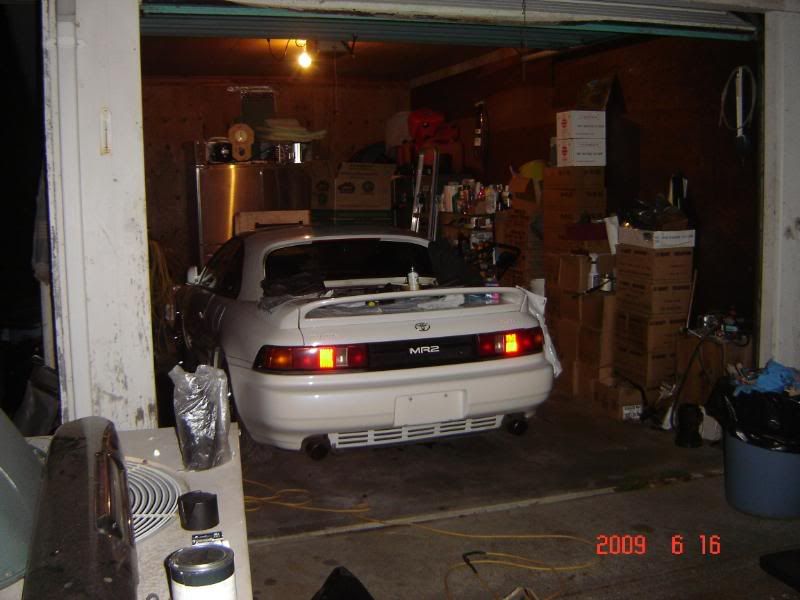
Starting today, (no pictures as of yet) we cleared up the garage at Konrad's parents place and went to pull my MR2 into it. Start of problem #1. Engine knock. Loud and scary! I have to wonder if the oil pump is going, because after a little while the knock cleared up. We started it again a bit later to move it again and it was virtually gone. Sooo...not too sure what to say about that yet.
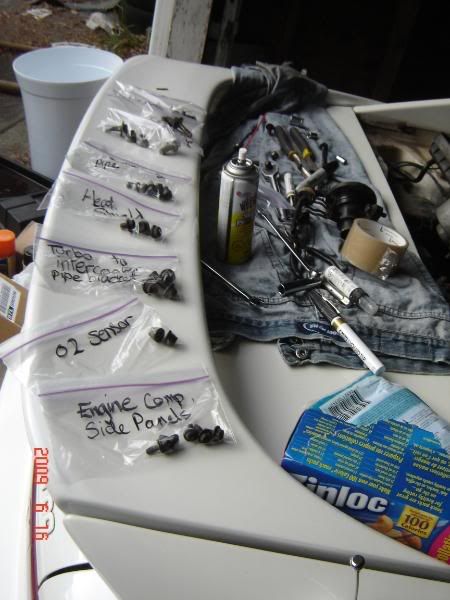
Picked up a bunch of hoses, gaskets, and the like from Matt at Toyota yesterday, and will be ordering new plugs, rotor and cap, o-rings, and an O2 sensor soon. We are going to replace quite a few little things while we're in there.
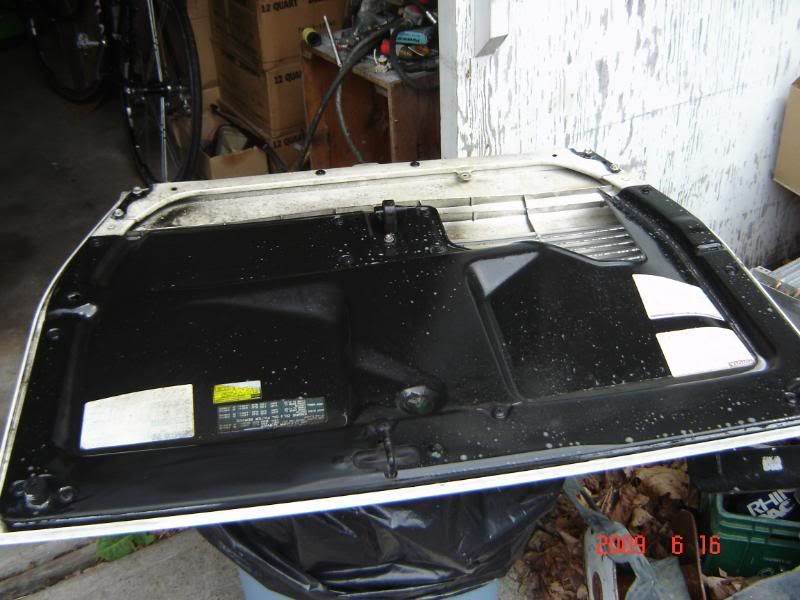
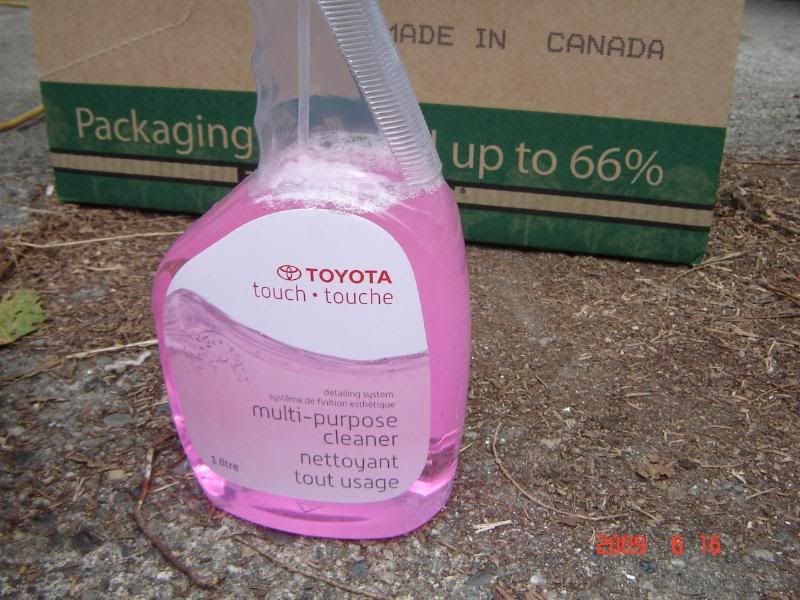
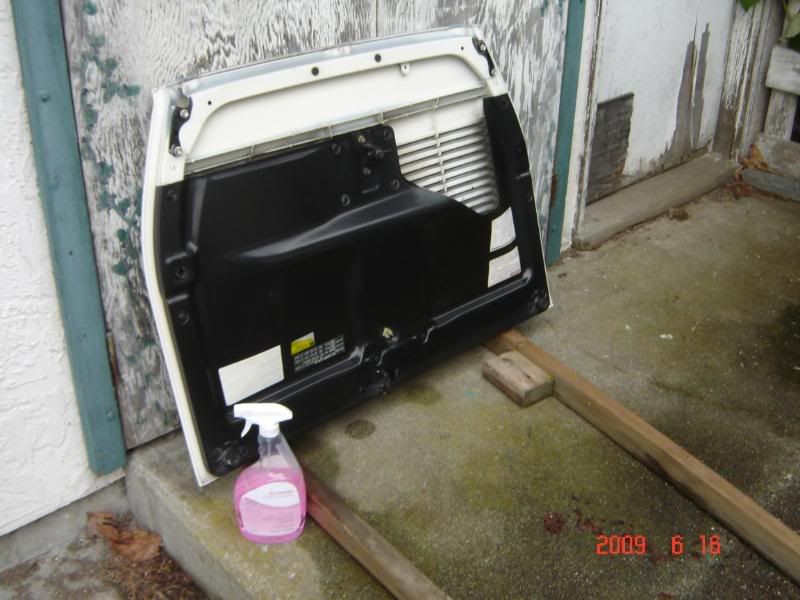
I decided to undertake a few side projects as well before we get started on the big work, since the turbo isn't even here yet, and I tore all the trunk carpeting and lining out because a jug of antifreeze had spilled there a long time ago. I junked the liner (now I'm looking for one so if anybody has one...^_^), and am going to clean the carpeting. I wiped down the metal trunk bottom and sides and sprayed a bit of Rust Mort on a spot of rust I found until I can properly take care of it.
I also took apart the dashboard and got rid of the gauge overlays. They didn't light up anymore and I decided I didn't really care much for them anyway, so off they went. If anybody wants them, you can have them. I noticed my gauges didn't work, but silly noobish me I forgot I hadn't plugged them back in! Now I just have to put it back together once I get my deck back in. I took out the ugly, old, partially busted deck and I just have to find the faceplate for my nice Panasonic to put in there.
I'm pretty proud of how far I've gotten so far. Will have pictures very soon!
Starting today, (no pictures as of yet) we cleared up the garage at Konrad's parents place and went to pull my MR2 into it. Start of problem #1. Engine knock. Loud and scary! I have to wonder if the oil pump is going, because after a little while the knock cleared up. We started it again a bit later to move it again and it was virtually gone. Sooo...not too sure what to say about that yet.
Picked up a bunch of hoses, gaskets, and the like from Matt at Toyota yesterday, and will be ordering new plugs, rotor and cap, o-rings, and an O2 sensor soon. We are going to replace quite a few little things while we're in there.
I decided to undertake a few side projects as well before we get started on the big work, since the turbo isn't even here yet, and I tore all the trunk carpeting and lining out because a jug of antifreeze had spilled there a long time ago. I junked the liner (now I'm looking for one so if anybody has one...^_^), and am going to clean the carpeting. I wiped down the metal trunk bottom and sides and sprayed a bit of Rust Mort on a spot of rust I found until I can properly take care of it.
I also took apart the dashboard and got rid of the gauge overlays. They didn't light up anymore and I decided I didn't really care much for them anyway, so off they went. If anybody wants them, you can have them. I noticed my gauges didn't work, but silly noobish me I forgot I hadn't plugged them back in! Now I just have to put it back together once I get my deck back in. I took out the ugly, old, partially busted deck and I just have to find the faceplate for my nice Panasonic to put in there.
I'm pretty proud of how far I've gotten so far. Will have pictures very soon!


 .
.