My Mk2 MR2

Moderators: Administrator, Executive Members, Moderator Group

Re: My Mk2 MR2

Postby kakucaekz » Tue Dec 24, 2013 10:39 pm

Oh yeah, I uh, started teardown of the block. Just removing all the stuff attached to it, lol.

Throttle body came off.

Image

Image

Eventually wrestled off the intake manifold and attached harnesses in one go.

Image

What it looked like after.

Image

Also took out the alternator and EGR. No pics of those, my bad.

Went back another day to tackle the exhaust side. Took the manifold and attached turbo and downpipe in one shot. Then the oil cooler.

Image

Water neck also came off.

Image

For fun, took the valve cover off at the end.

Image

Also took out the plug wires, oil dipstick guide, thermostat housing and some fuel lines. Here are the victims.

Image

Progress as of now.

Image

Won't be able to get back in to the shop until 2014, hopefully I'll be able to get everything else off, and take off the head to send it in to the machine shop. I also bought some 3rd gen cams for a decent price, those will be shipping this week.
Dalton
1991 MR2 Turbo - Summer toy
1992 Acura Integra GSR - Winter/daily/passenger car
User avatar
kakucaekz
Papa '2
 
Posts: 780
Joined: Fri Jun 03, 2011 10:12 pm
Location: East Vancouver
Status: Offline

Re: My Mk2 MR2

Postby dh4ever » Wed Dec 25, 2013 12:08 am

Did I remember to pm you my number?
dh4ever
Papa '2
 
Posts: 578
Joined: Fri Mar 04, 2011 11:23 pm
Location: abbotsford
Status: Offline

Re: My Mk2 MR2

Postby kakucaekz » Thu Dec 26, 2013 12:41 am

Think so, I'll let you know if I run into any problems. My dad's helping me out a lot, so I'm grateful for that. Not many people have mechanics as fathers haha.
Dalton
1991 MR2 Turbo - Summer toy
1992 Acura Integra GSR - Winter/daily/passenger car
User avatar
kakucaekz
Papa '2
 
Posts: 780
Joined: Fri Jun 03, 2011 10:12 pm
Location: East Vancouver
Status: Offline

Re: My Mk2 MR2

Postby m_b » Thu Dec 26, 2013 8:50 pm

Or a friend that wrenches on their free time and one that does it for a living :silly:
1992 Toyota MR2 Turbo (Signal Yellow)
1994 Honda Civic Si
User avatar
m_b
Baby '2
 
Posts: 146
Joined: Tue Apr 02, 2013 2:00 am
Status: Offline

Re: My Mk2 MR2

Postby kakucaekz » Fri Mar 07, 2014 11:59 am

Wow, been a long time since I posted in here. Quite a bit of progress, considering how I get to work on it maybe once or twice every 2 weeks.

Head separated.

Image

Here's a look at the pistons.

Image

Image

Cracked the oil pan off, great, metal shavings.

Image

Image

Image

Image

Image

Image

3rd gen cams!

Image

Pistons and con rods.

Image

Image

Image

Image

Image

Image

Image

Image

Image

Image

Image

Image

Image

Image

Image

Got some gasket kits. Was missing a few things, but it's fine. Was able to find these for a good price, plus the top end kit included a Cometic metal head gasket!

Image

Turbo gasket kit.

Image

My crank was too damaged, so I bought a JDM one locally.

Image

Dropped the head off for machining.

Image

And took the block and crank, freshly machined and balanced, back to the shop.

Image

Aisin water pump.

Image

Image

Replacing freeze plugs.

Image

Image

Oil pump.

Image

Image

Also picked up my brand new S1Rs for the rear wheels.

Image

Image

Back to the freeze plugs.

Image

Image

Image

Resealed some coolant hardware.

Image

Painted the block. I'm not a fan of the factory black, so I opted for a gunmetal/iron colour.

Image

Image

Image

Image

Image

Assembled the Wiseco pistons on the OEM con rods. No need to go Eagle just just, I'm not be pushing massive power or boost with this engine.

Image

Image

Bearings in.

Image

Crank in.

Image

Bolted and torqued down.

Image

Ringed the pistons. Tedious work, and very stressful lol.

Image

Pistons in.

Image

Marc dropped by one day and helped out. Cleaning off the oil pickup.

Image

Image

Front main seal in.

Image

Image

Image

Image

Image

Took the water pump apart.

Image

Love scraping gaskets.. not.

Image

Rear main seal in.

Image

Image

Water pump housing cleaned off.

Image

Image

Image

Pulleys transferred.

Image

Image

That's it for now, still waiting on the head to come back. But I did receive my SMIC in the mail, along with custom one piece pipes.

Image

Image

Hope to have her back in time for Revscene meet!
Dalton
1991 MR2 Turbo - Summer toy
1992 Acura Integra GSR - Winter/daily/passenger car
User avatar
kakucaekz
Papa '2
 
Posts: 780
Joined: Fri Jun 03, 2011 10:12 pm
Location: East Vancouver
Status: Offline

Re: My Mk2 MR2

Postby immorality » Fri Mar 07, 2014 12:54 pm

Very nice!

Are you going to do a wire tuck to show off that clean engine??
User avatar
immorality
BCMR2 Web Admin & Executive Board Member
 
Posts: 9730
Joined: Thu Oct 31, 2002 1:32 pm
Location: Burnaby
Status: Offline

Re: My Mk2 MR2

Postby oasis » Fri Mar 07, 2014 1:28 pm

Looking good! Engine assembly is fun stuff!
1989 Supercharged MR2 (Turbo Inside)

"Got Boost?"
User avatar
oasis
Junior '2
 
Posts: 350
Joined: Fri Dec 13, 2002 6:13 pm
Location: Land of the Twincharger
Status: Offline

Re: My Mk2 MR2

Postby kakucaekz » Sat Mar 08, 2014 1:58 am

It sure is! I love it, it's really neat to me, plus it's my first engine rebuild.

immorality wrote:Very nice!

Are you going to do a wire tuck to show off that clean engine??


I'd love to, but I haven't the faintest of ideas on where to start. I could relocate the fuse box to the trunk, but other than that, I have no idea how to conceal the bird's nest of vacuum lines, wires and hoses. I'll definitely give it a shot though! But that'll probably be down the road, I am terrible with harnesses and don't want to screw it up haha.
Dalton
1991 MR2 Turbo - Summer toy
1992 Acura Integra GSR - Winter/daily/passenger car
User avatar
kakucaekz
Papa '2
 
Posts: 780
Joined: Fri Jun 03, 2011 10:12 pm
Location: East Vancouver
Status: Offline

Re: My Mk2 MR2

Postby kakucaekz » Fri Jul 04, 2014 1:18 am

Holy cow, it's been a long time since I've updated this build.

I guess I'll pick up where I left off.

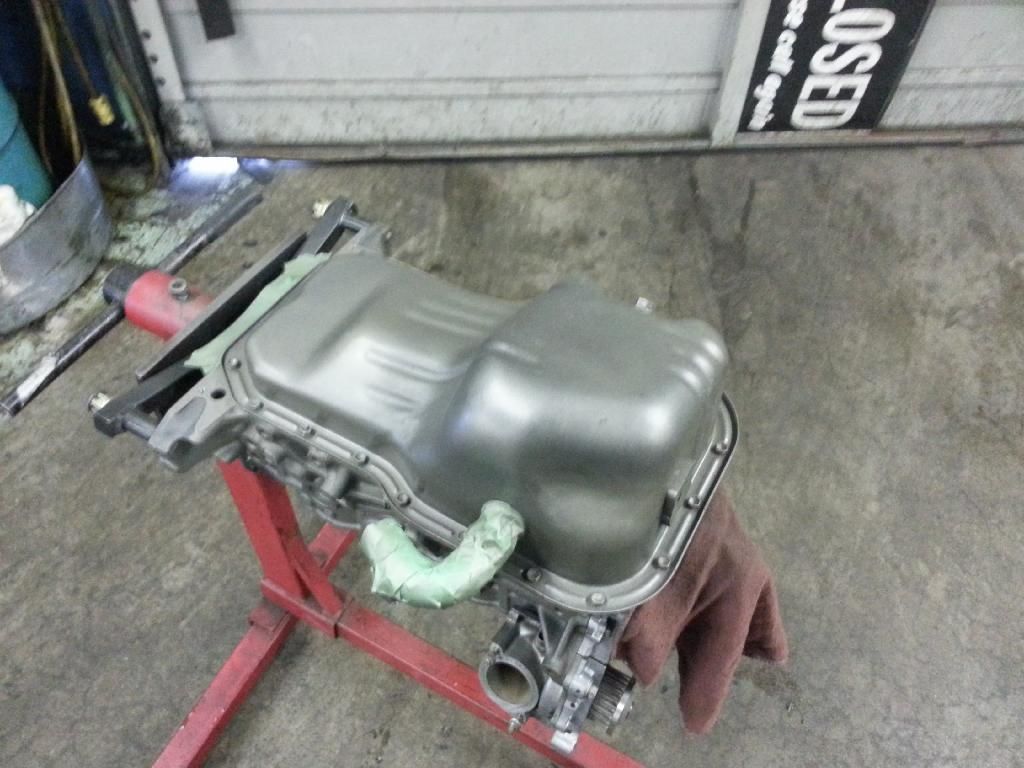
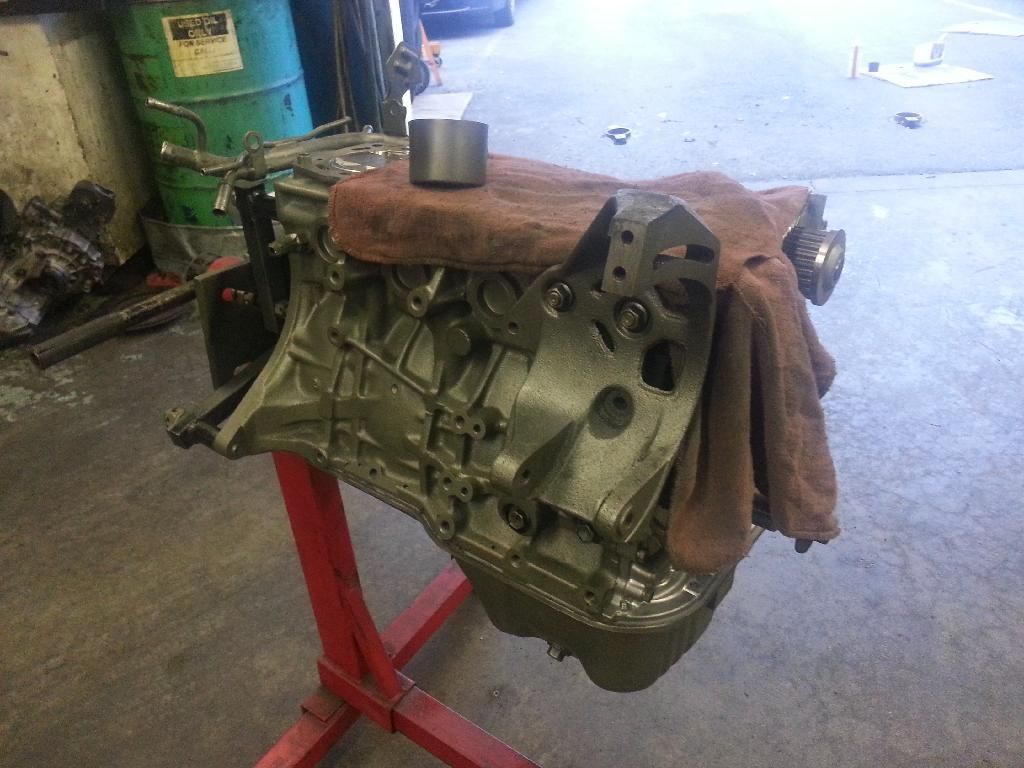
Bolted on the oil pan.

Image

Image

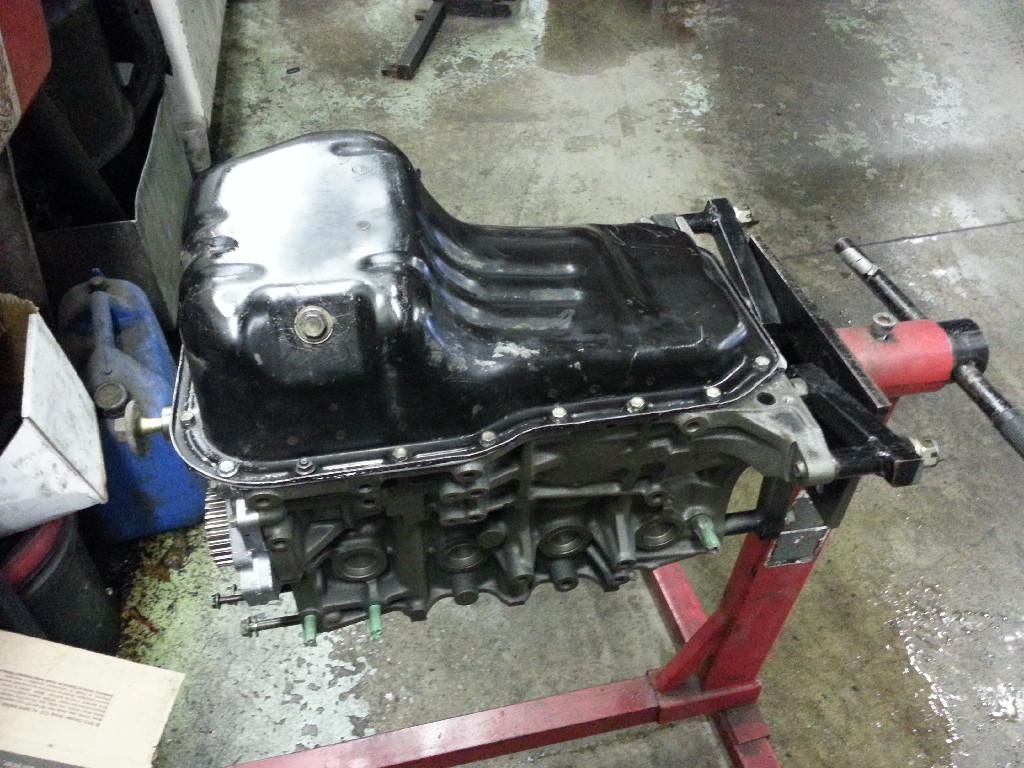
And painted it as well.

Image

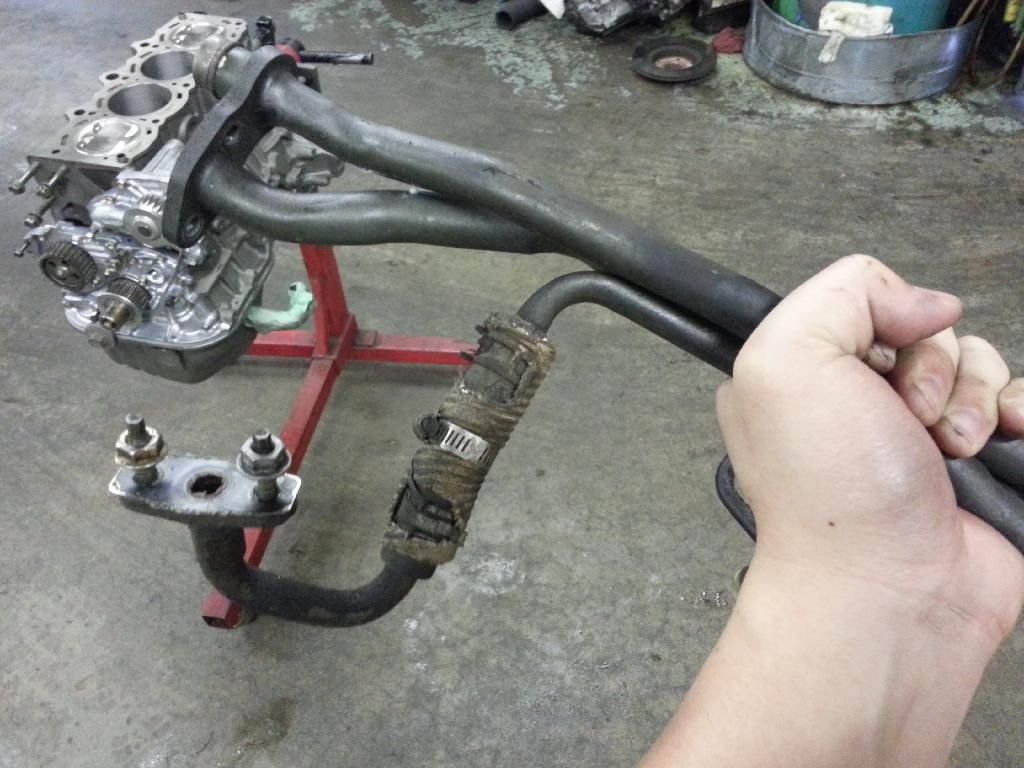
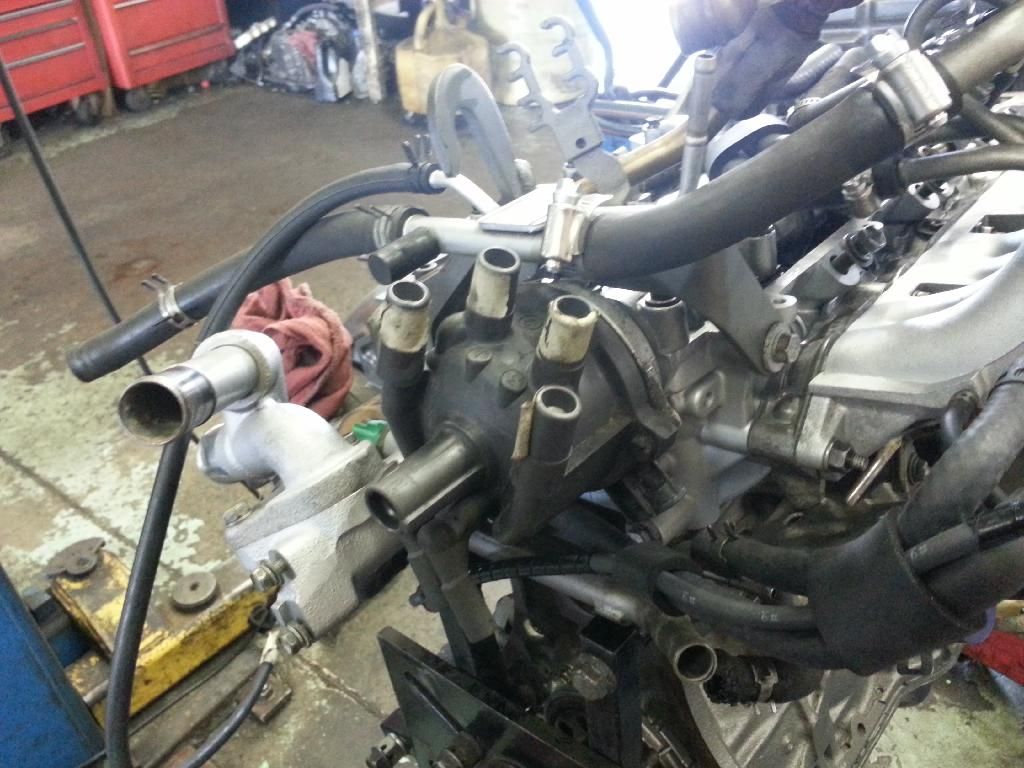
Painted the water hard lines too. Take a look at this little hose that nobody likes replacing.

Image

Image

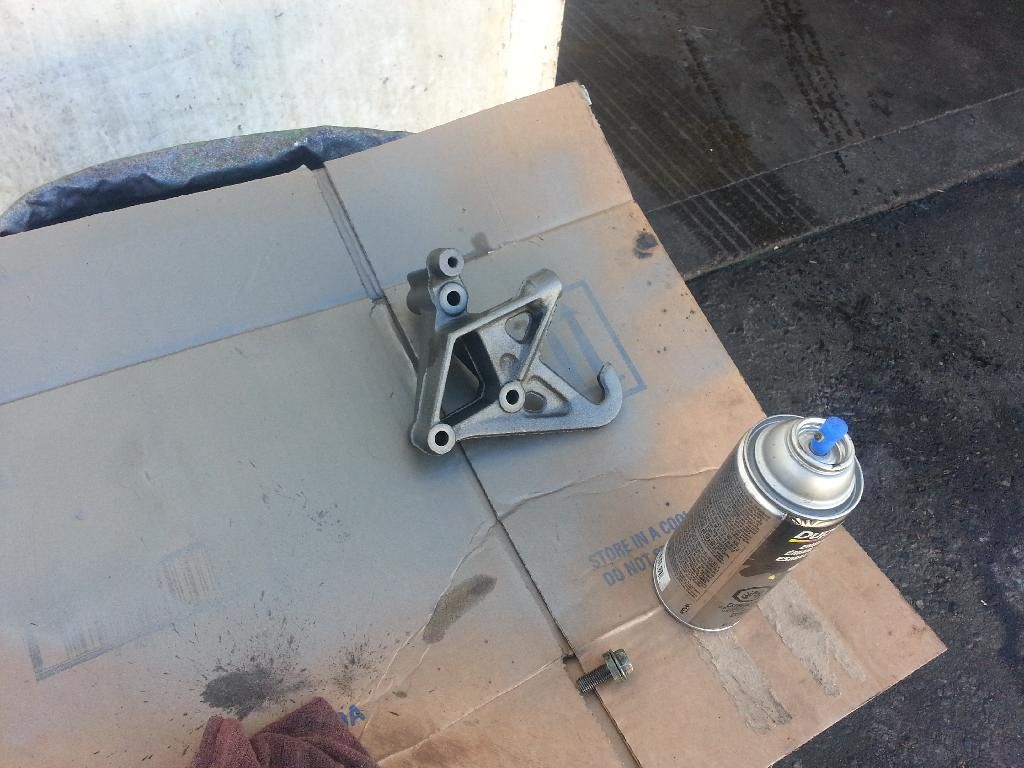
Painted and bolted on the alternator bracket. I was very tempted to buy a lightweight one from RacerX, but I didn't want to spend the extra money on it, nor did I really have any in the first place. Plus I would have to wait for it and possibly postpone the build even more.

Image

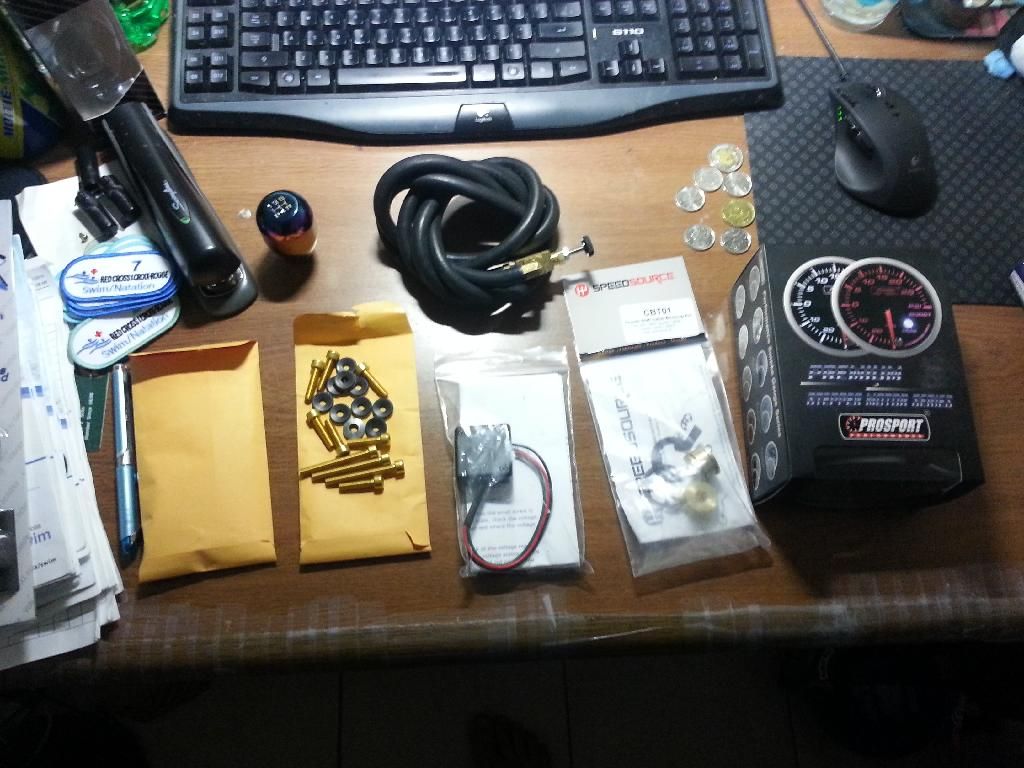
Bought some goodies from TwosRus.

Image

Then I went from the shop to where my car was stored, and removed the stock intercooler.

Image

Image

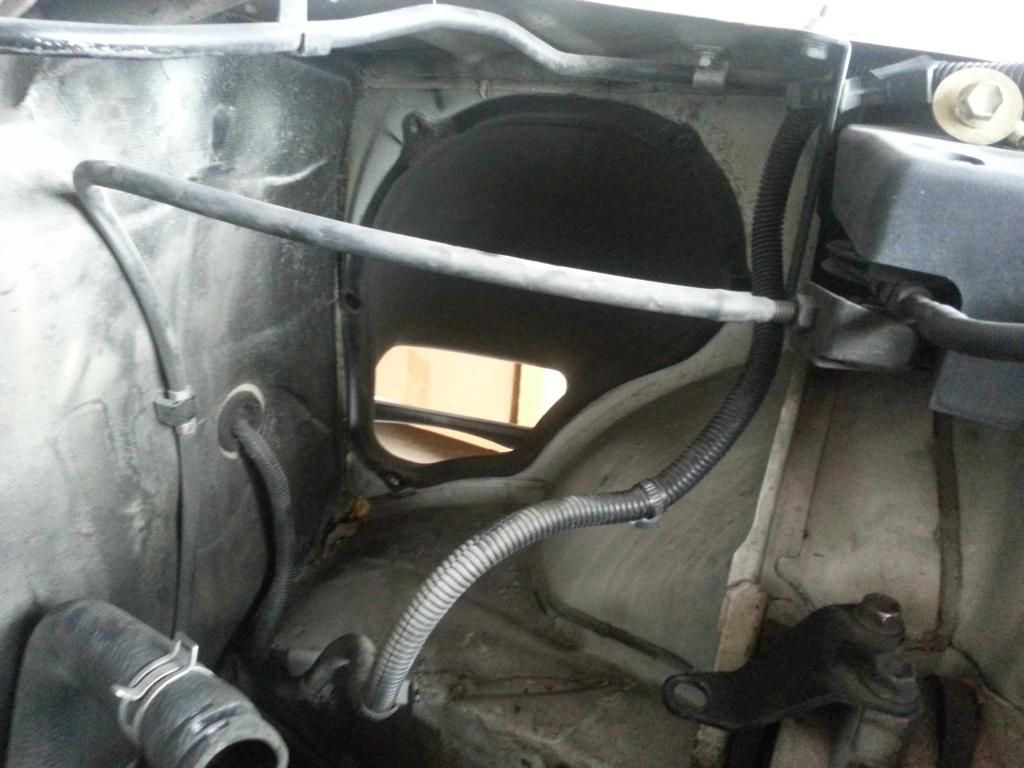
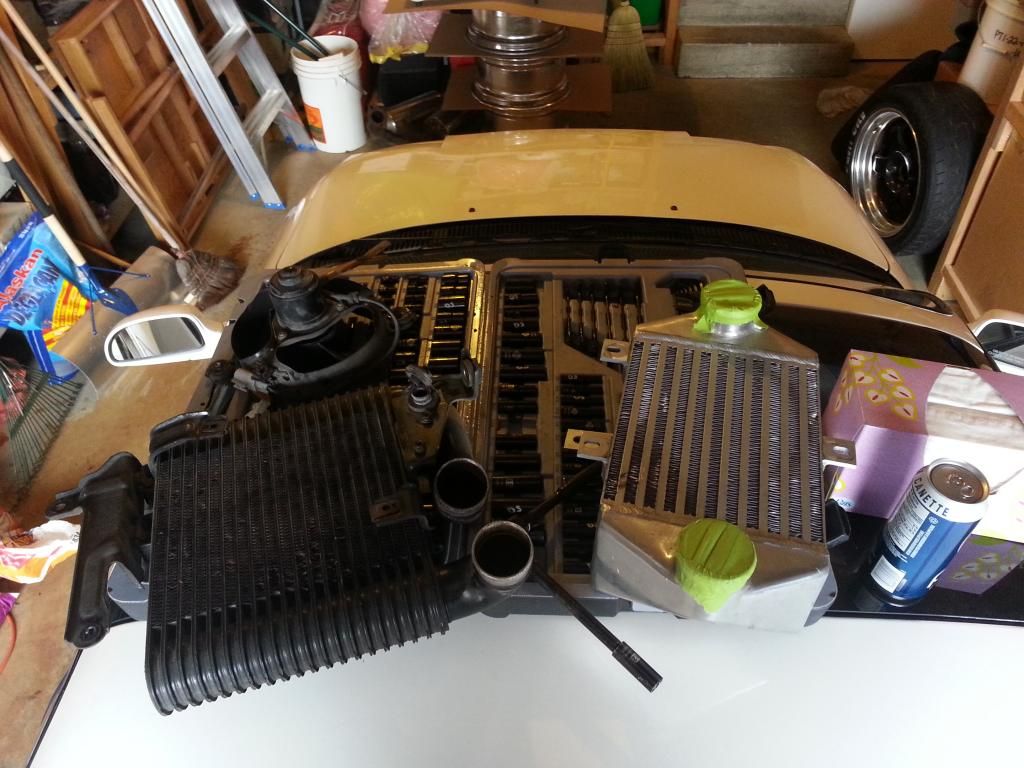
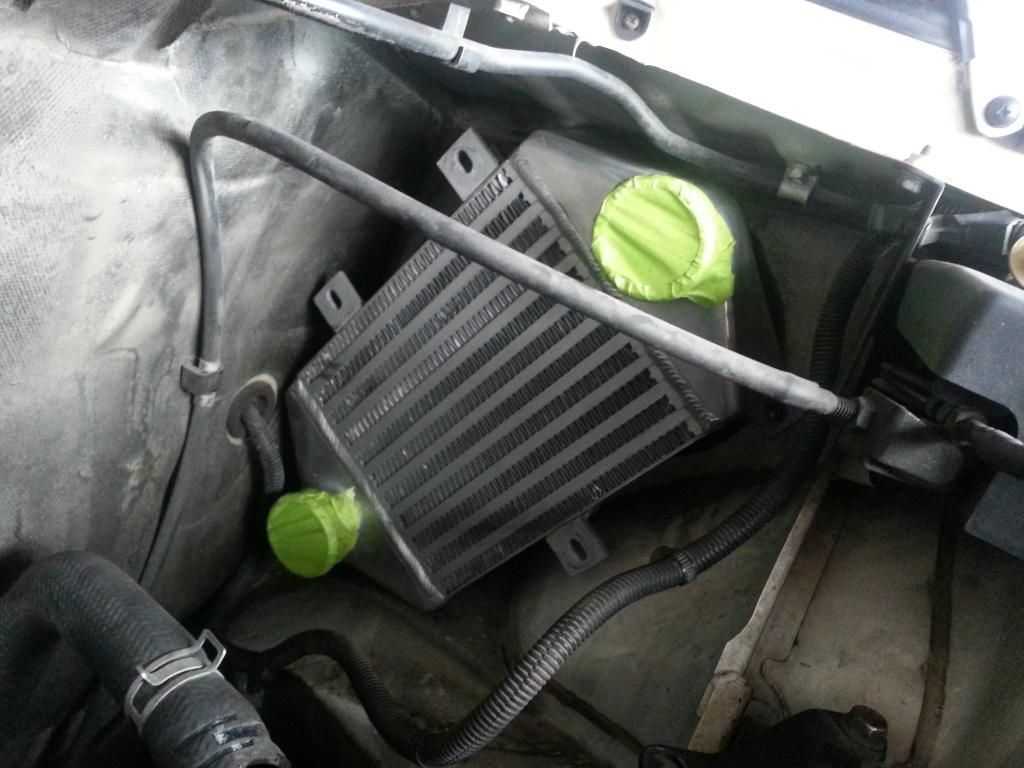
Mocked up the GReddy. Pretty sure it's a replica, but it's good for my current power goals.

Image

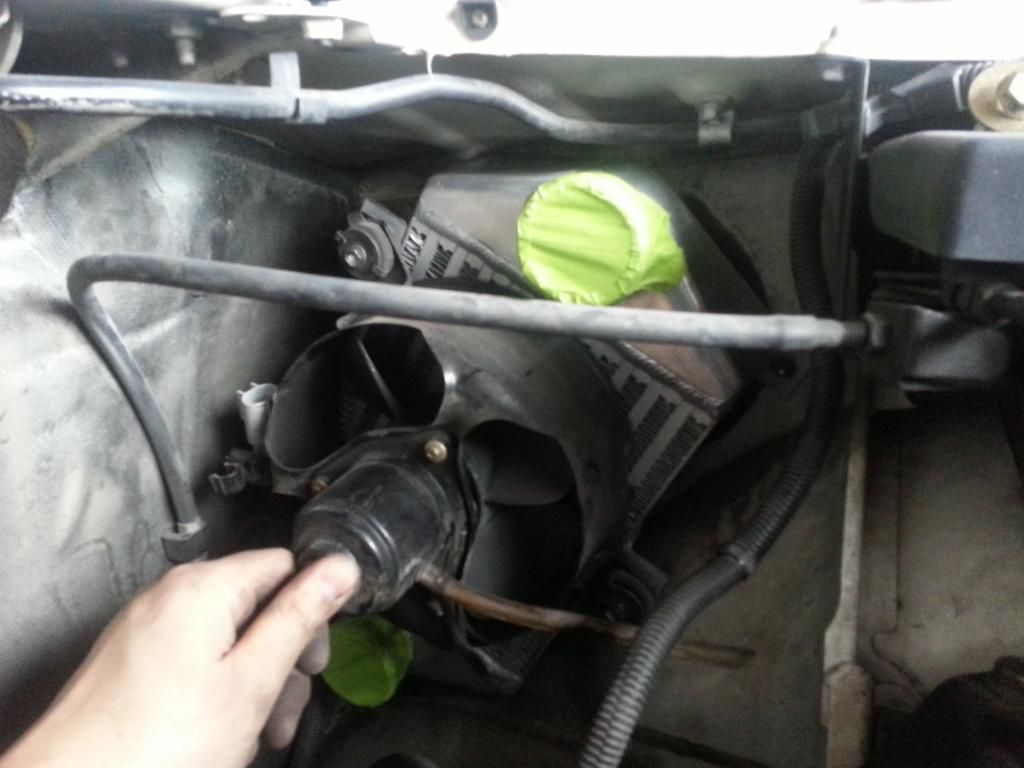
Then I mocked up the stock fan, and decided that I wanted the SPAL puller fan from KO. Also ordered the block off shroud at the same time.

Image

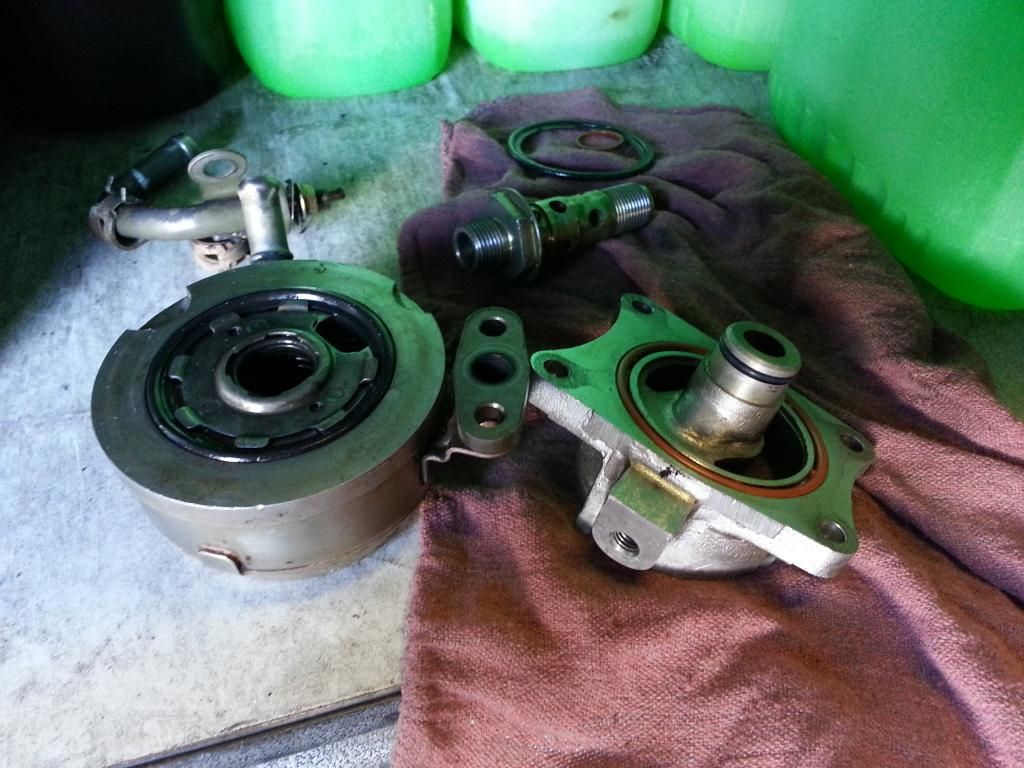
Back to the shop. Disassembled the oil cooler, inspected it thoroughly for any metal shards, and replaced all the gaskets and o-rings in it.

Image

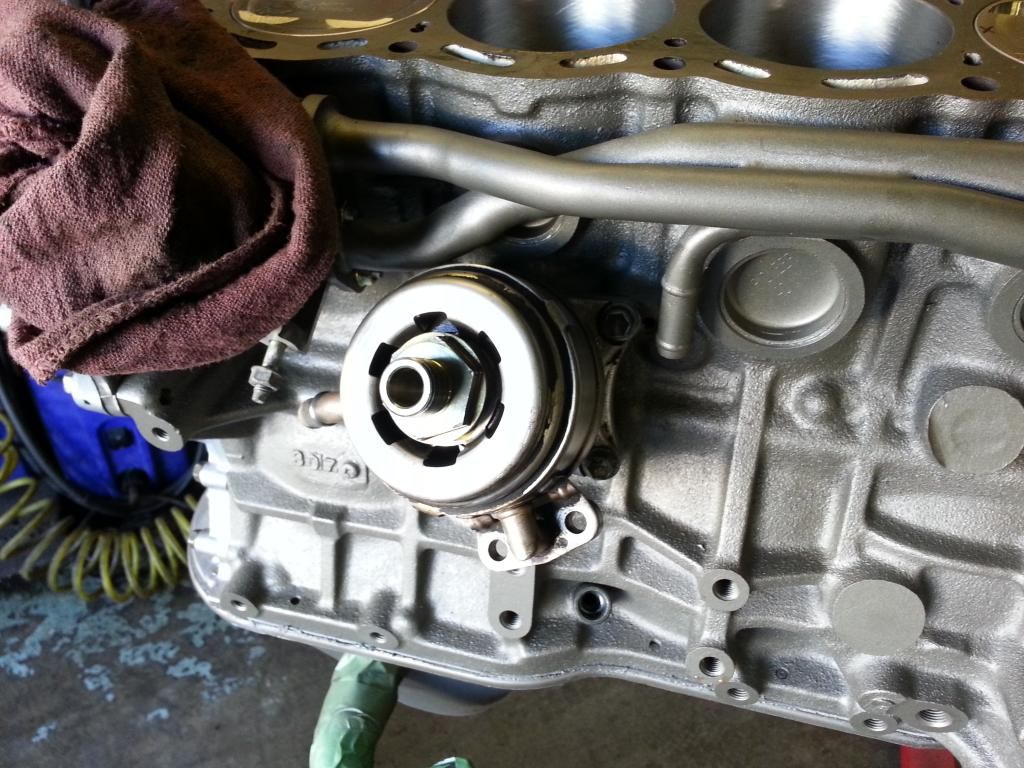
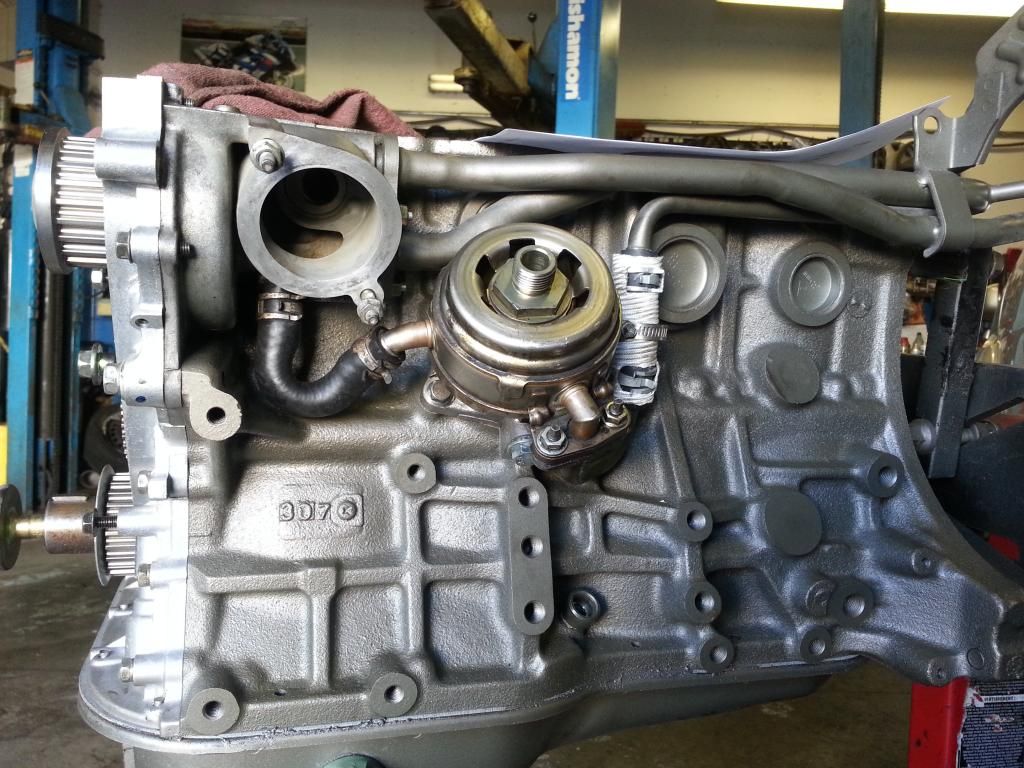
Stuck that sucker on.

Image

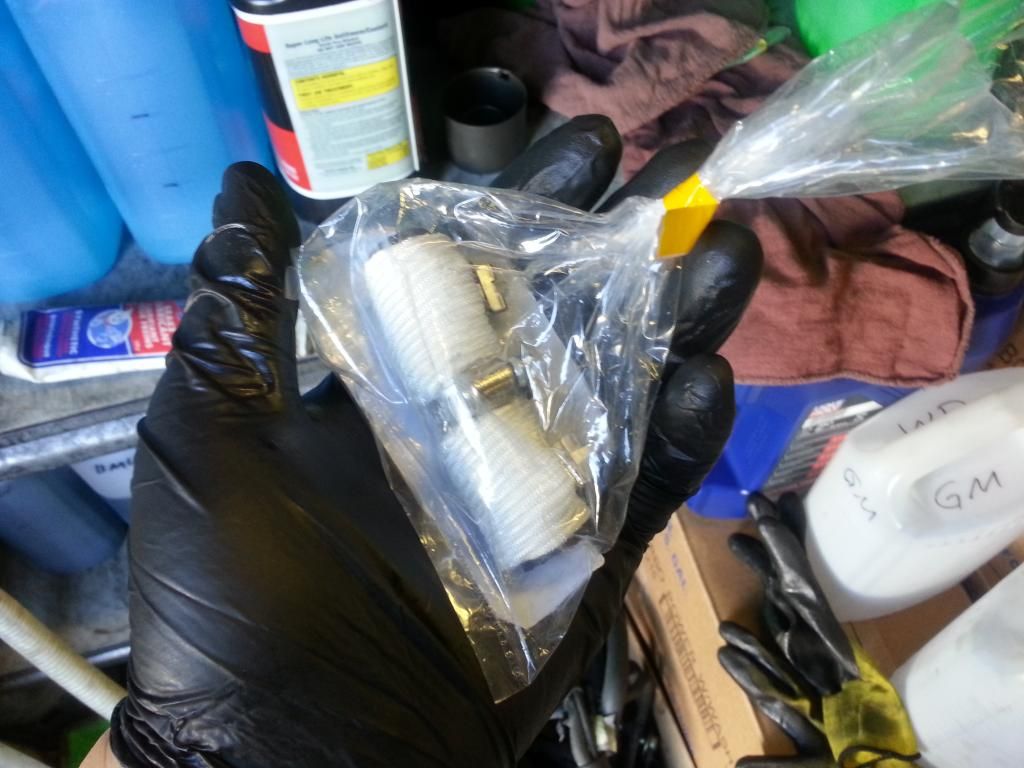
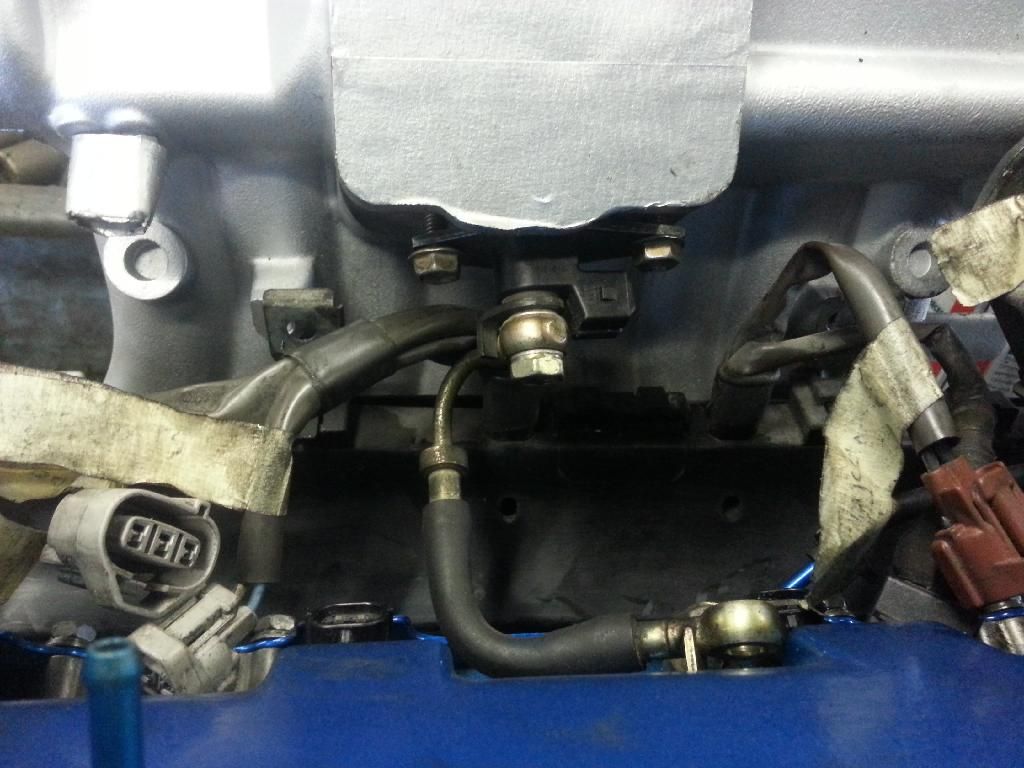
Hose from Hell and HFHOE.

Image

Image

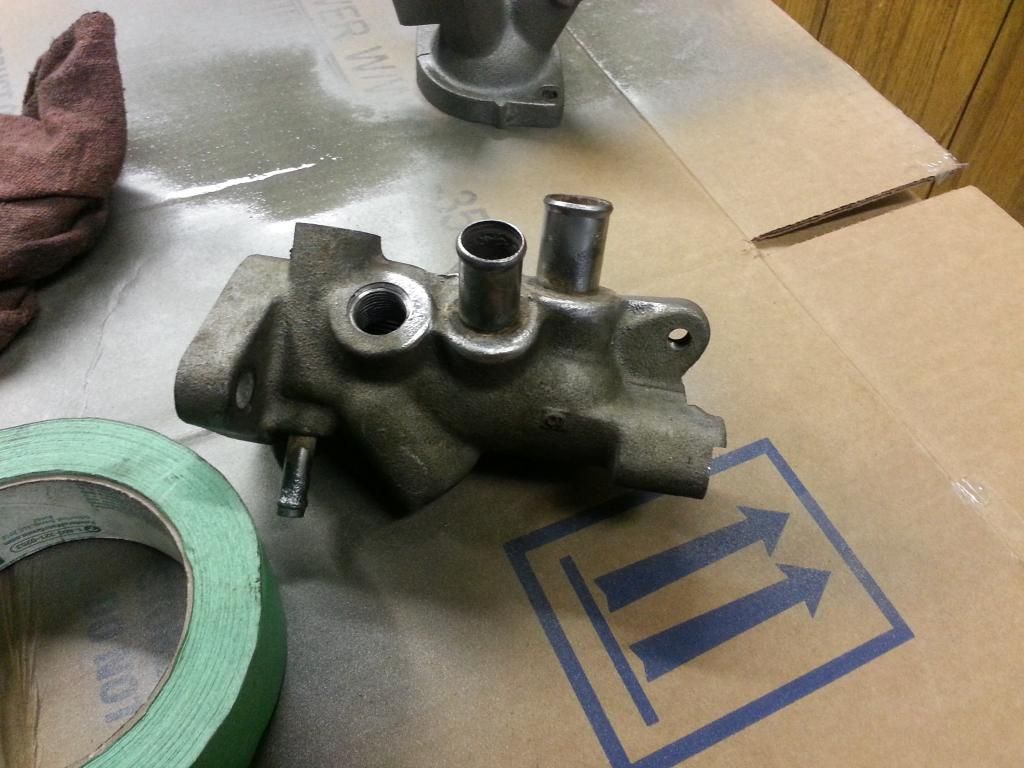
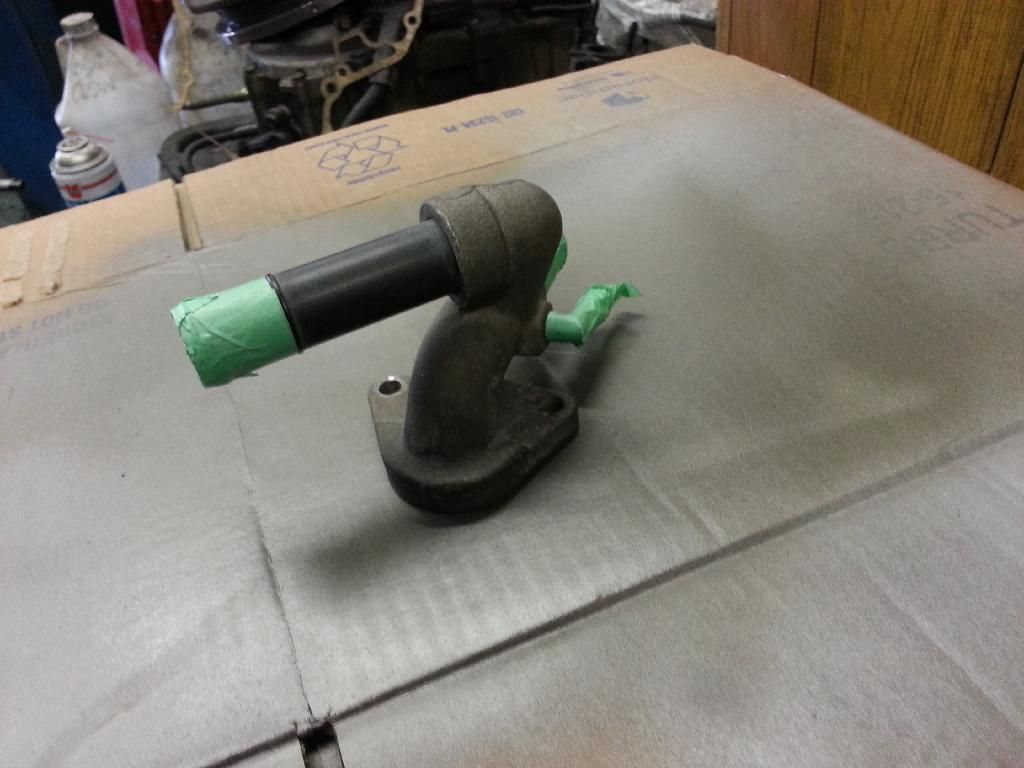
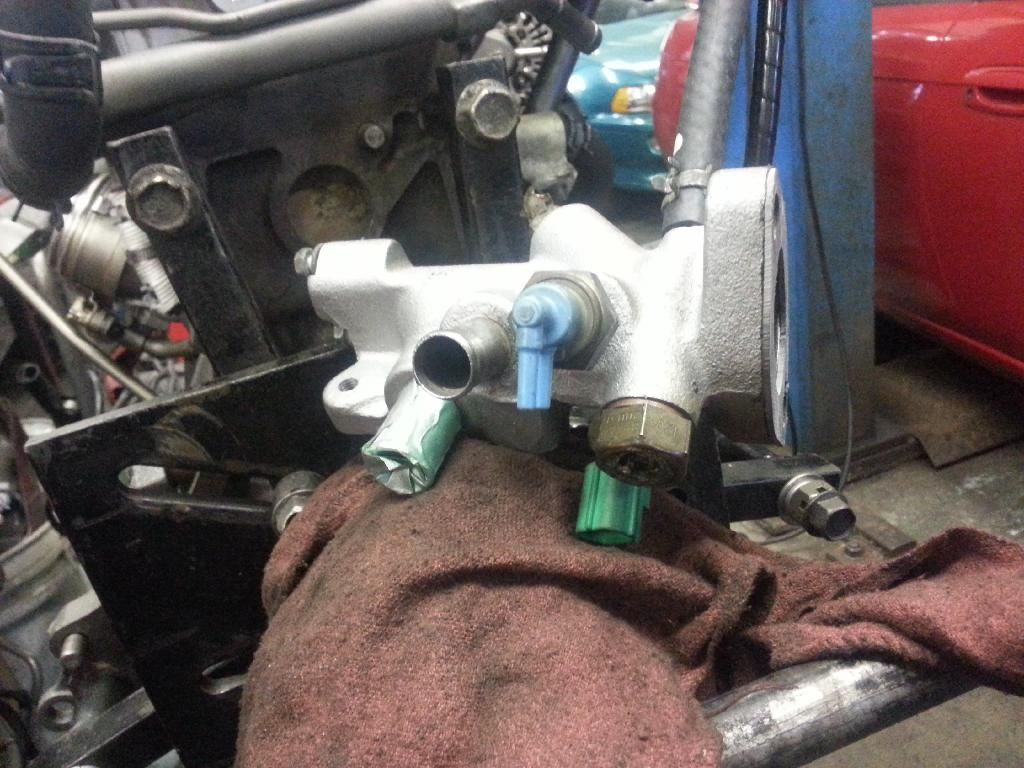
To keep with my theme of gunmetal/silver paint scheme on the engine, I took all the plugs and hoses off the water neck so I could paint it.

Image

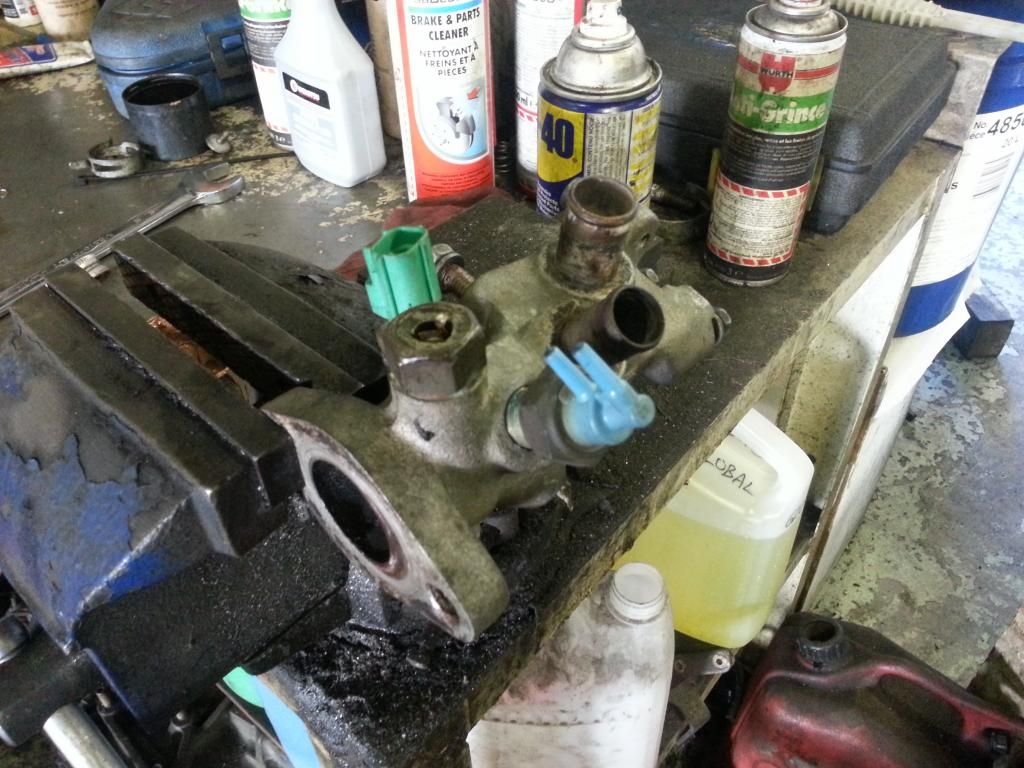
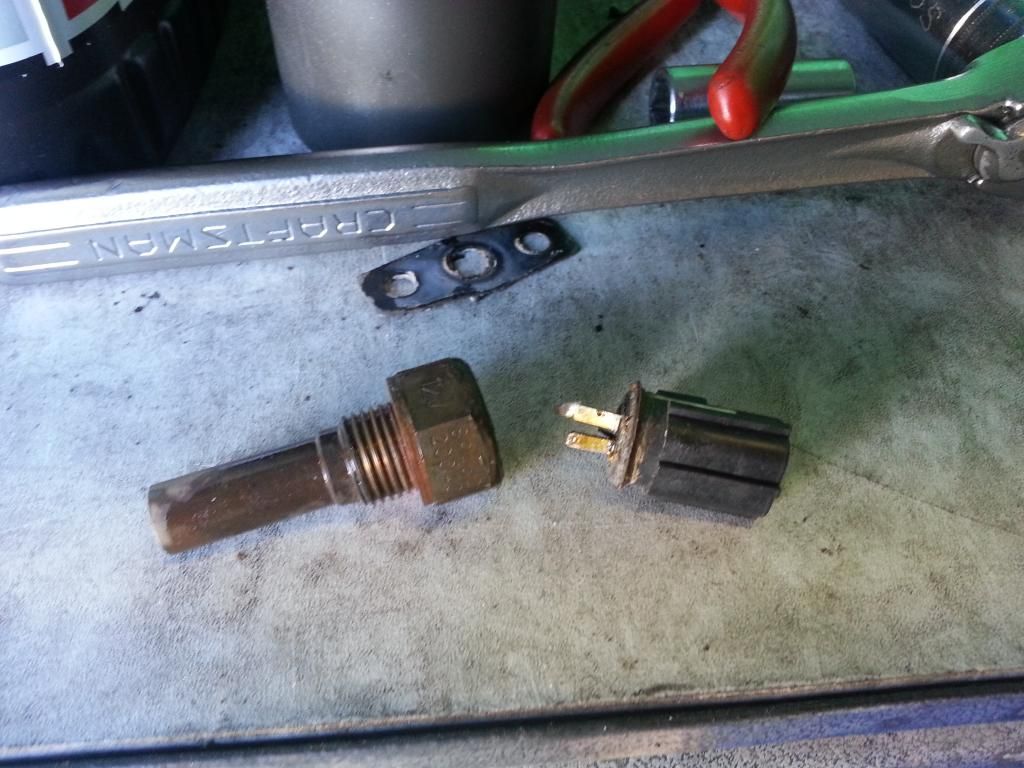
It had a busted cold start switch, must've destroyed it sometime during the teardown. Bought a used one straight away.

Image

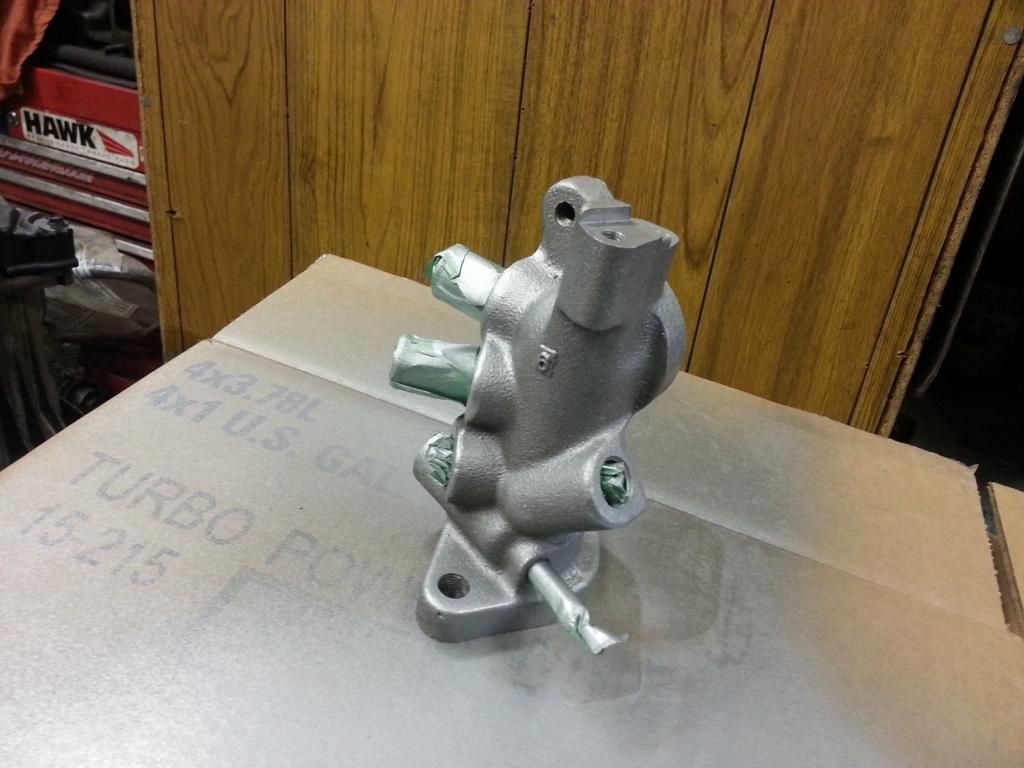
Painted the water neck.

Image

Image

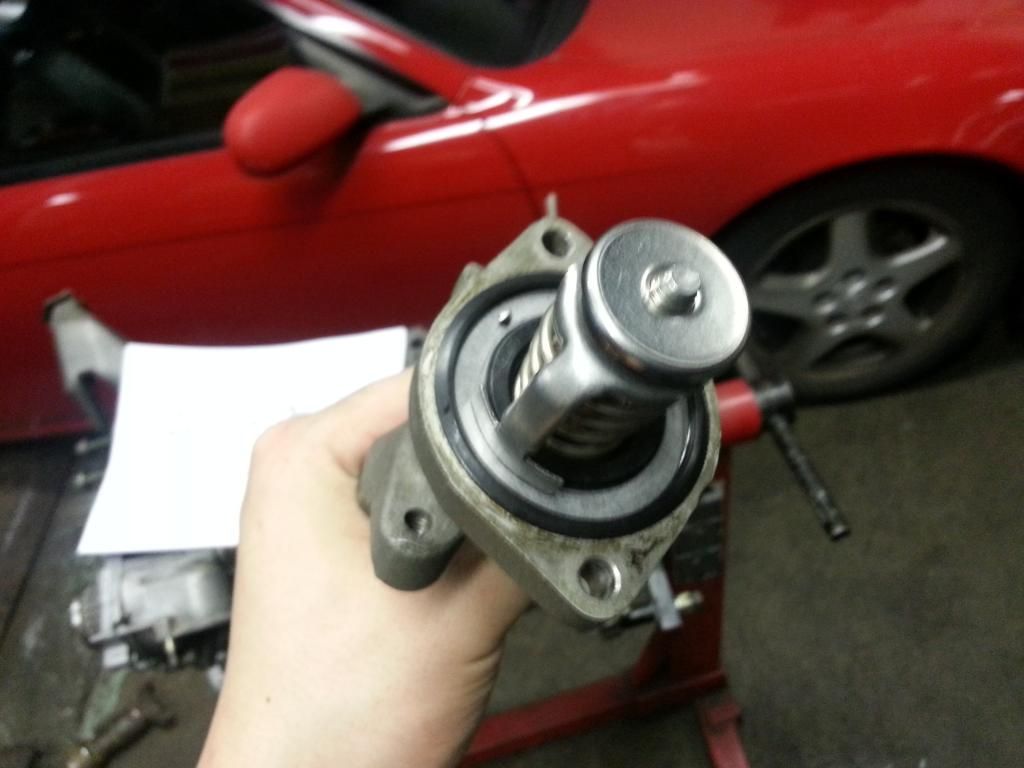
Also painted the thermostat housing.

Image

Image

Image

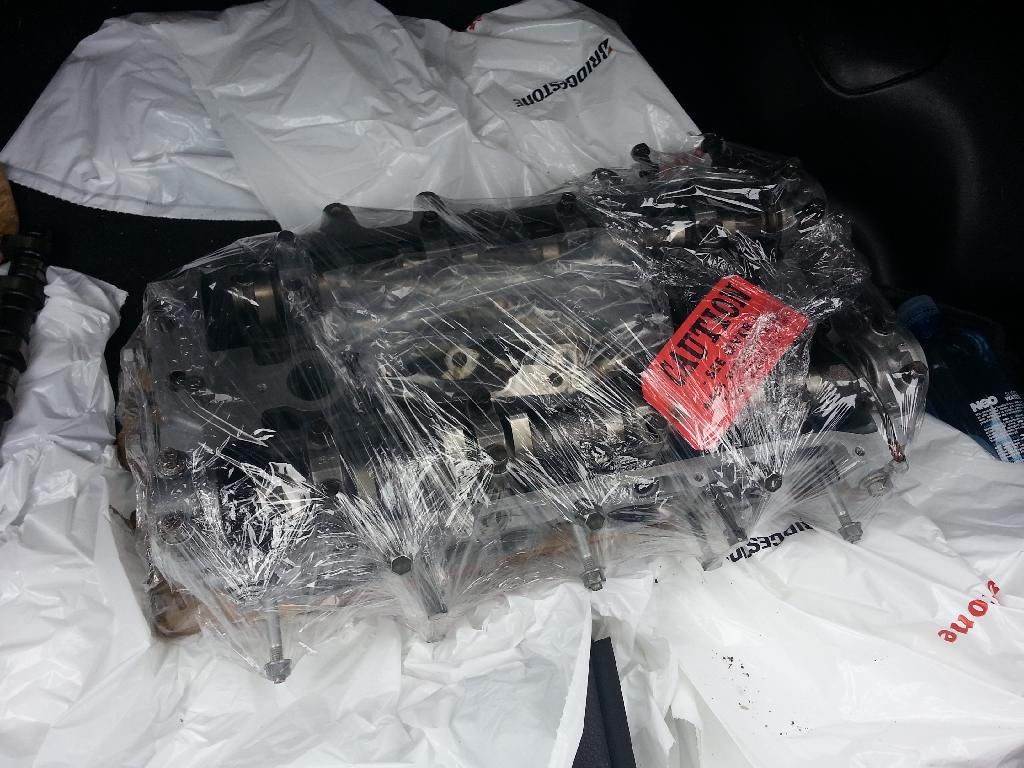
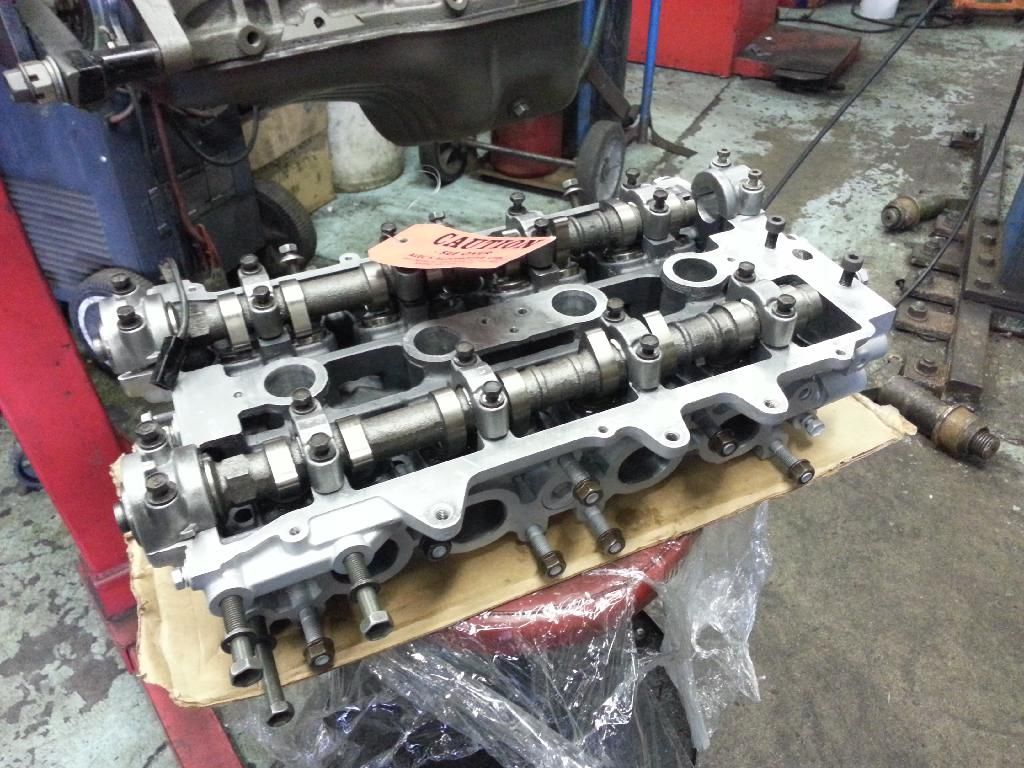
Yummy. Got a call that my head was ready. I have never driven so carefully in my life, transporting it in my Integra from East Vancouver to Richmond. I could have had an empty barrel of nuclear waste in the passenger seat and not have spilled a drop during the drive, LOL.

Image

After gorging over the beautiful head, I went back to work. painted the oil dipstick tube.

Image

And the coolant neck that attaches to the water neck. I don't know the actual name for it, haha.

Image

Unwrapped the head while waiting for paint to dry, continued to drool and became giddy.

Image

Dipstick tube installed.

Image

I couldn't resist, I placed the head on the block just to see what it would look like. Me likey.

Image

Slapped on the Cometic head gasket, head studs and bolted and torqued them down.

Image

Image

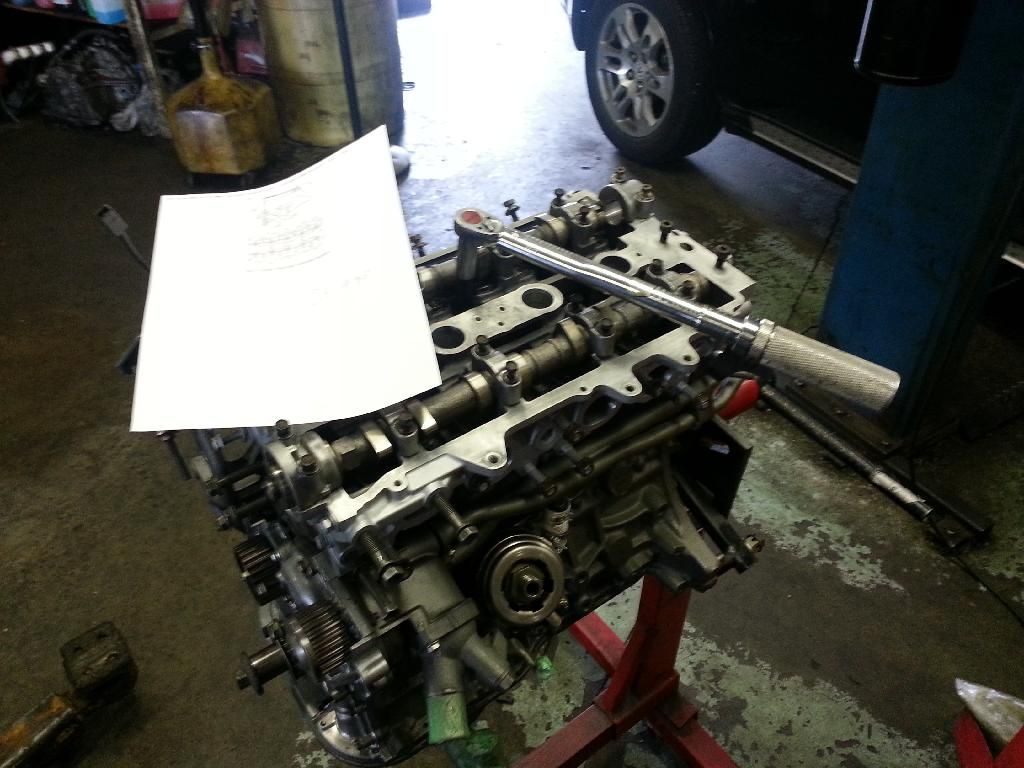
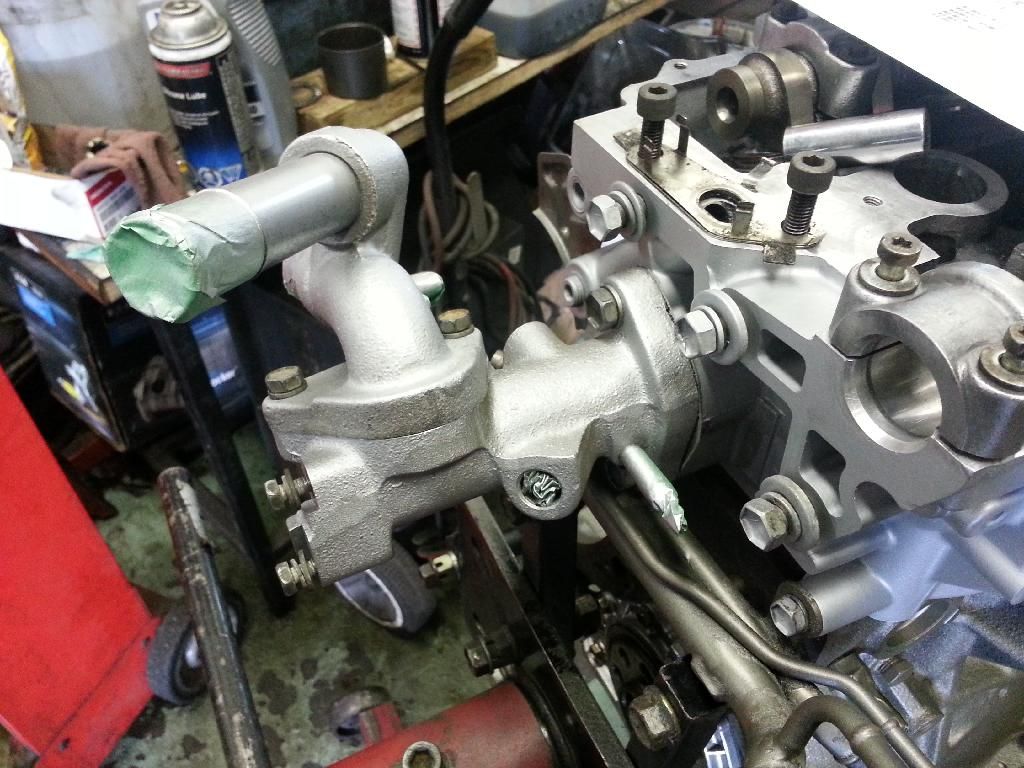
Bolted on the water neck. If I had more time, I would have sanded down the piece to be super smooth. But I didn't, so I just threw it on. It's easy enough to access with the engine in the car, so I'll probably do that later on.

Image

Attached some hoses.

Image

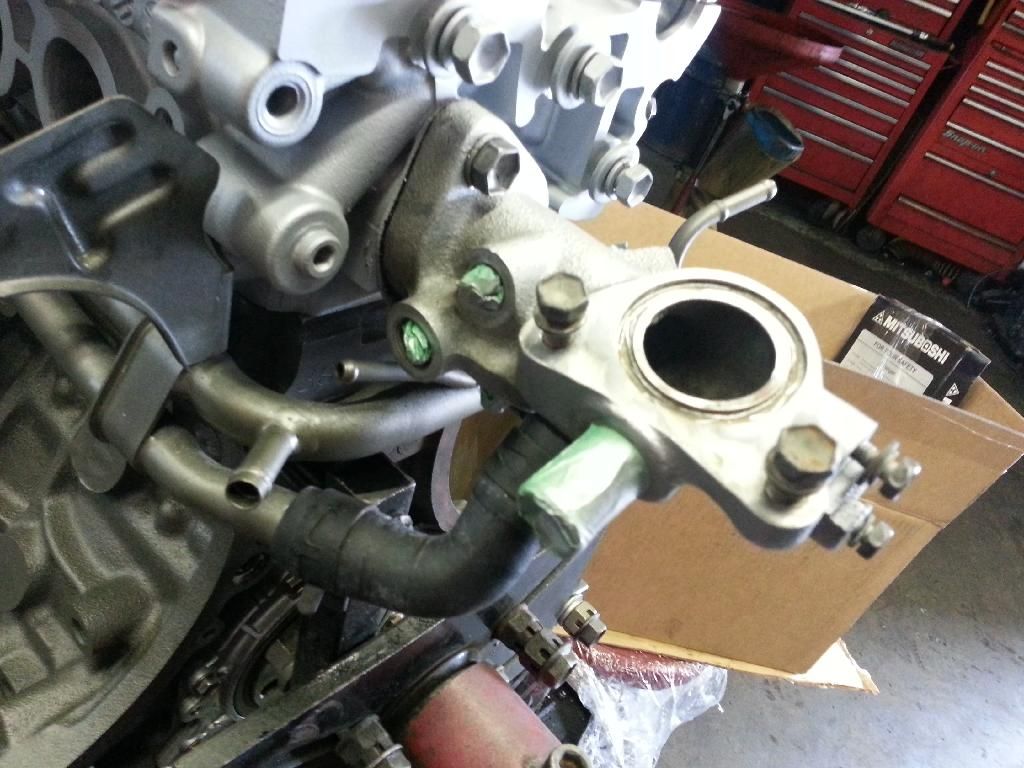
Bolted on the coolant neck.

Image

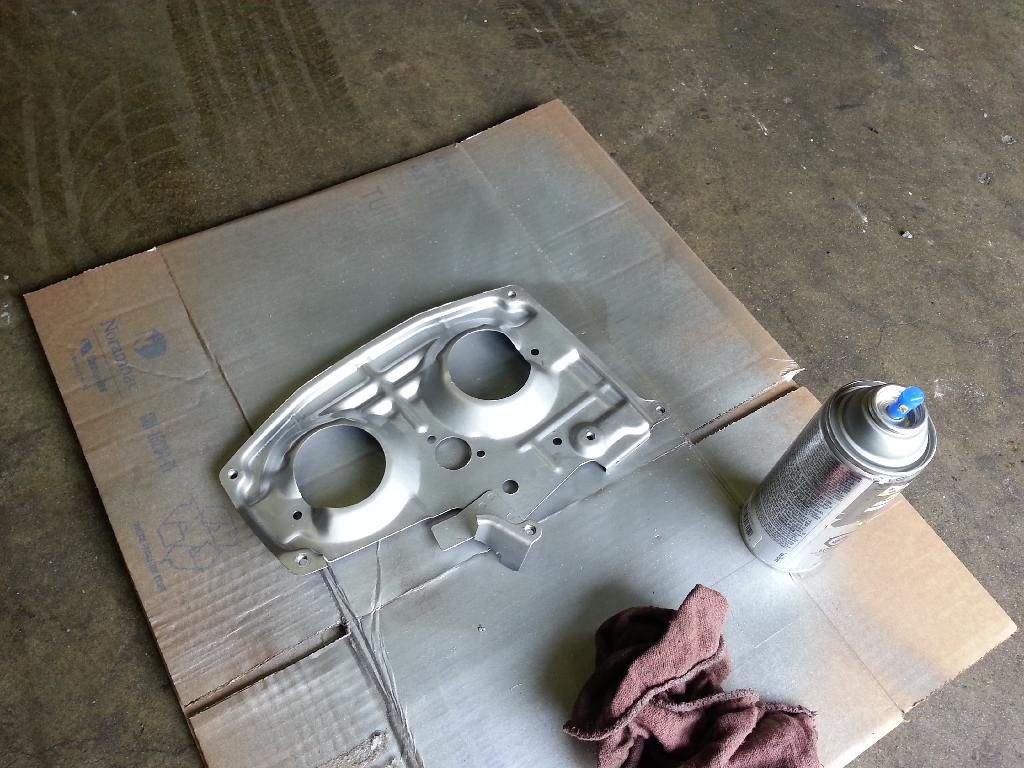
Painted the metal plate between the cam gears and head.

Image

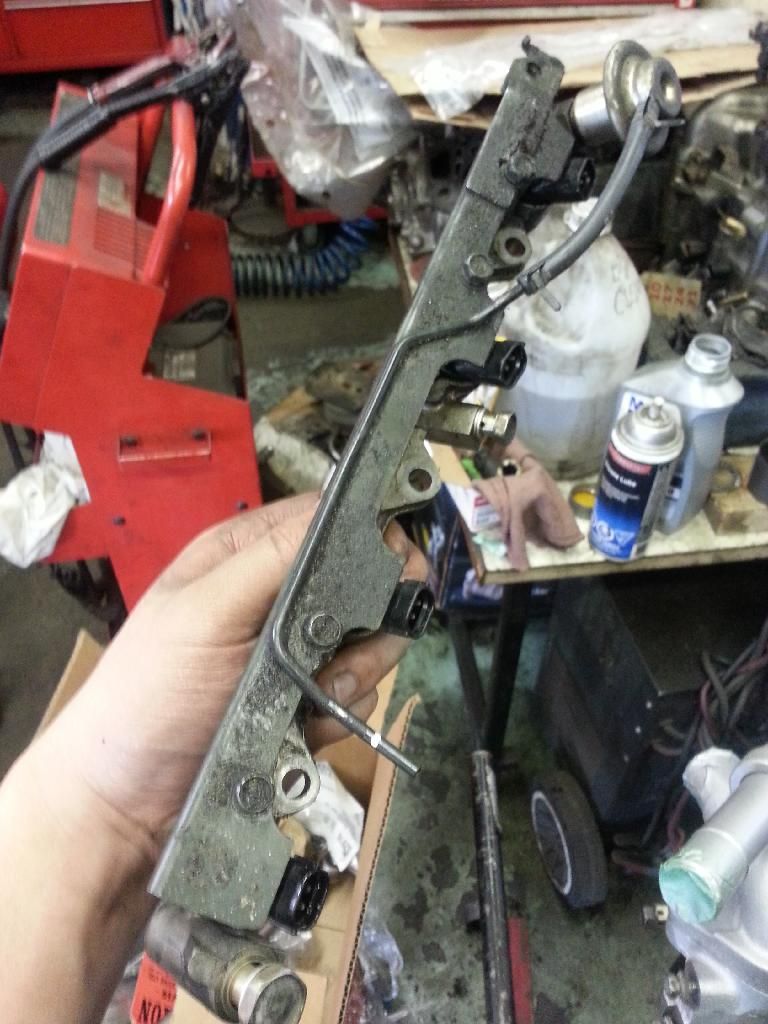
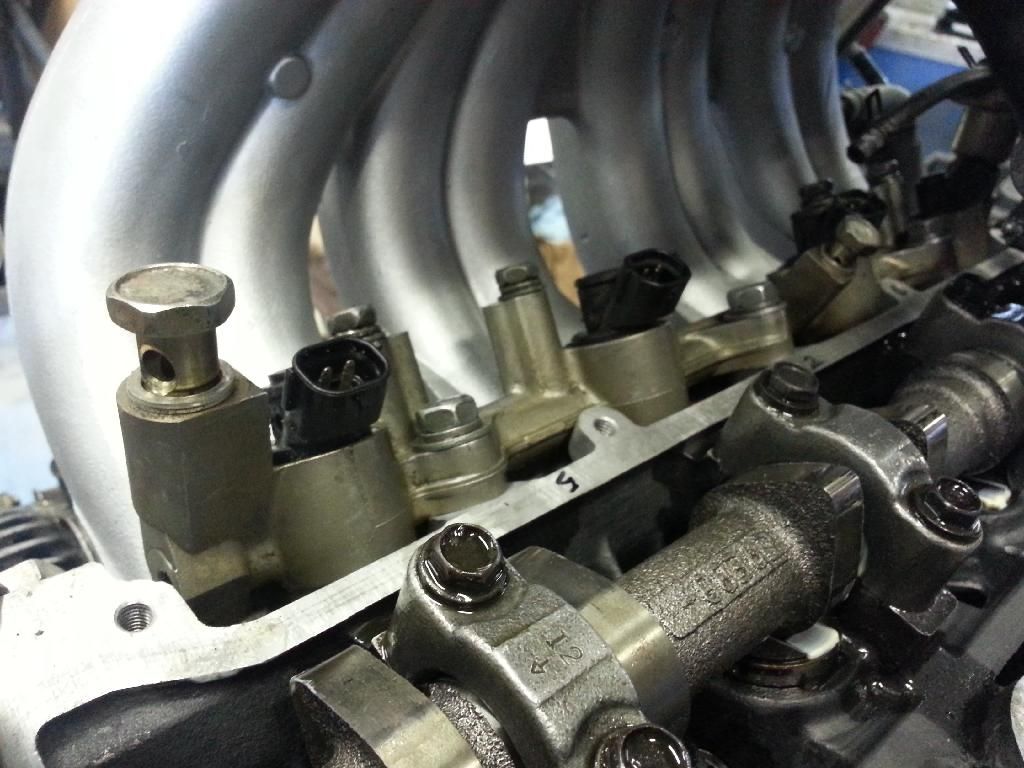
I then decided that I wanted to make my fuel rail pretty. Here it is before treatment.

Image

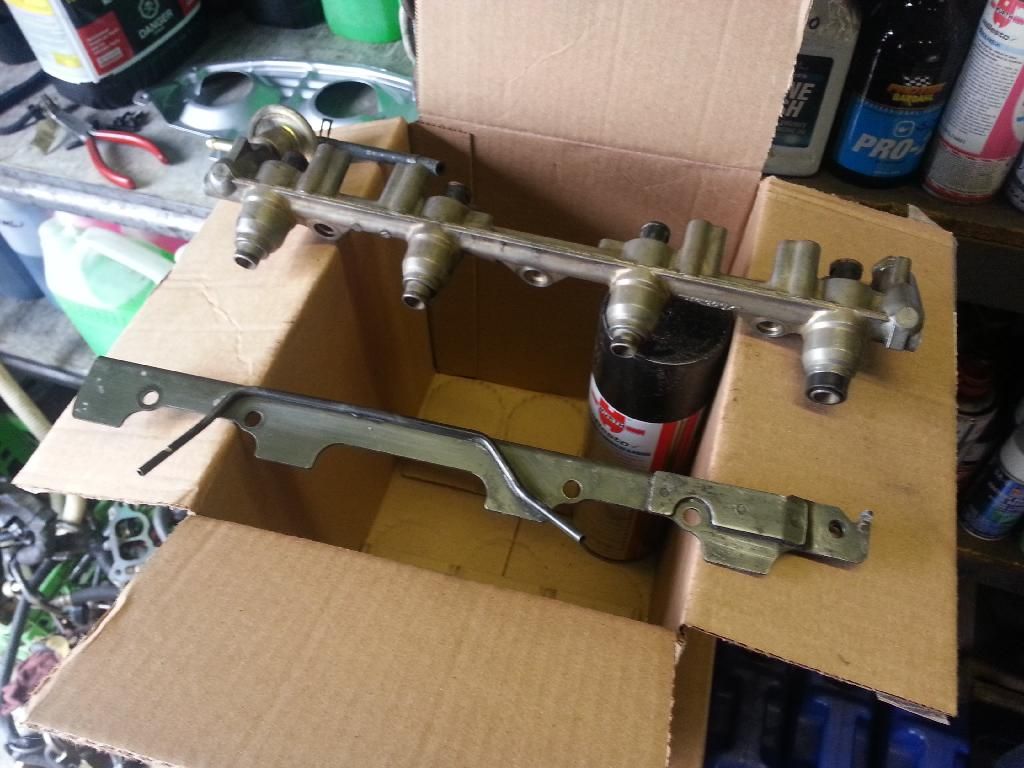
Took the top piece off to get powdercoated.

Image

Image

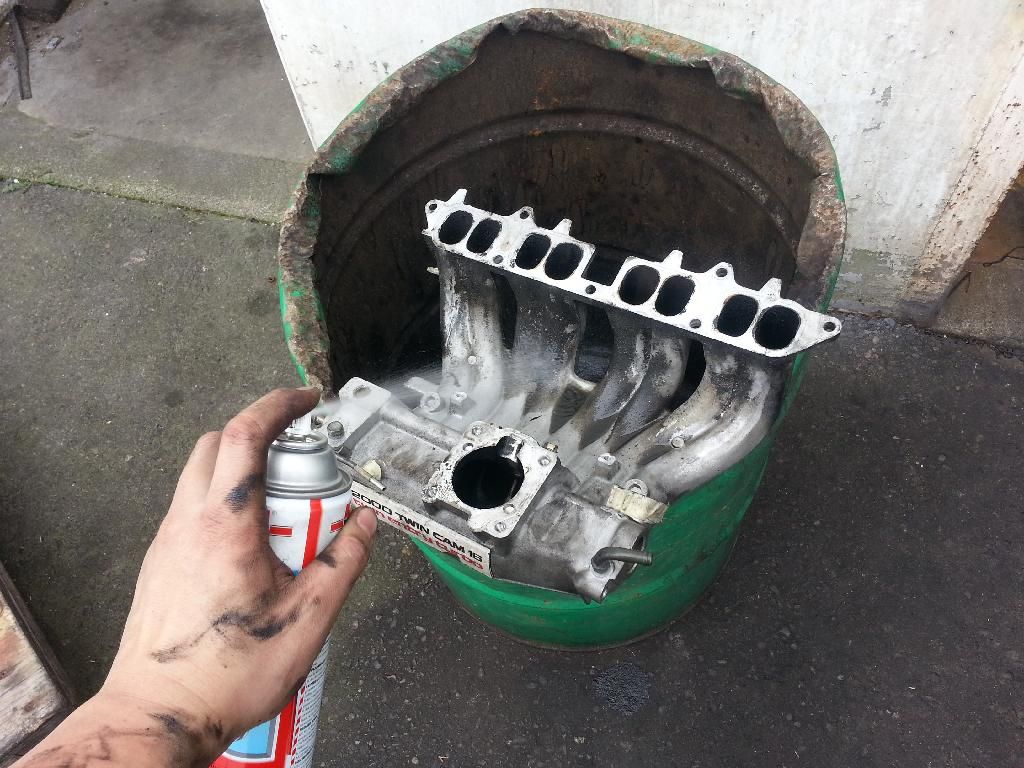
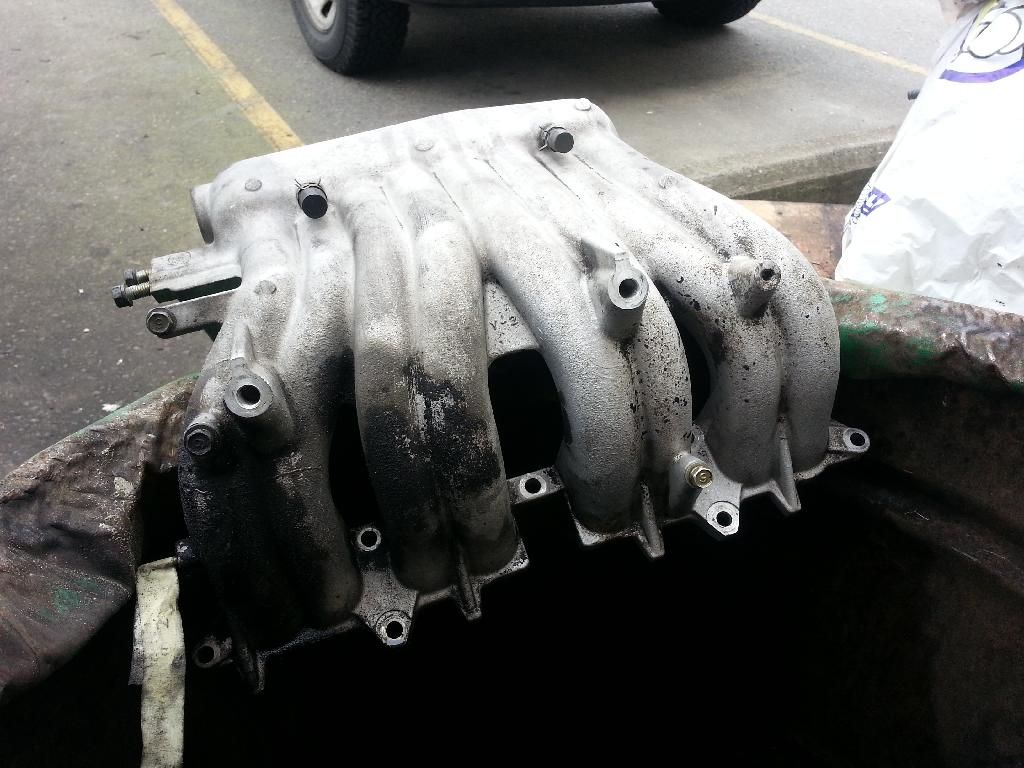
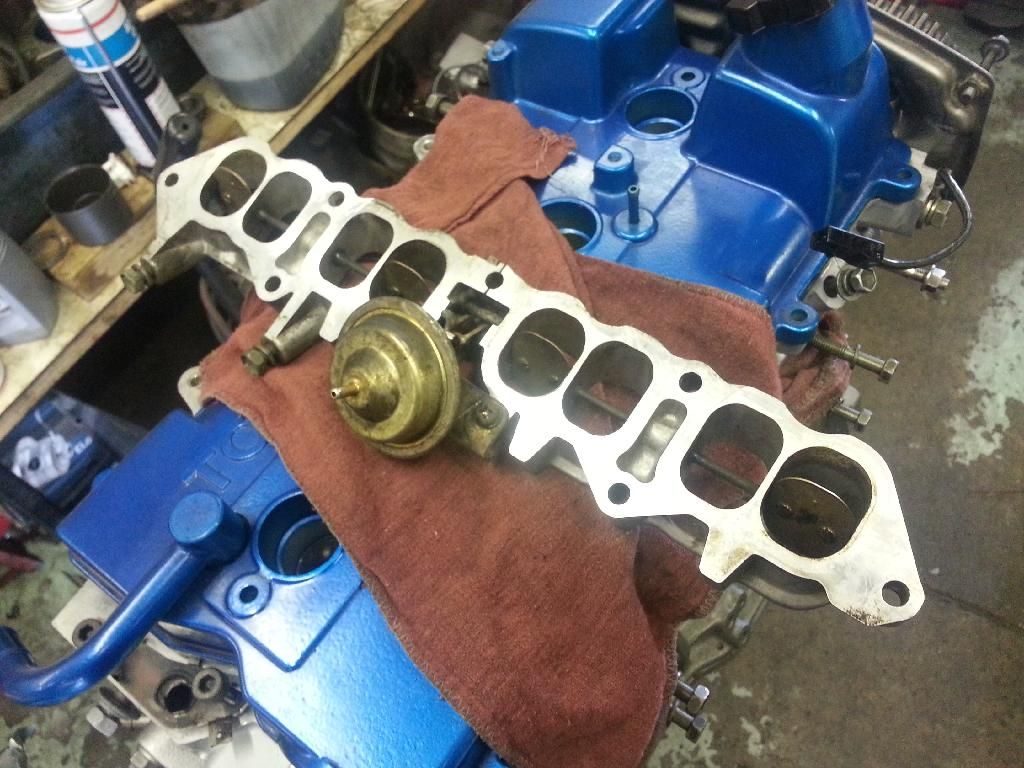
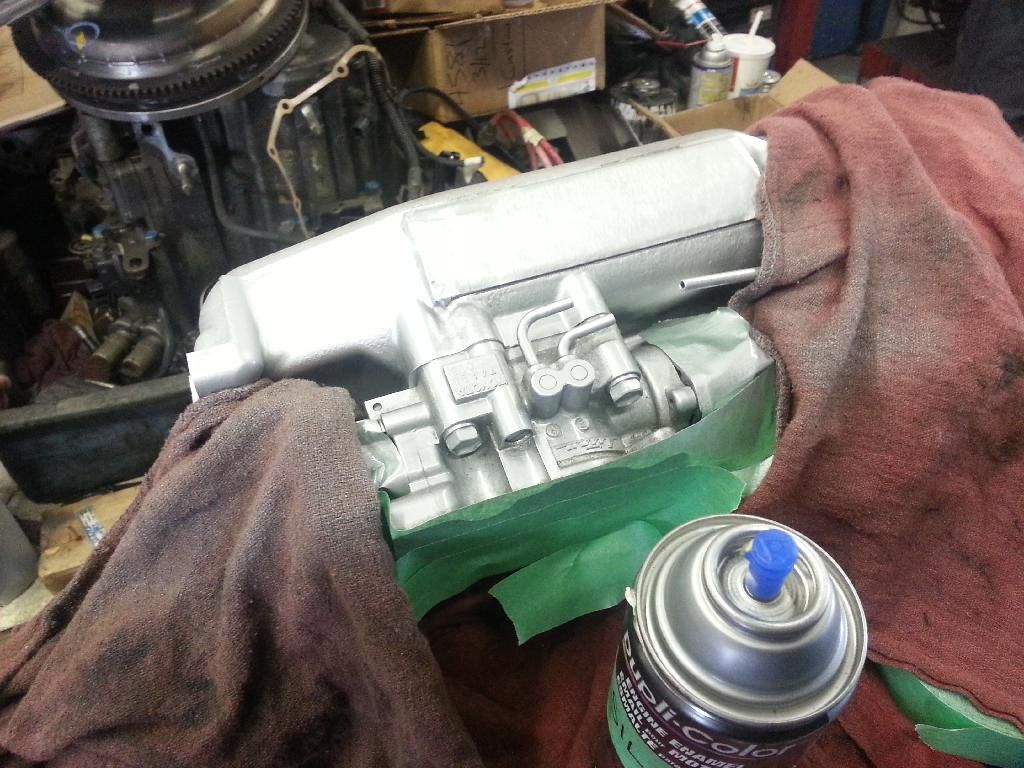
Then I cleaned the intake manifold. It wasn't a fun job, to say the least. Took almost 2 full cans of brake clean.

Image

Image

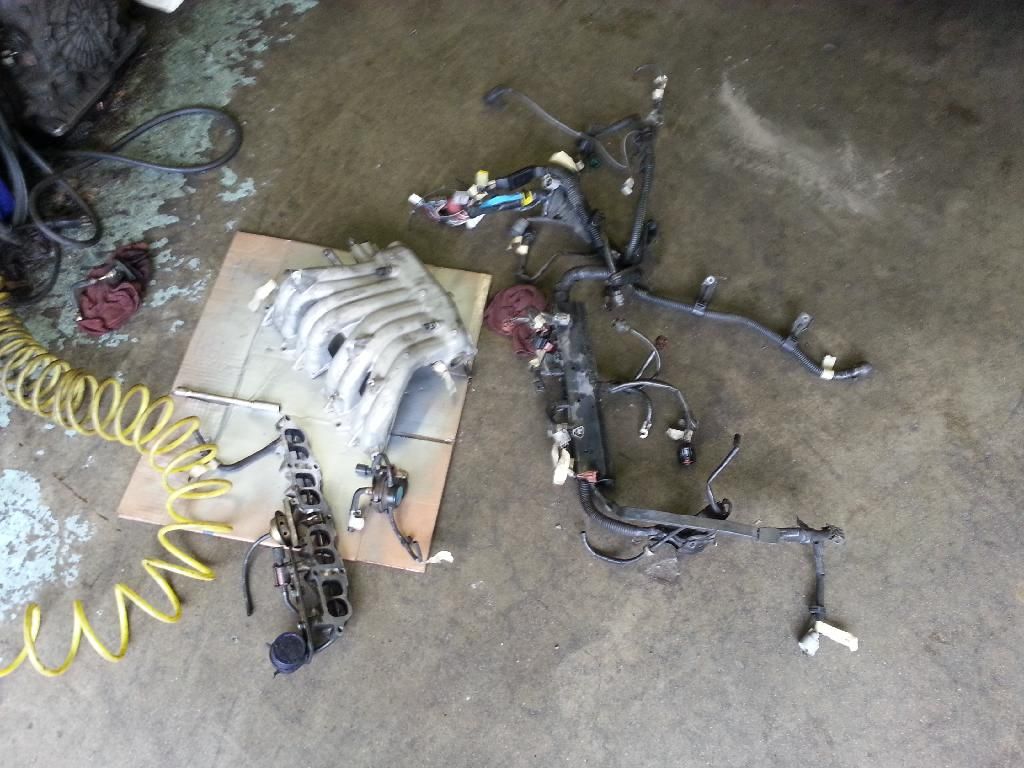
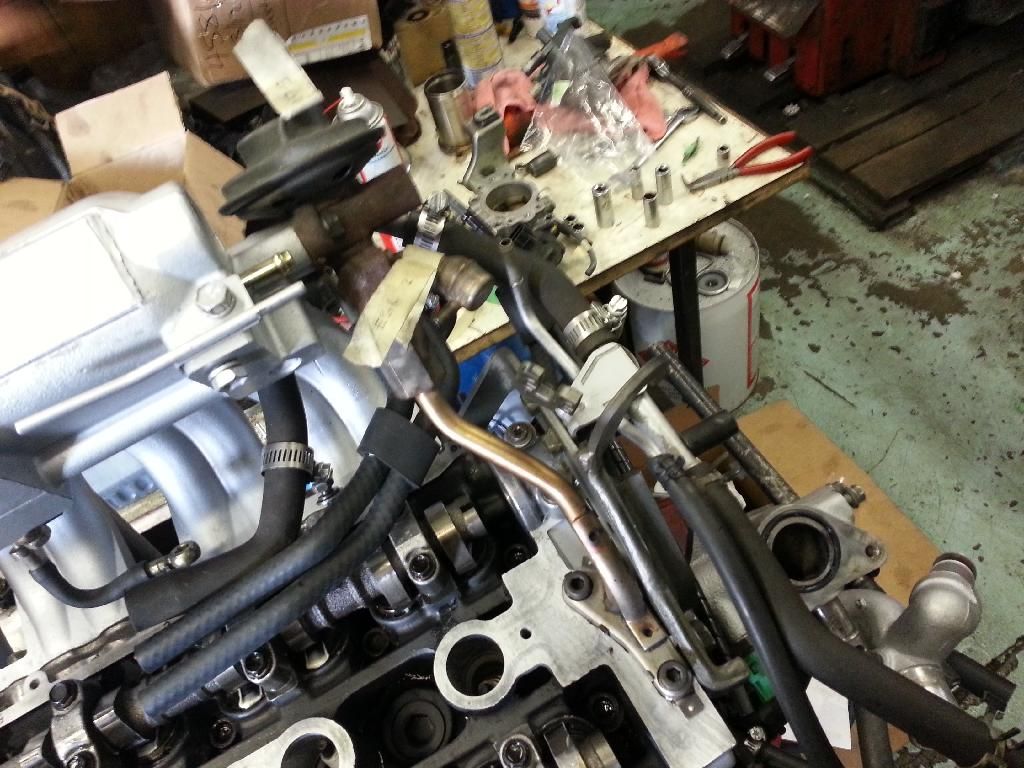
Parts are just strewn everywhere.

Image

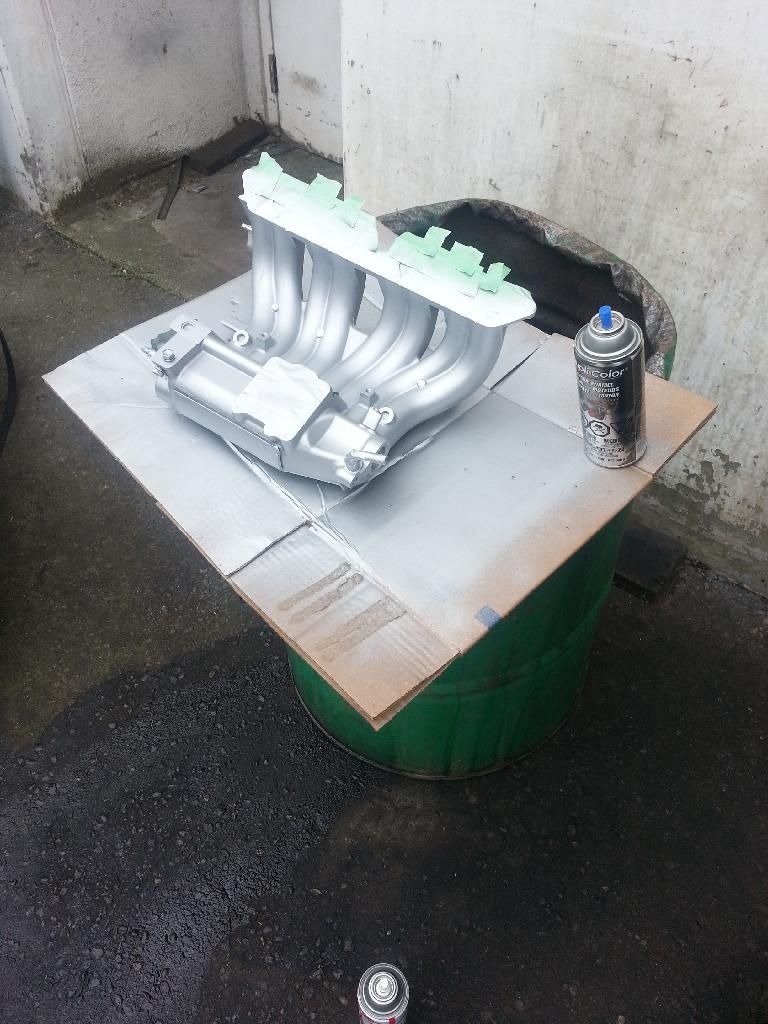
Once again, if I had more time and money, I would have sent off the intake mani to be polished and be super shiny. But, I didn't, so it received a few coats of high temp paint.

Image

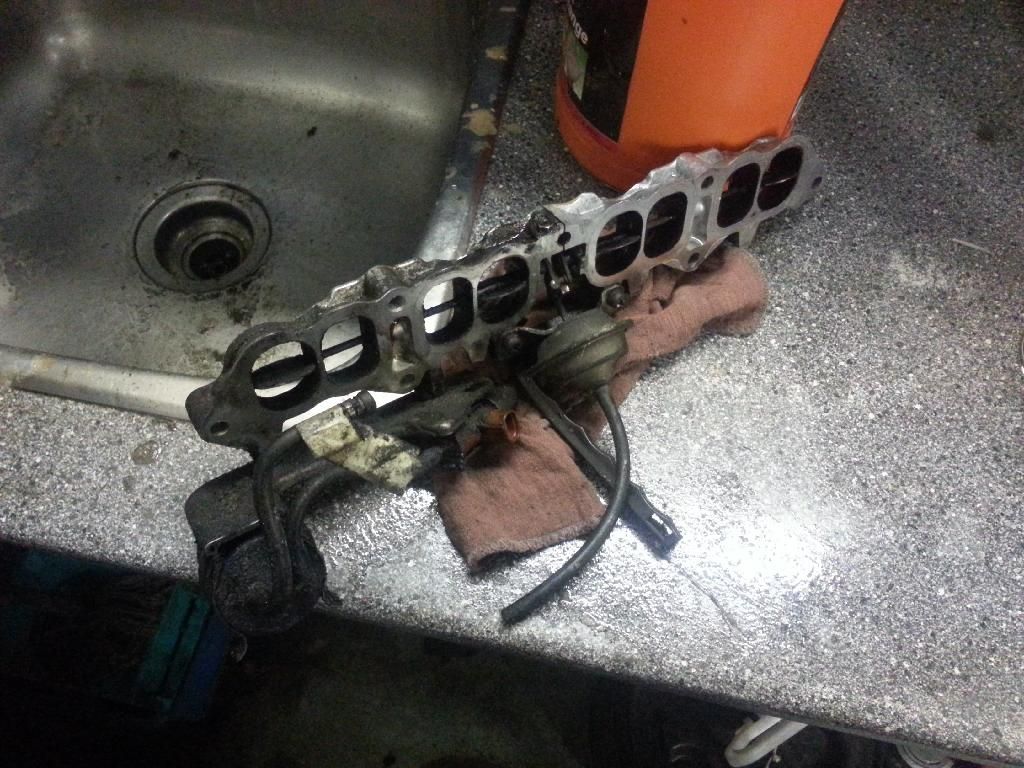
Cleaned the TVIS assembly.

Image

Image

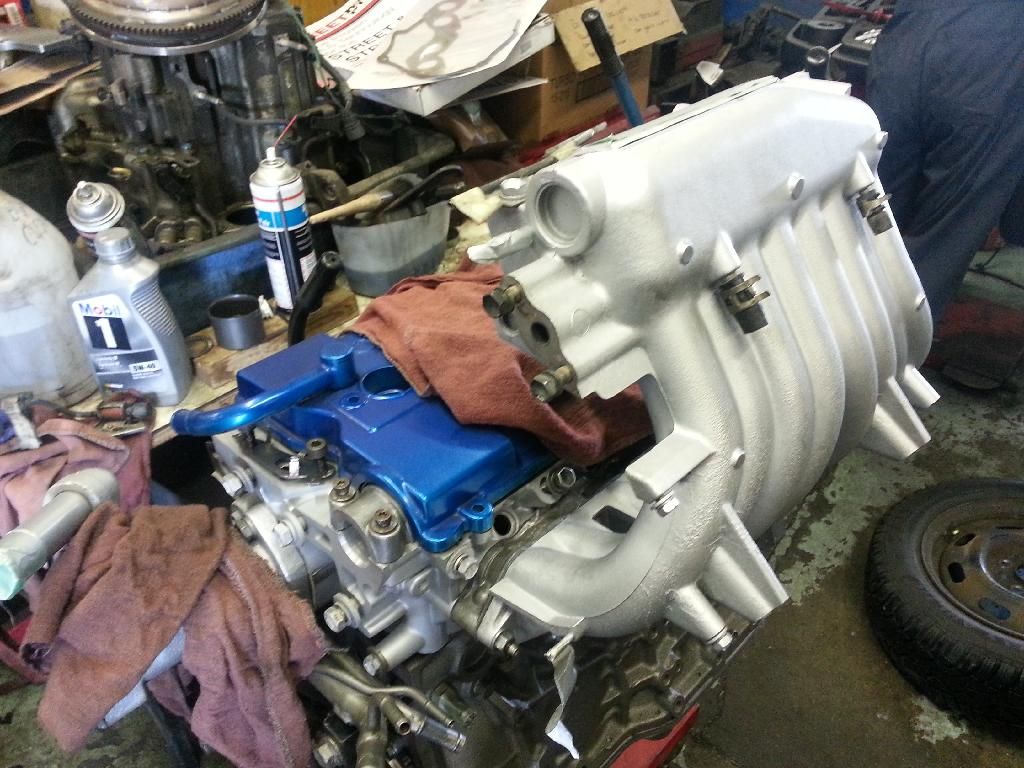
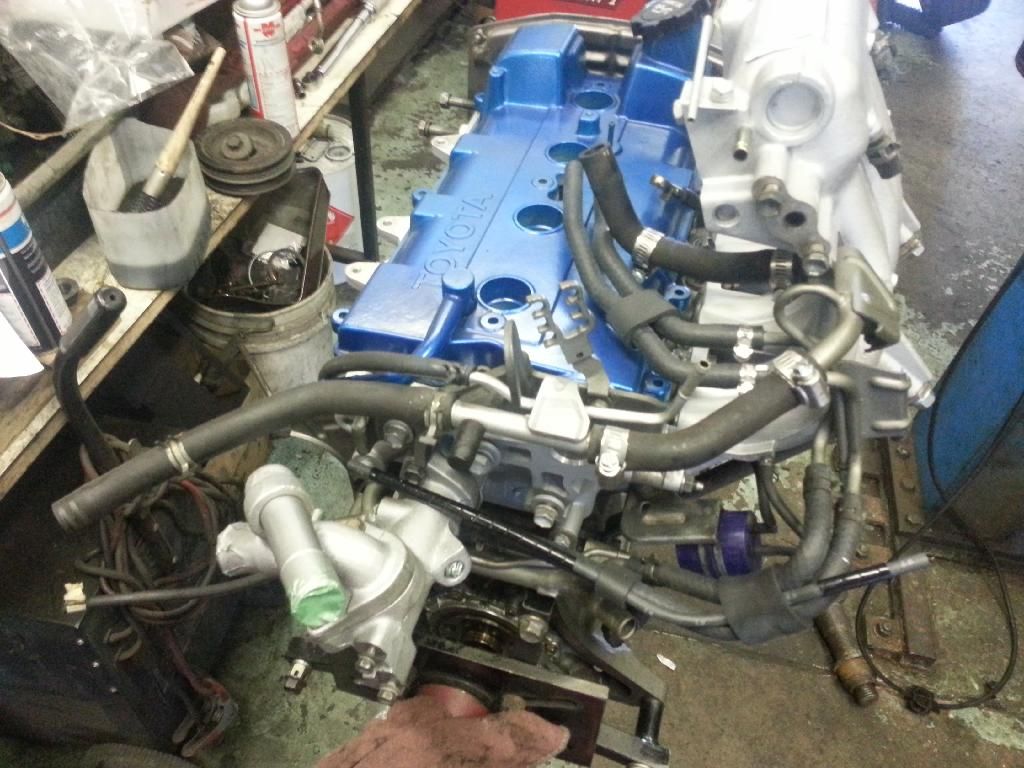
Threw my valve cover on for mock up. Extremely giddy at this point.

Image

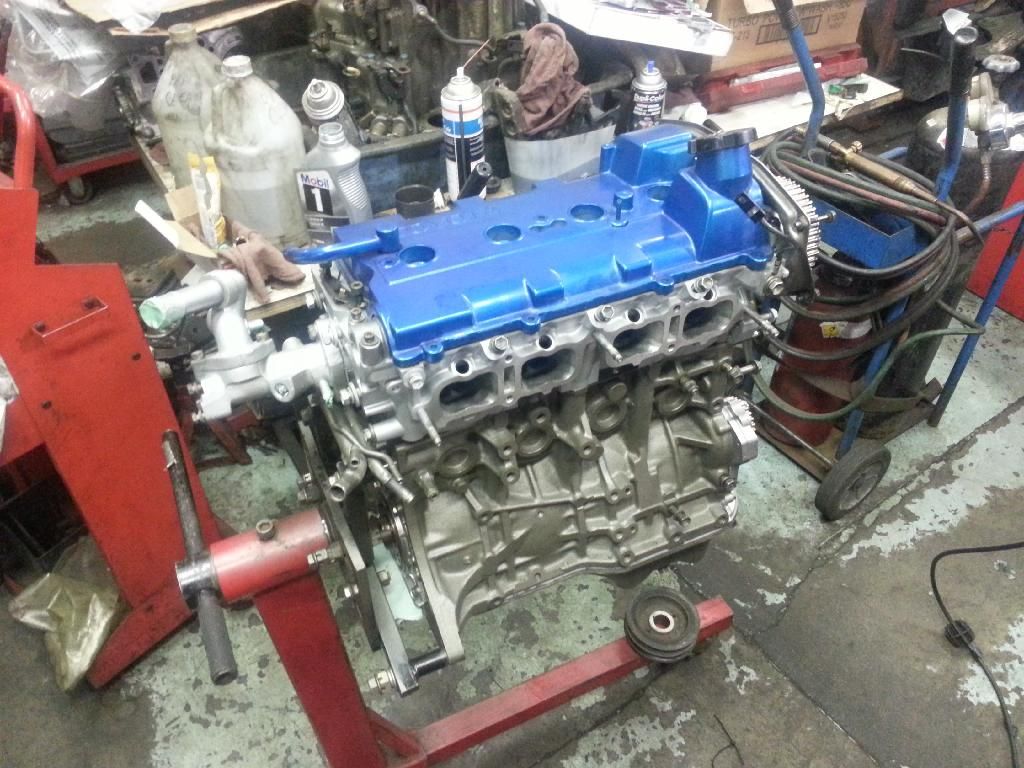
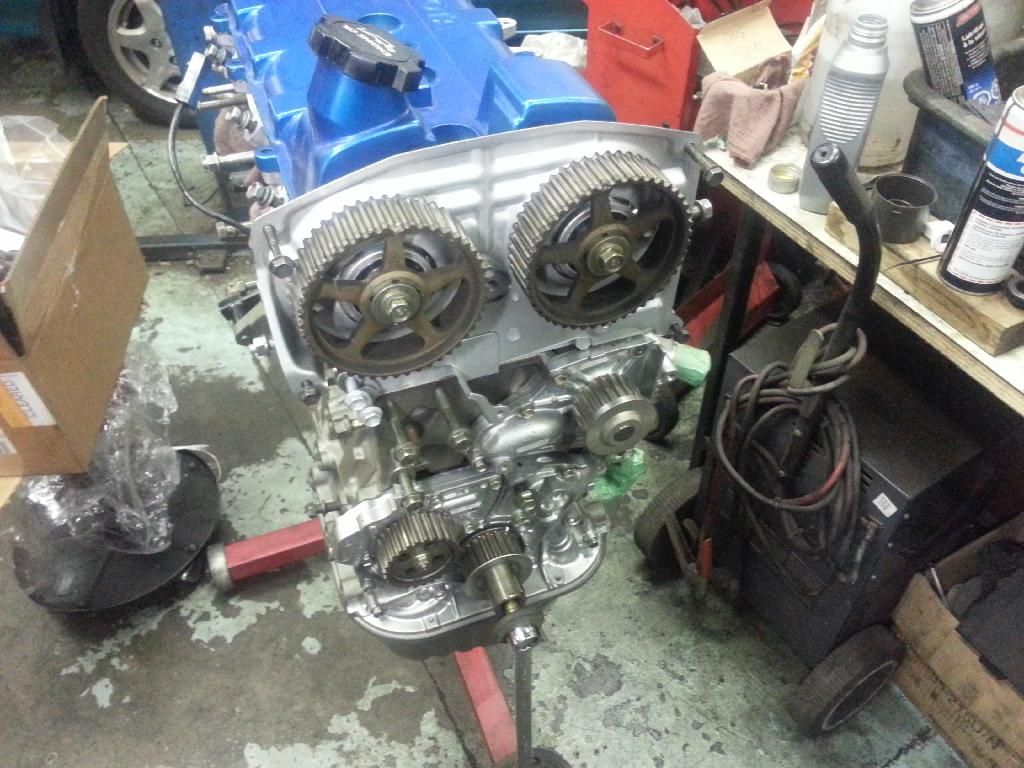
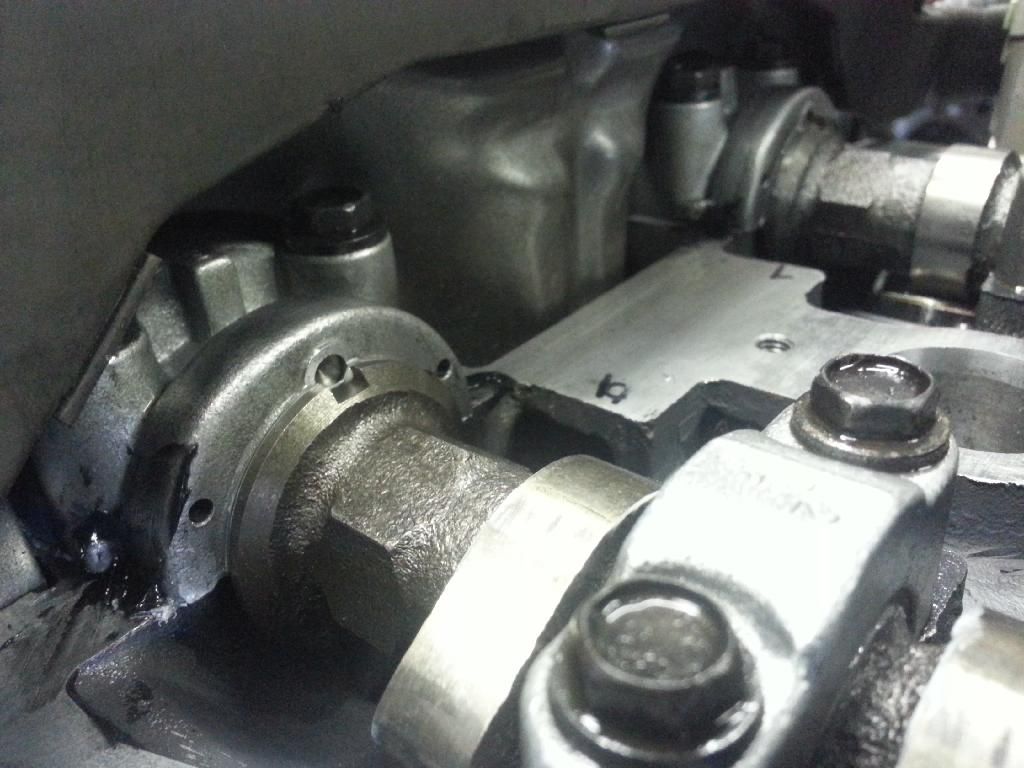
Installed the cam shield and cam gears.

Image

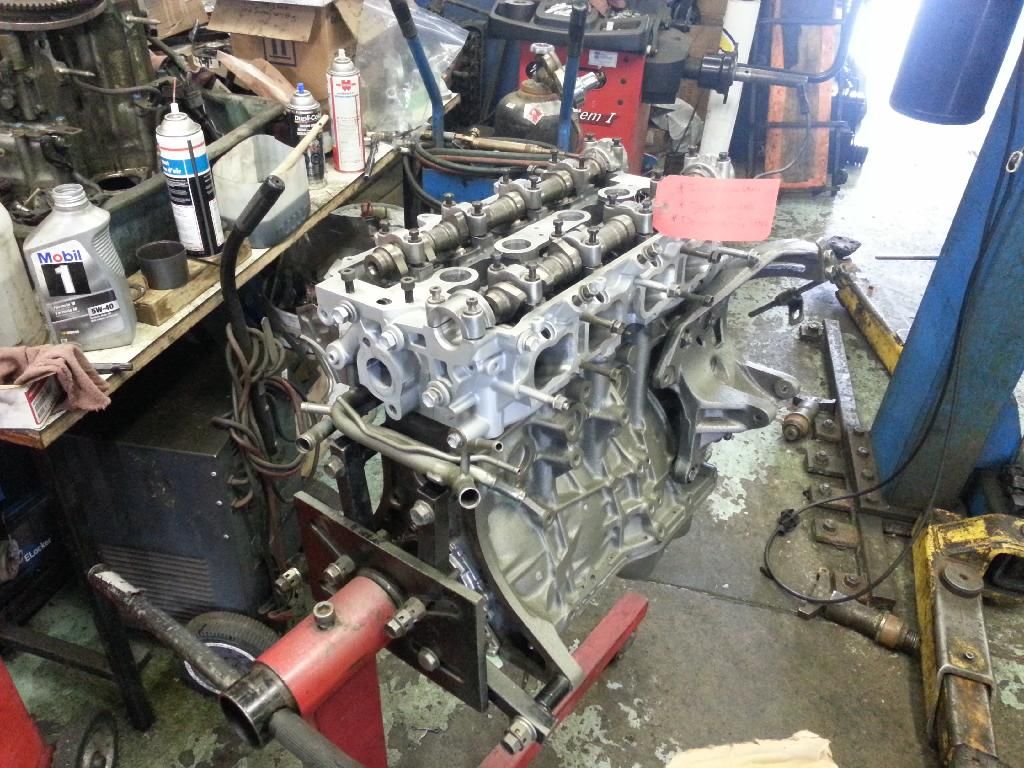
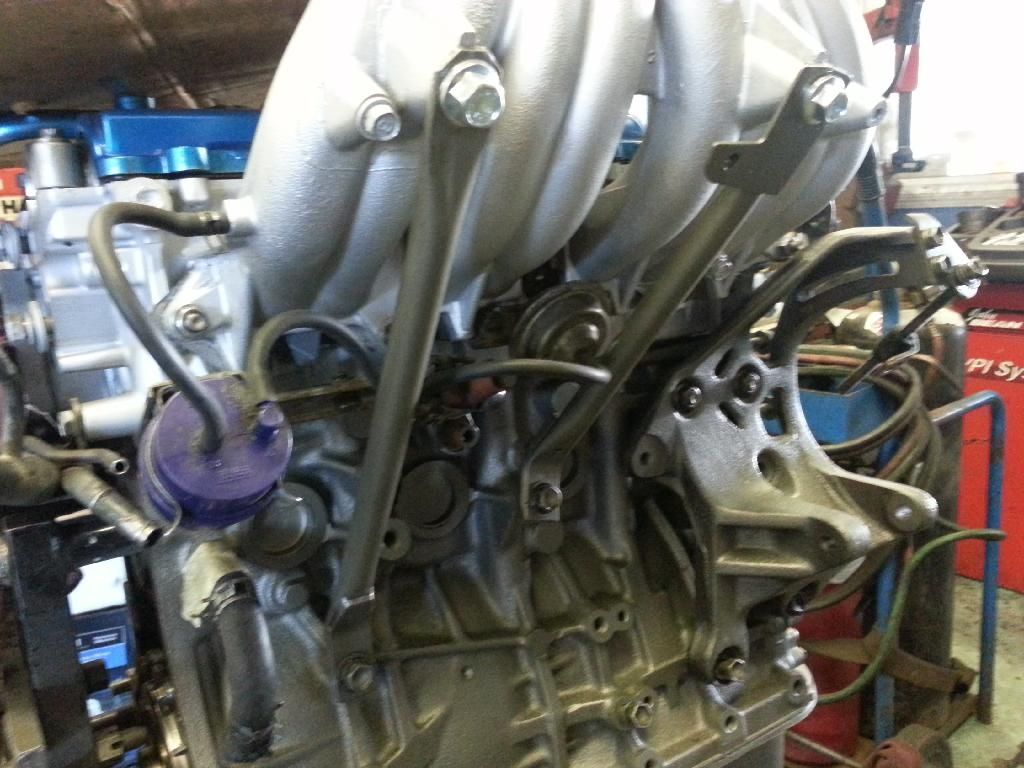
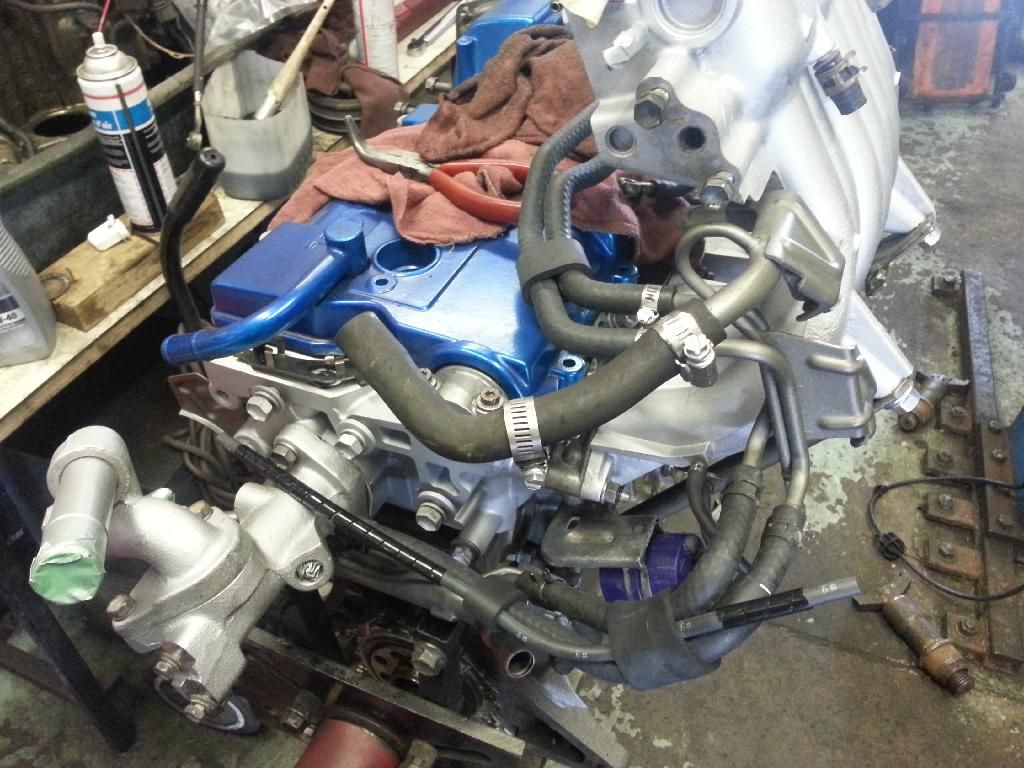
Installed TVIS and the intake manifold.

Image

Image

Image

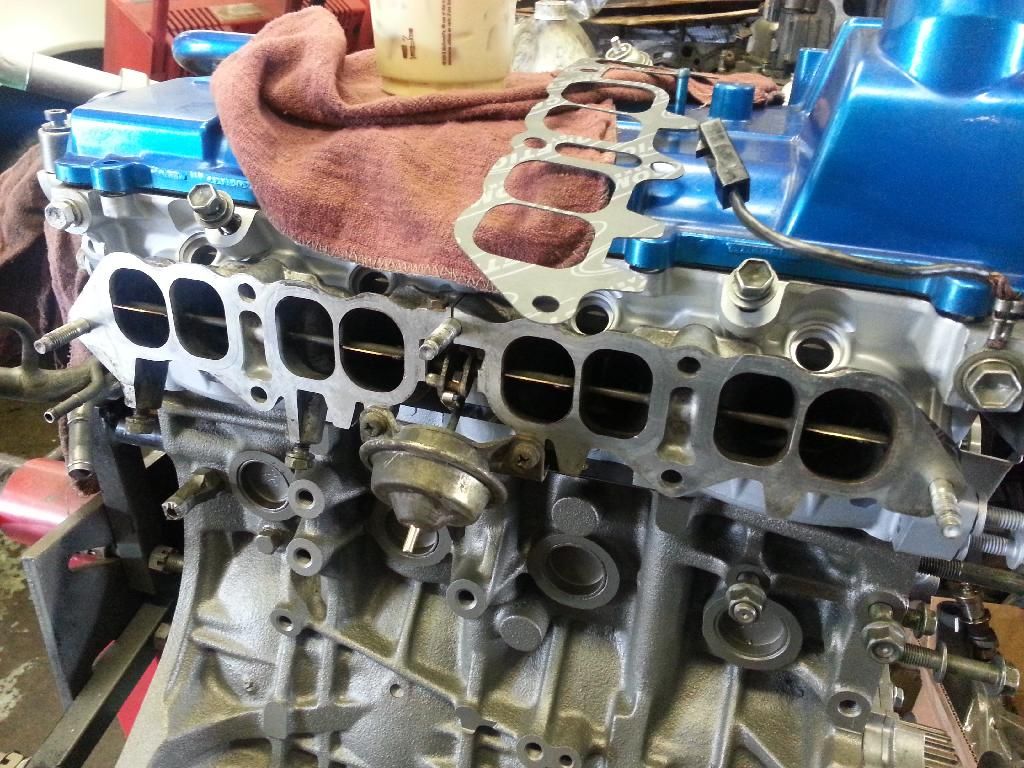
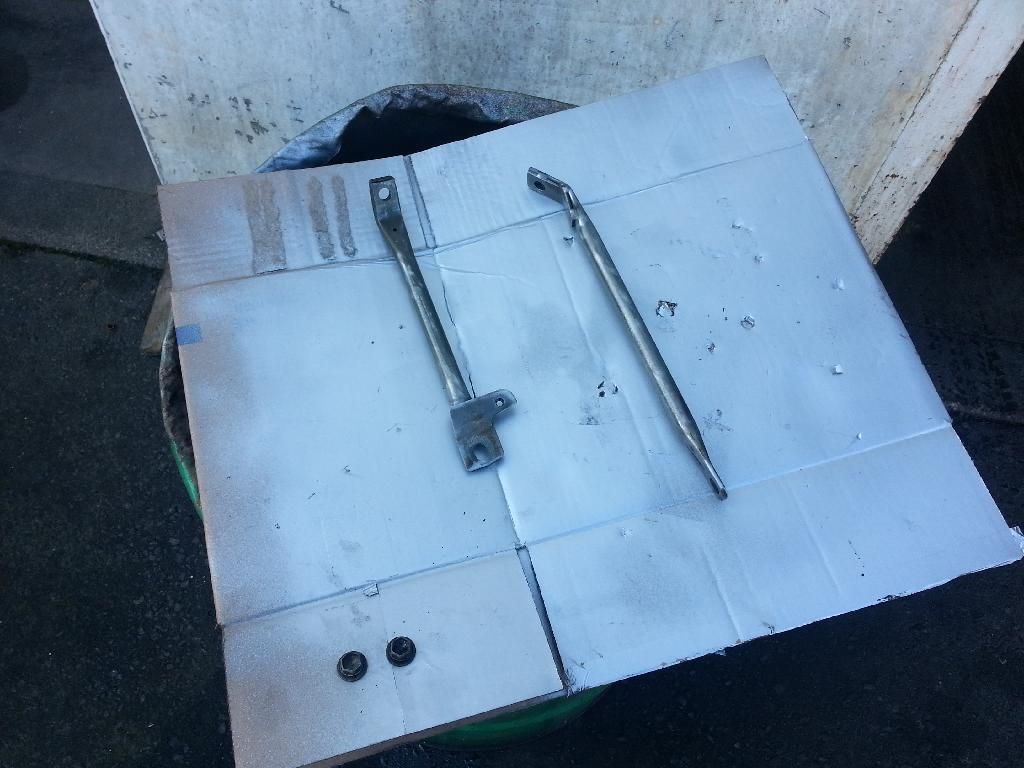
Cleaned and painted the manifold supports.

Image

Image

Printed out some diagrams for the hoses, and started installing what I could.

Image

Image

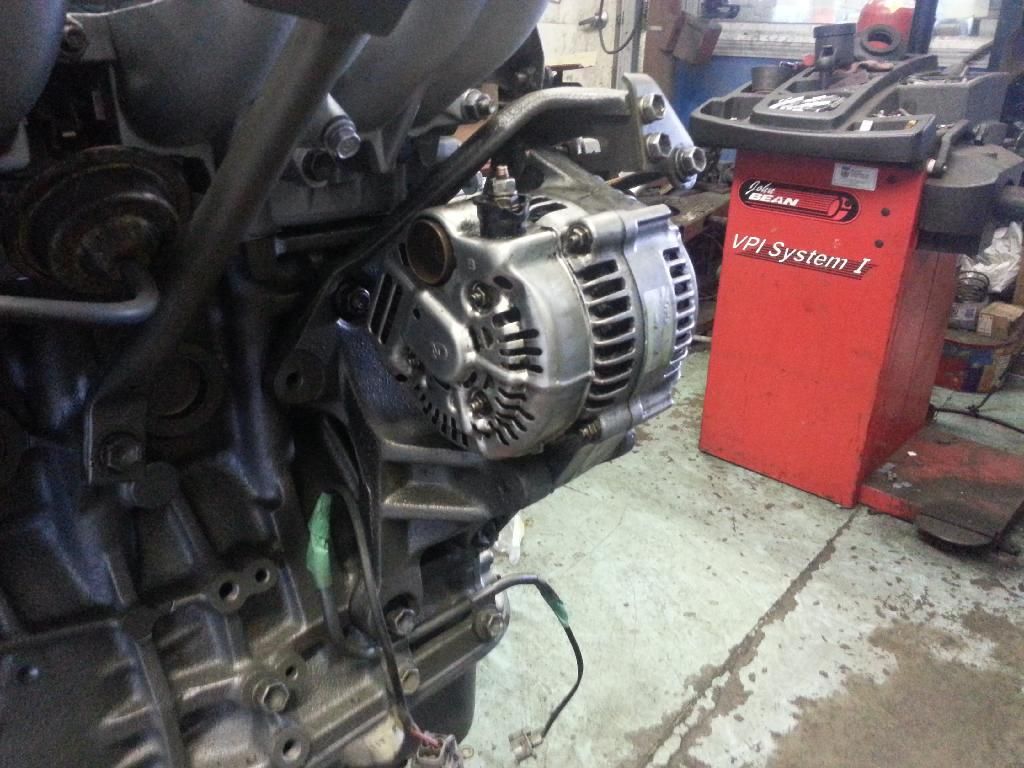
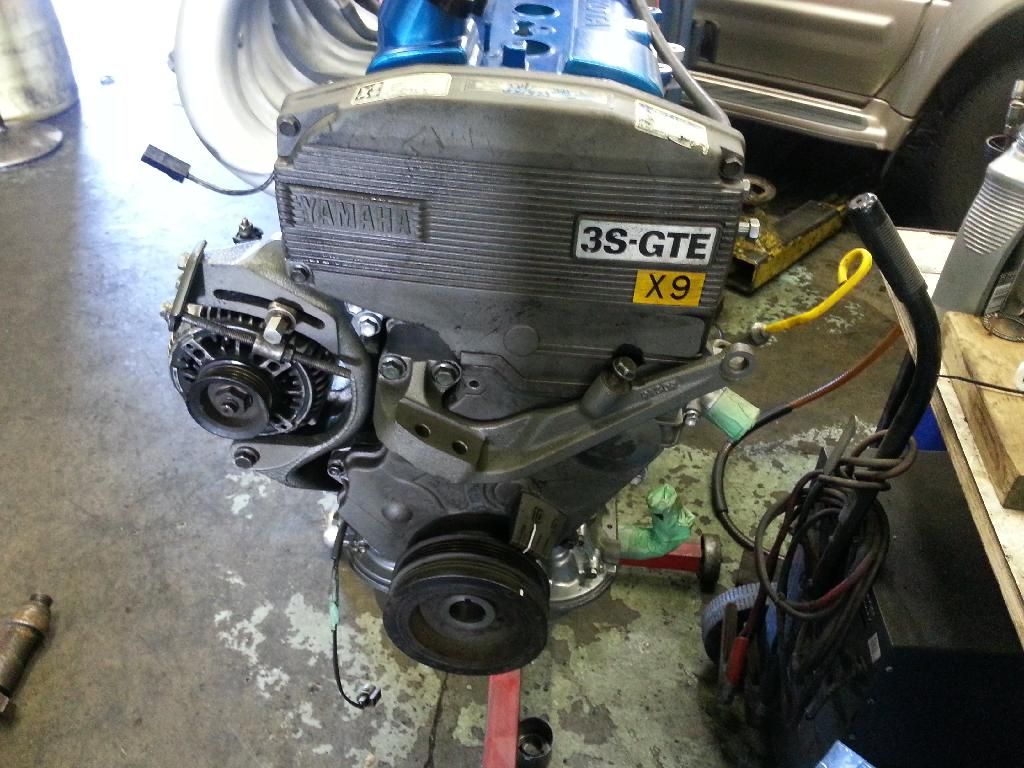
Slapped the alternator on.

Image

Tensioner and pulley installed.
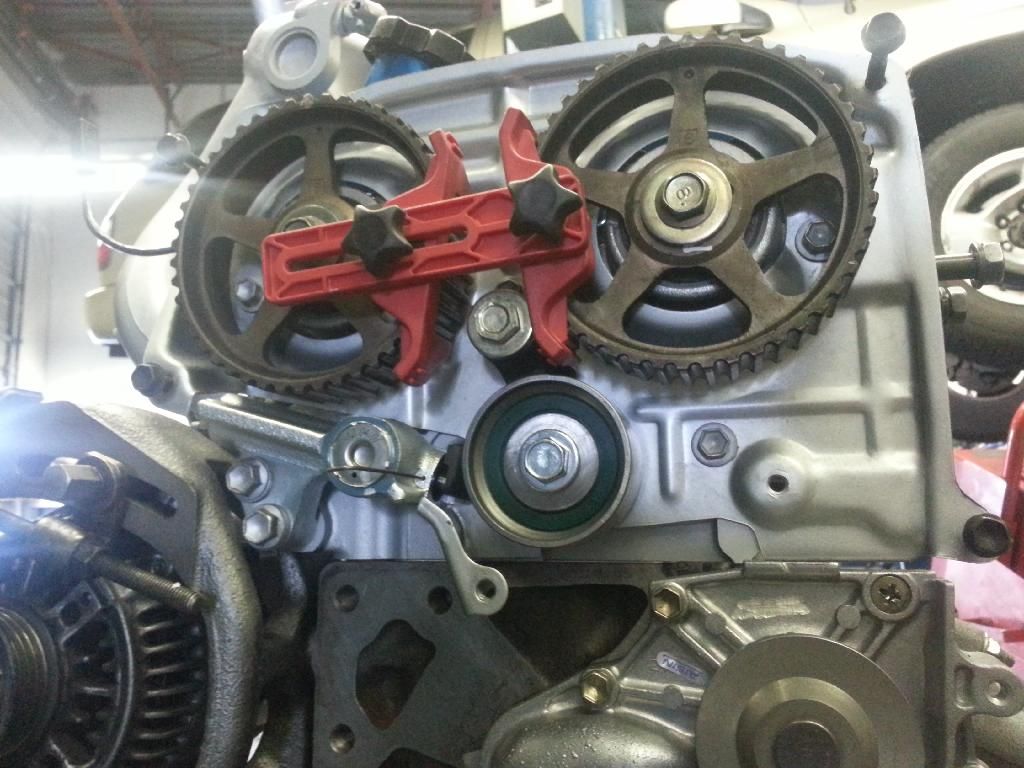
Image

Timing belt on.

Image

Put back all the plugs and things on the water neck.

Image

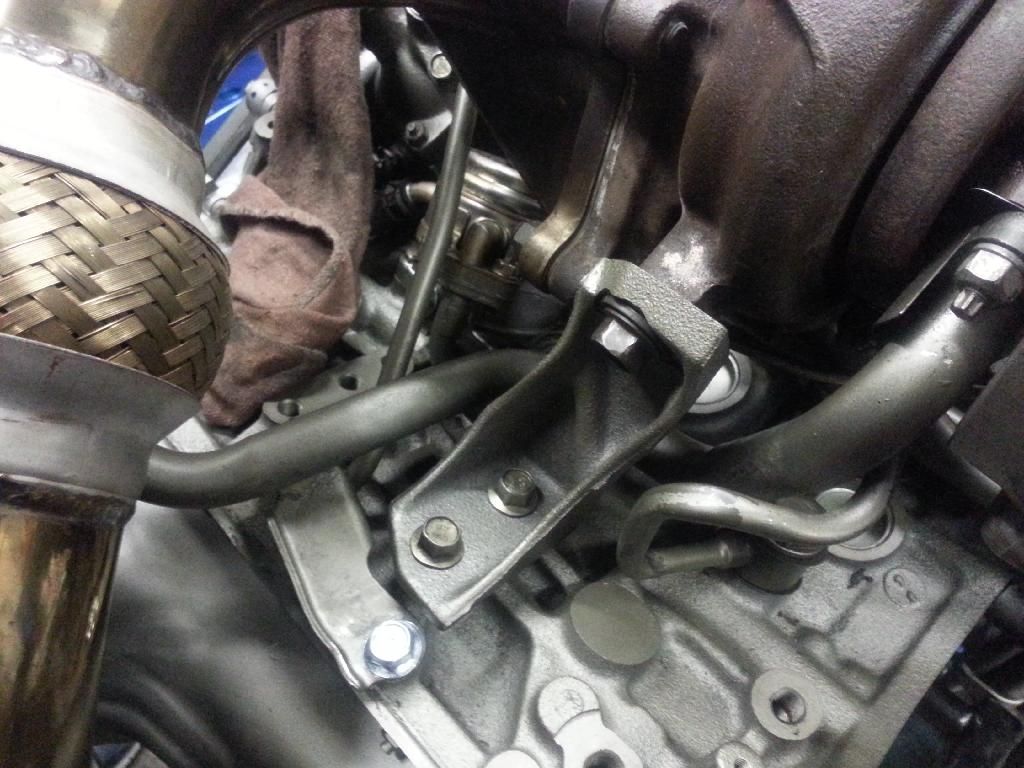
Timing covers on, engine mount bracket installed.

Image

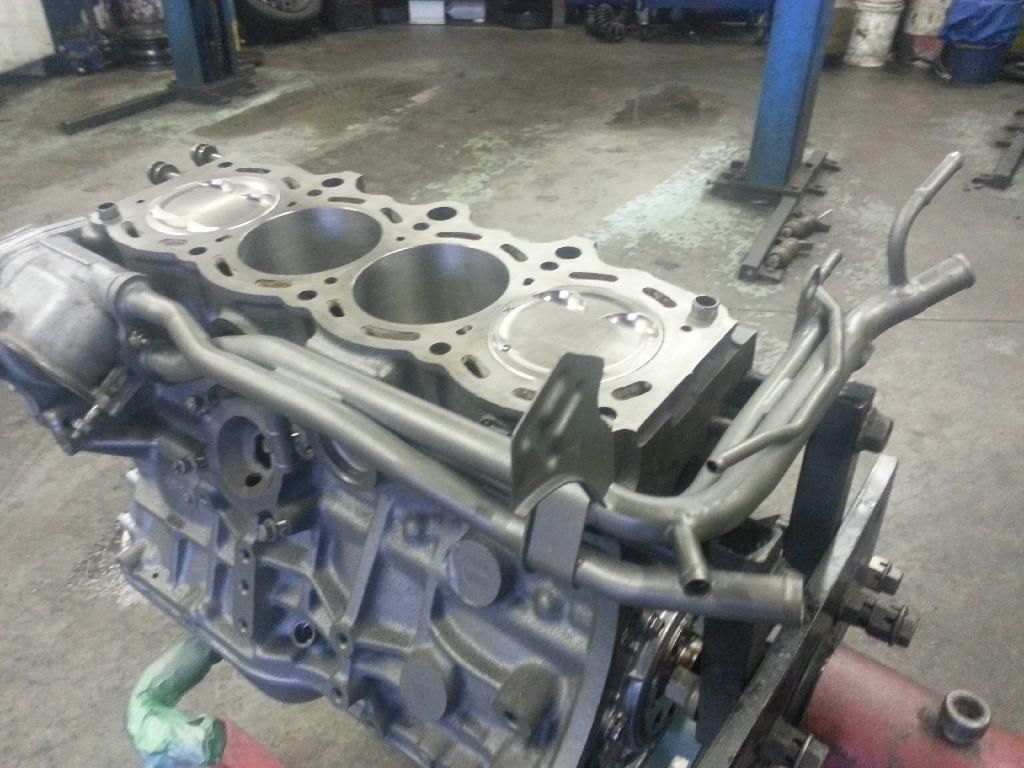
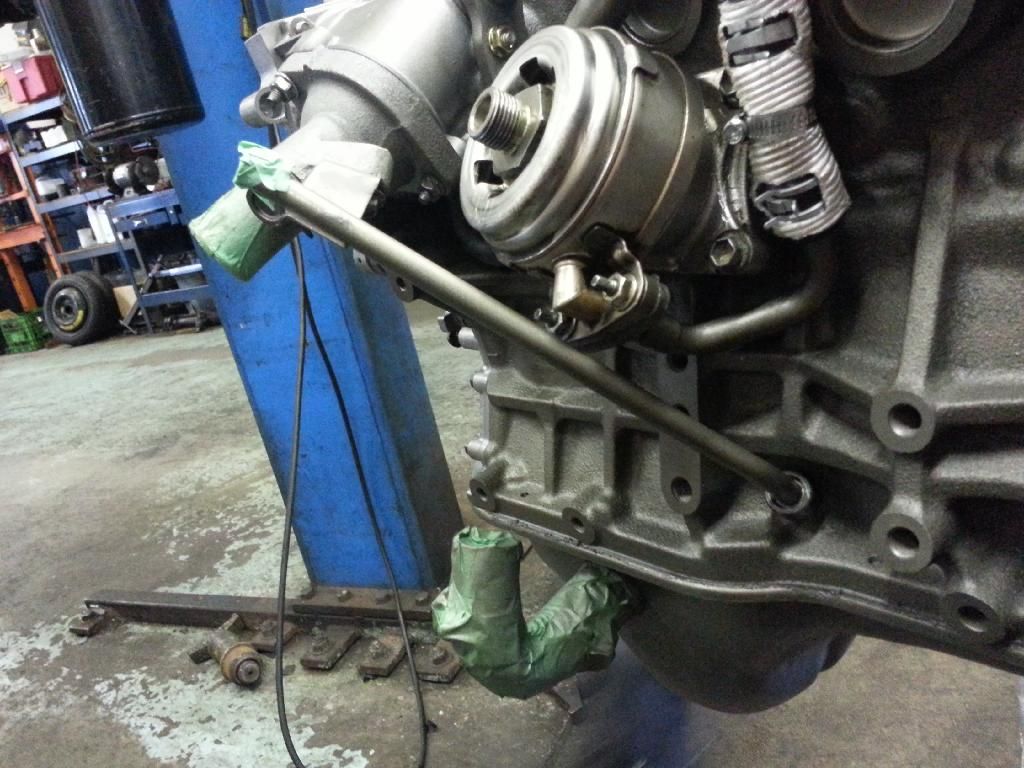
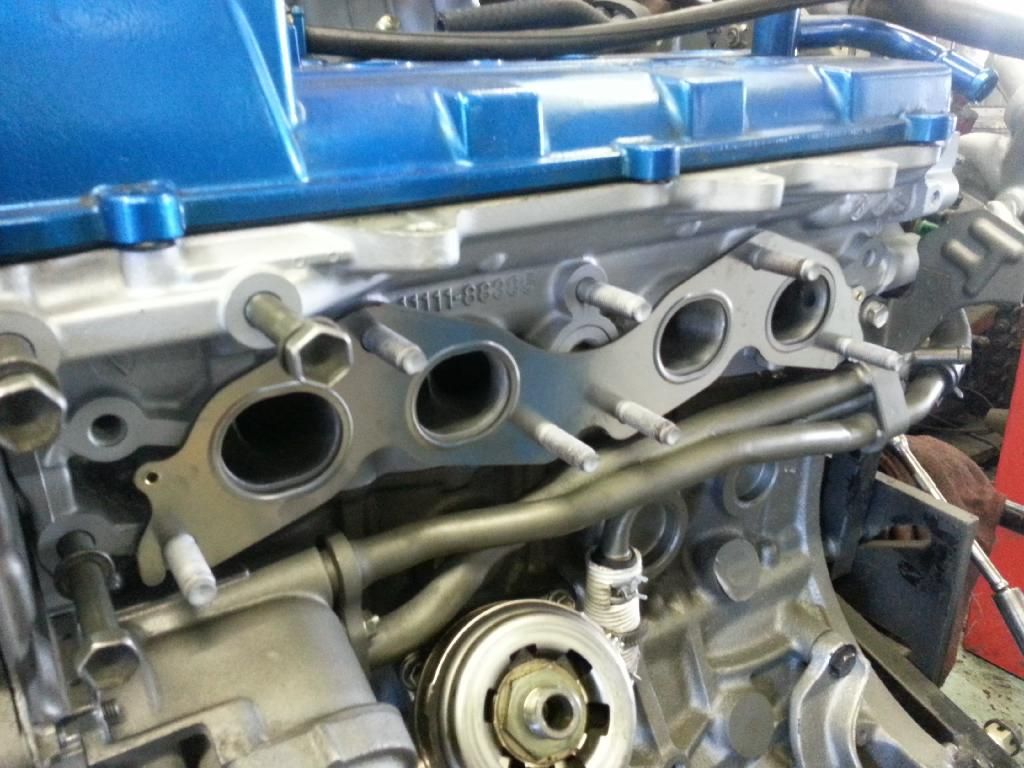
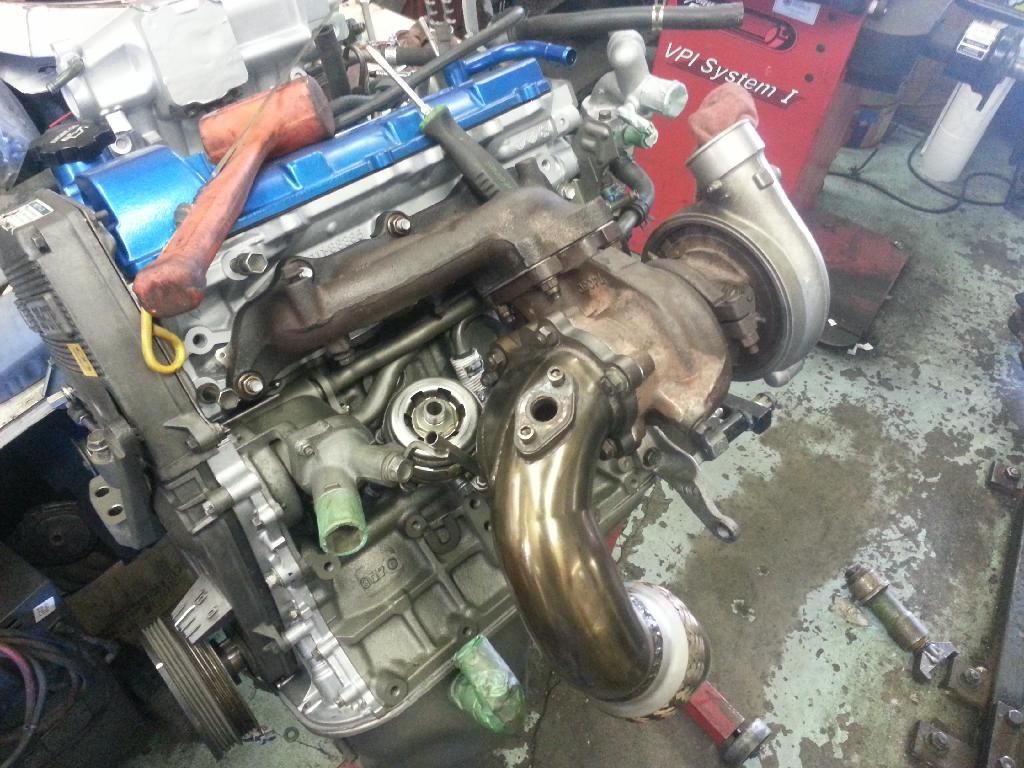
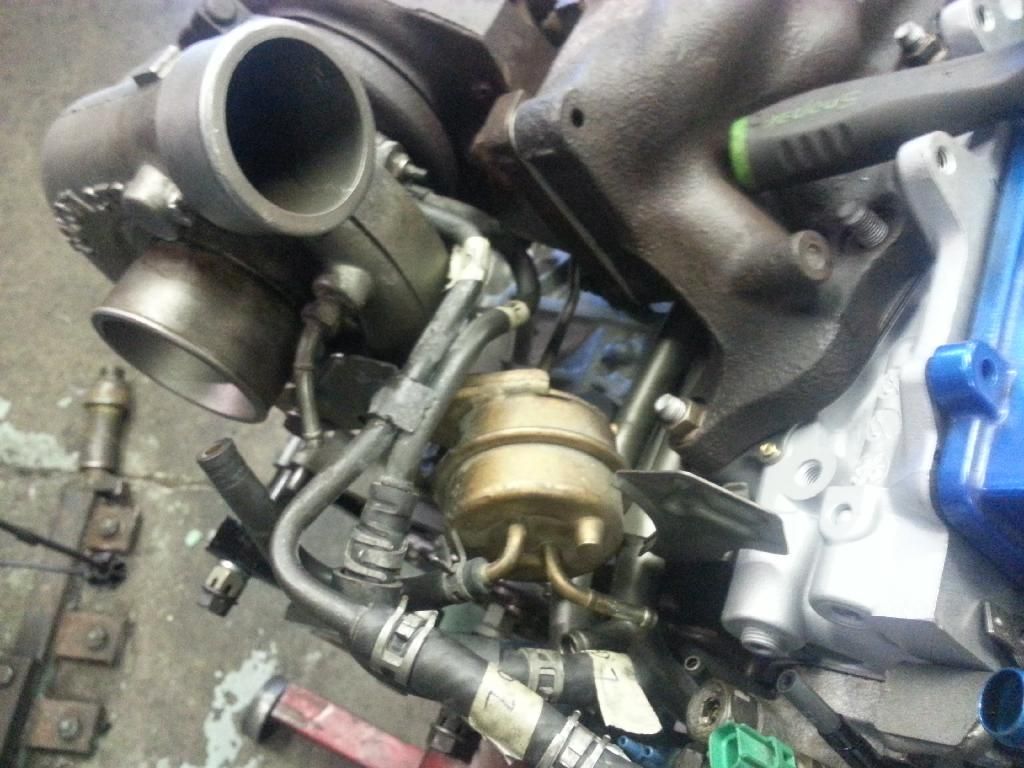
Now for the fun side. Exhaust manifold went on.

Image

Image

Image

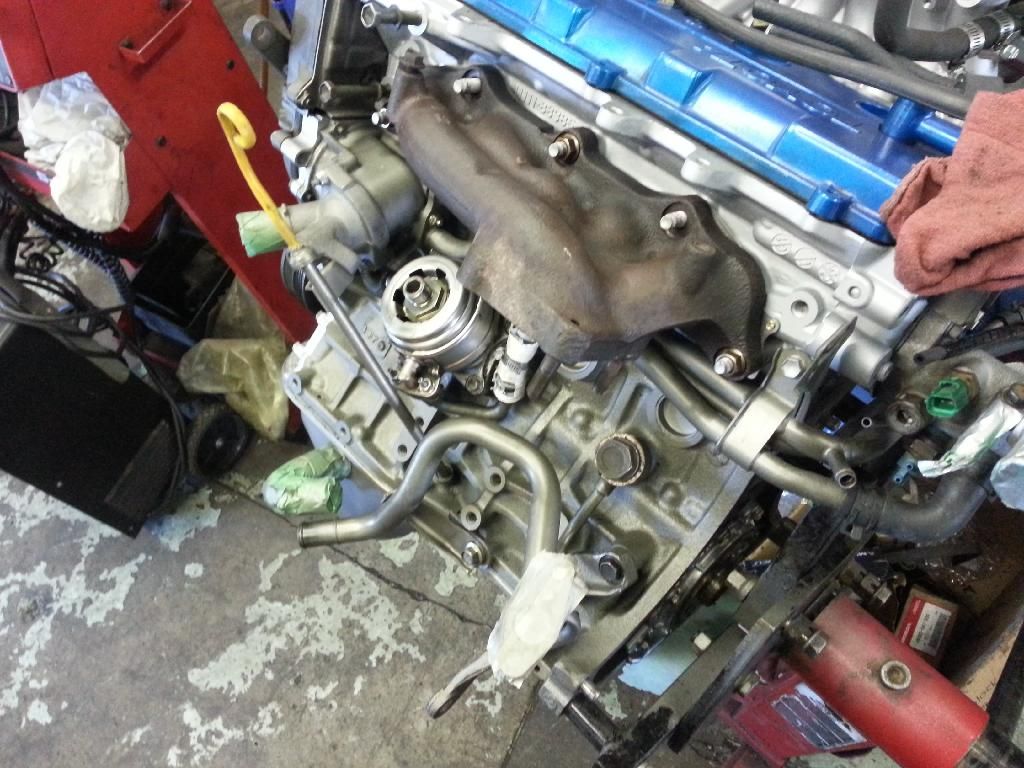
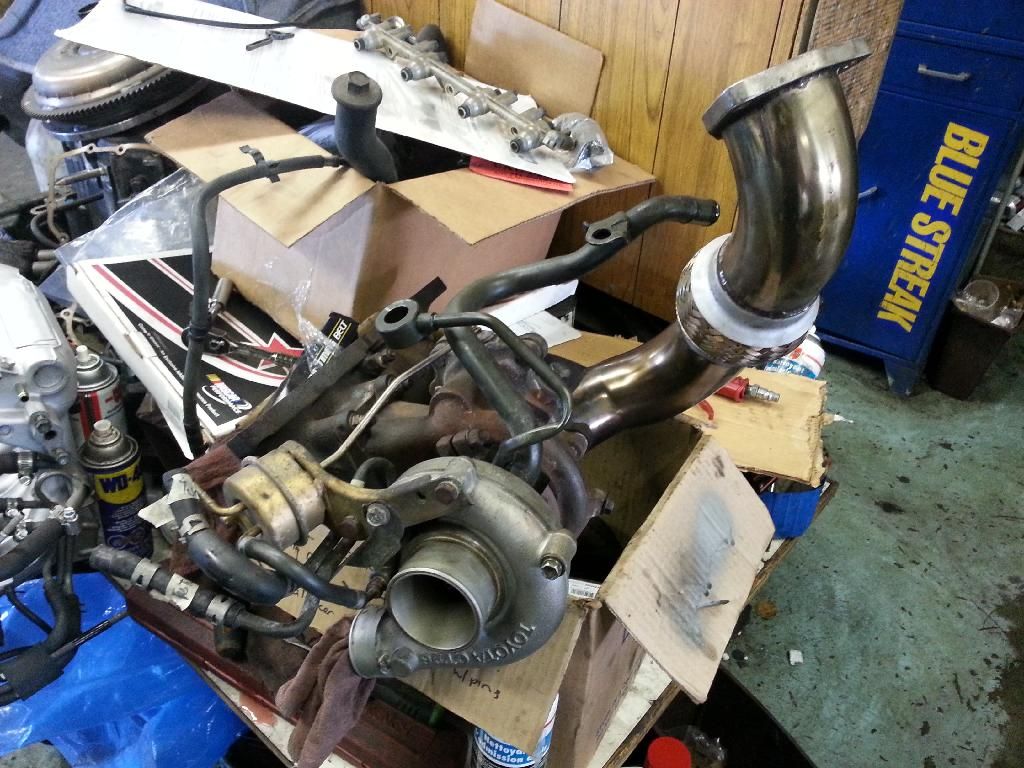
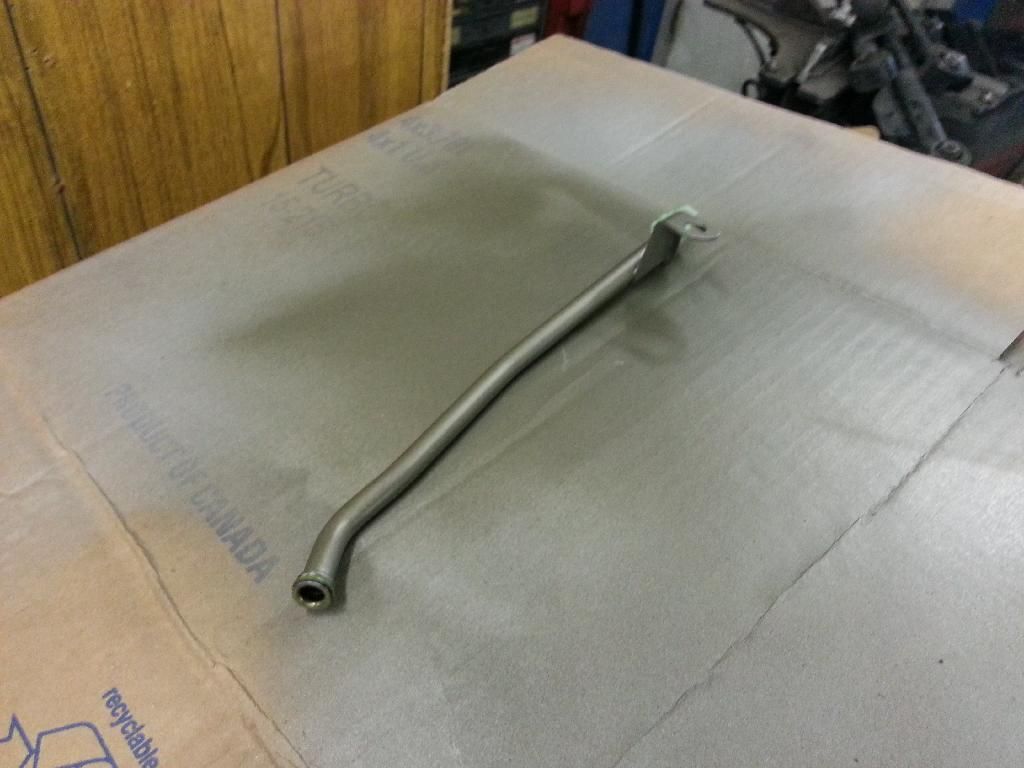
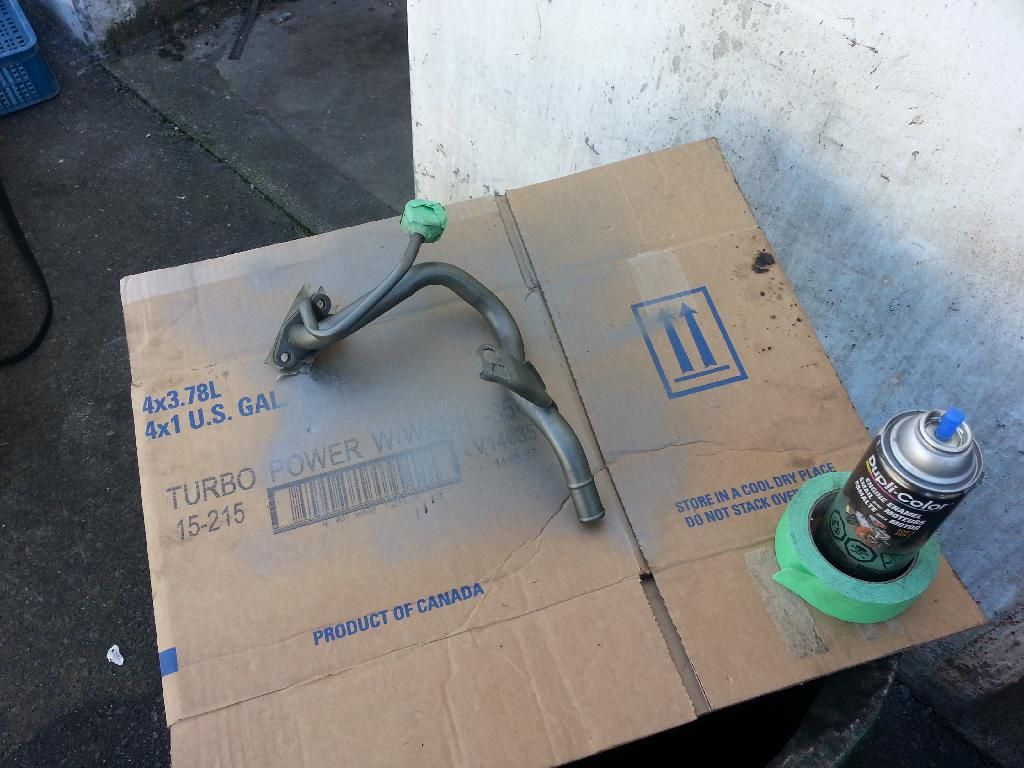
Painted the turbo lines.

Image

Image

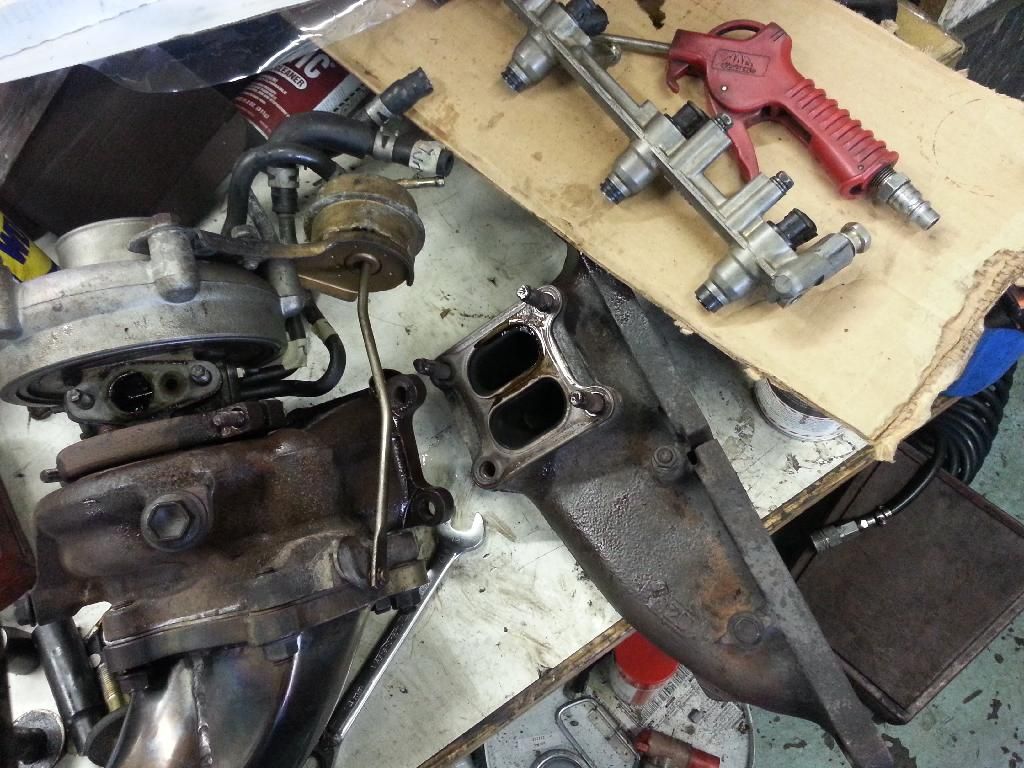
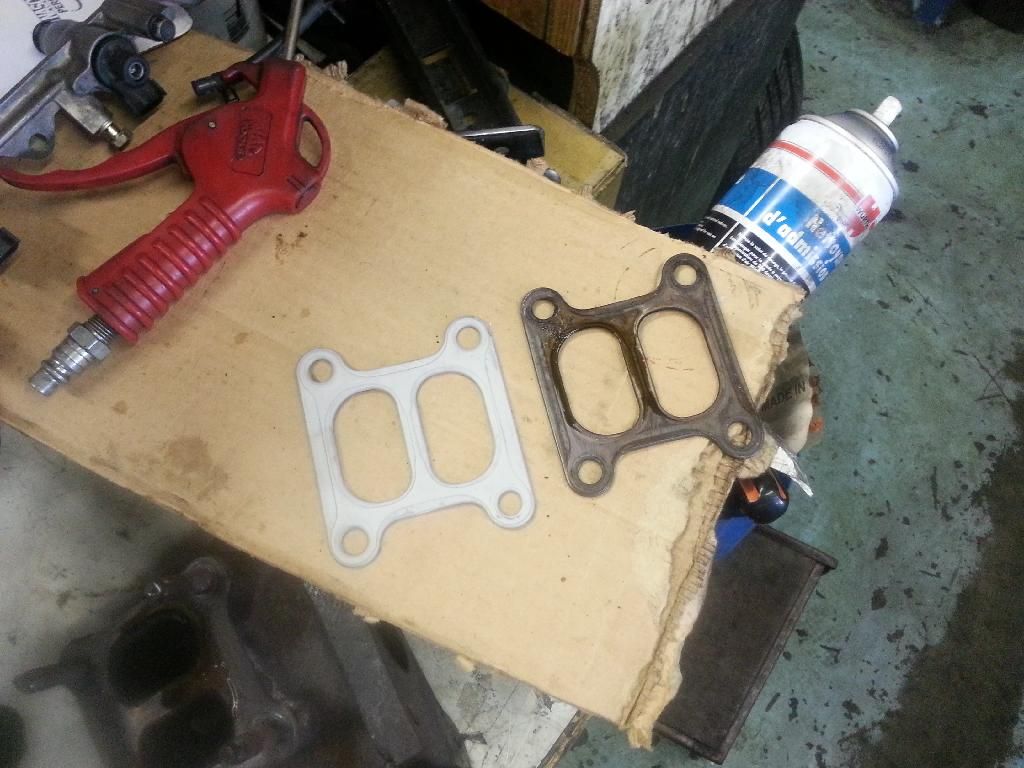
Replaced the gasket between manifold and turbo.

Image

Image

Turbo re-attached.

Image

Image

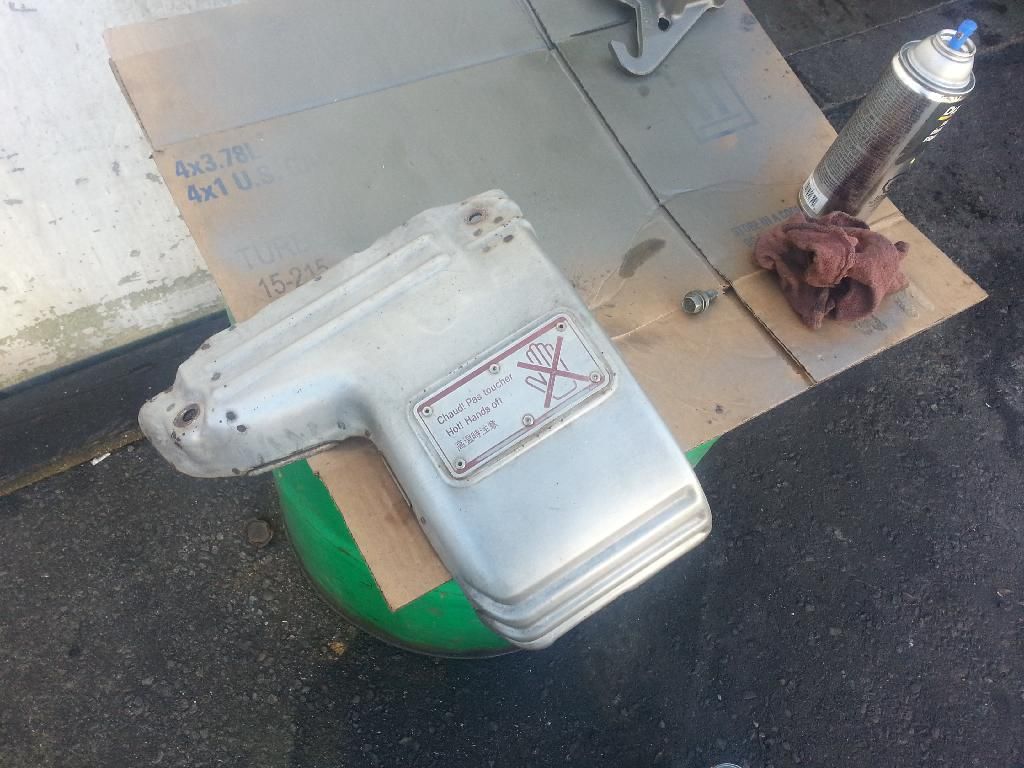
Painted the engine hooks too.

Image

And heat shield.

Image

Every little bracket was cleaned and painted.

Image

And everything pretty much ready to go.
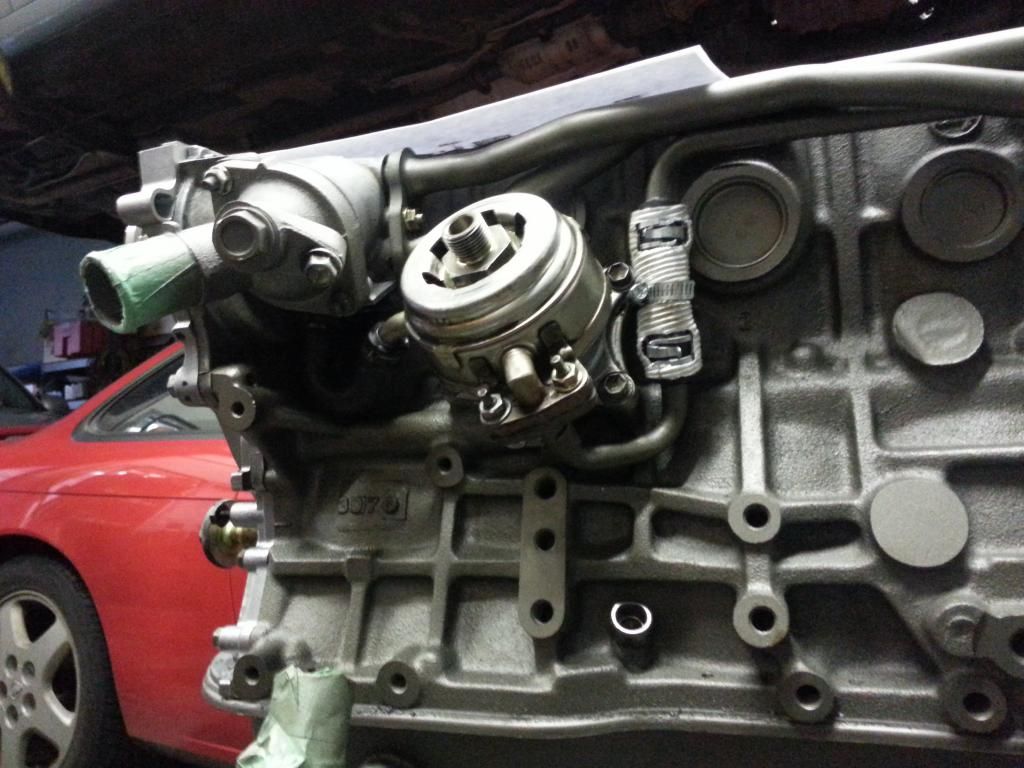
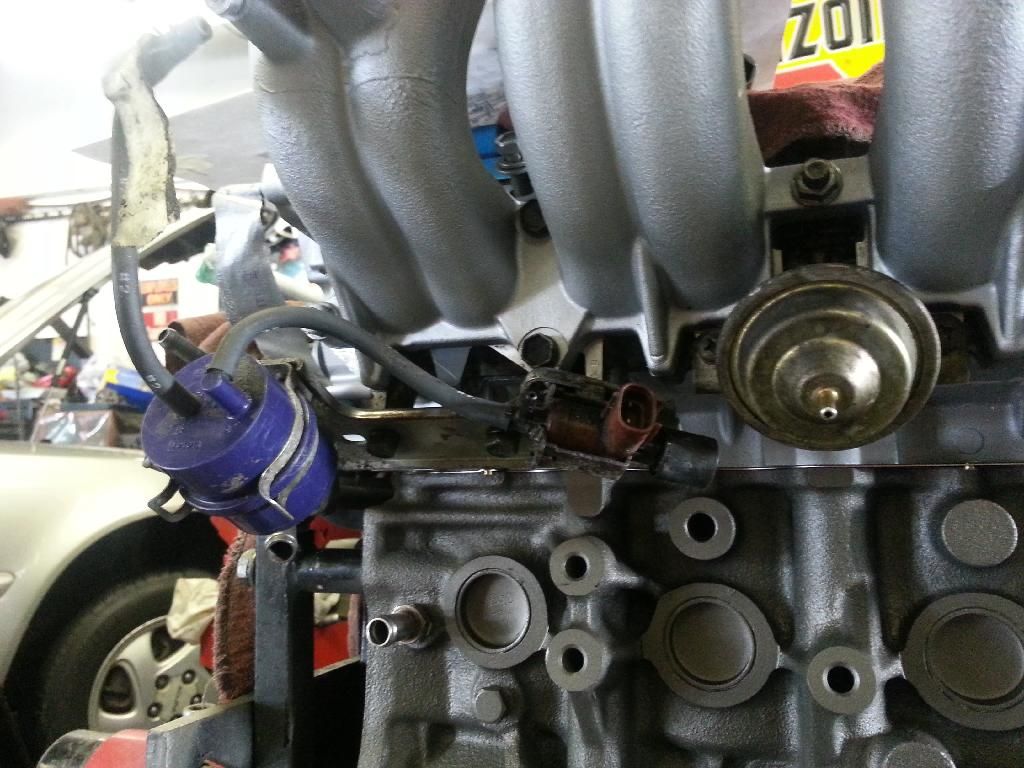
Image

Attached the EGR.

Image

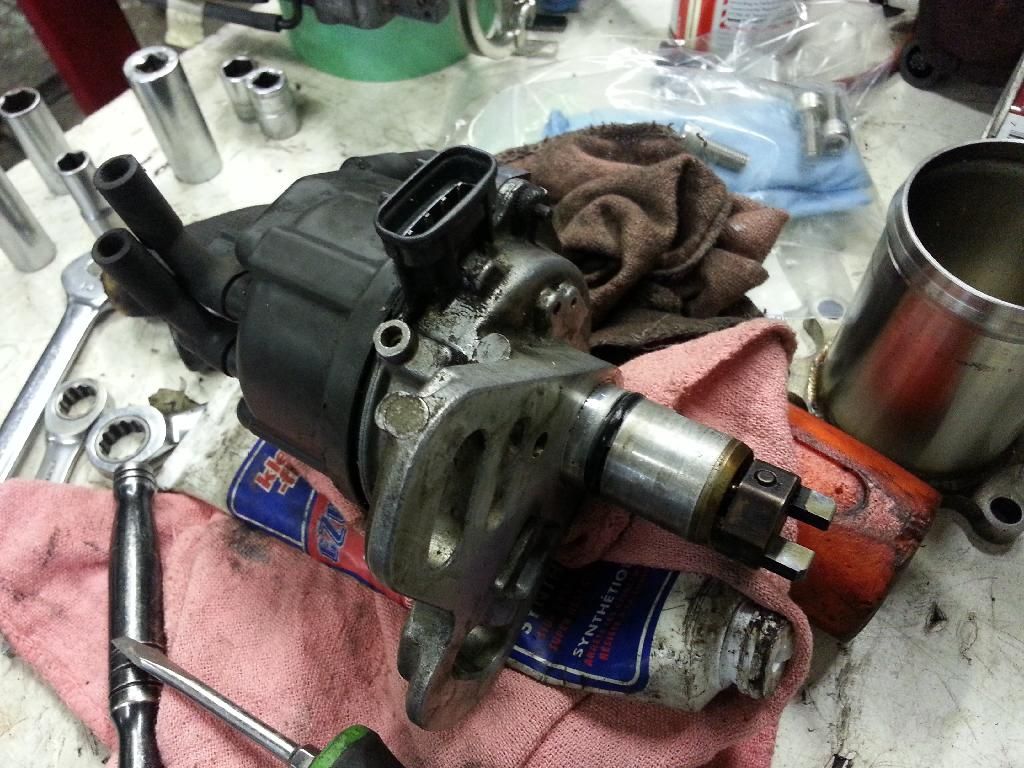
Cleaned and installed dizzy.

Image

Image

Slapped on the fuel rail.

Image

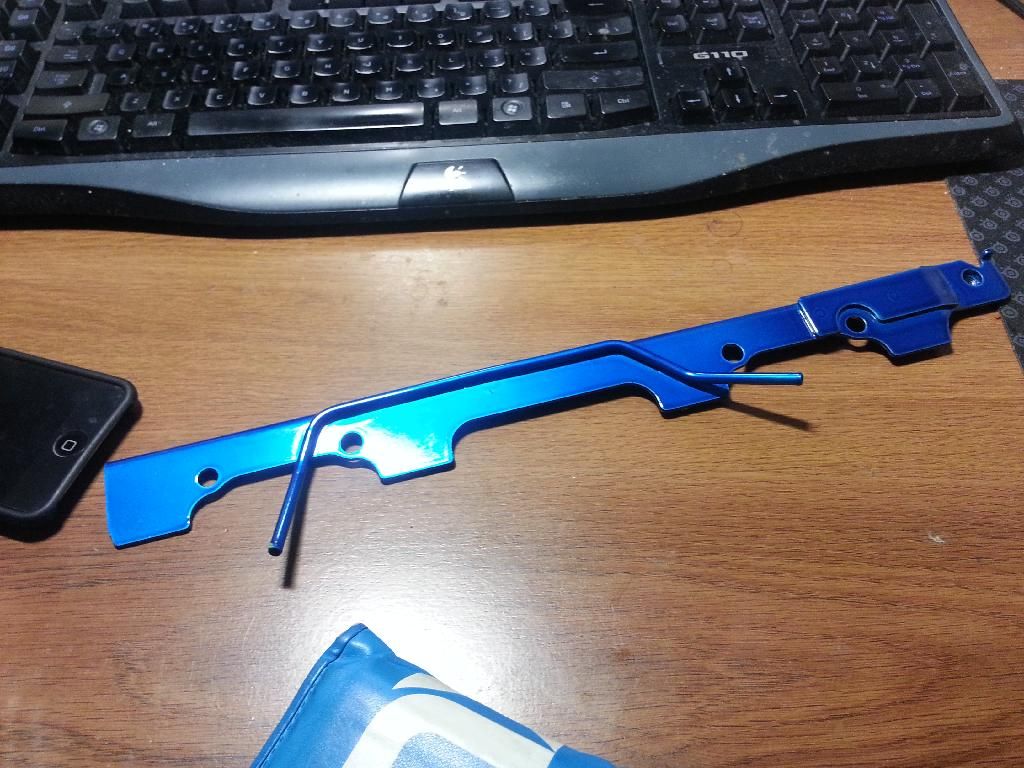
Top piece came back from powder coater. Same colour as my valve cover. I had this clever idea of having it as an accent piece, but then it failed when I forgot the harness pretty much covers it and hides it from sight. Sigh.

Image

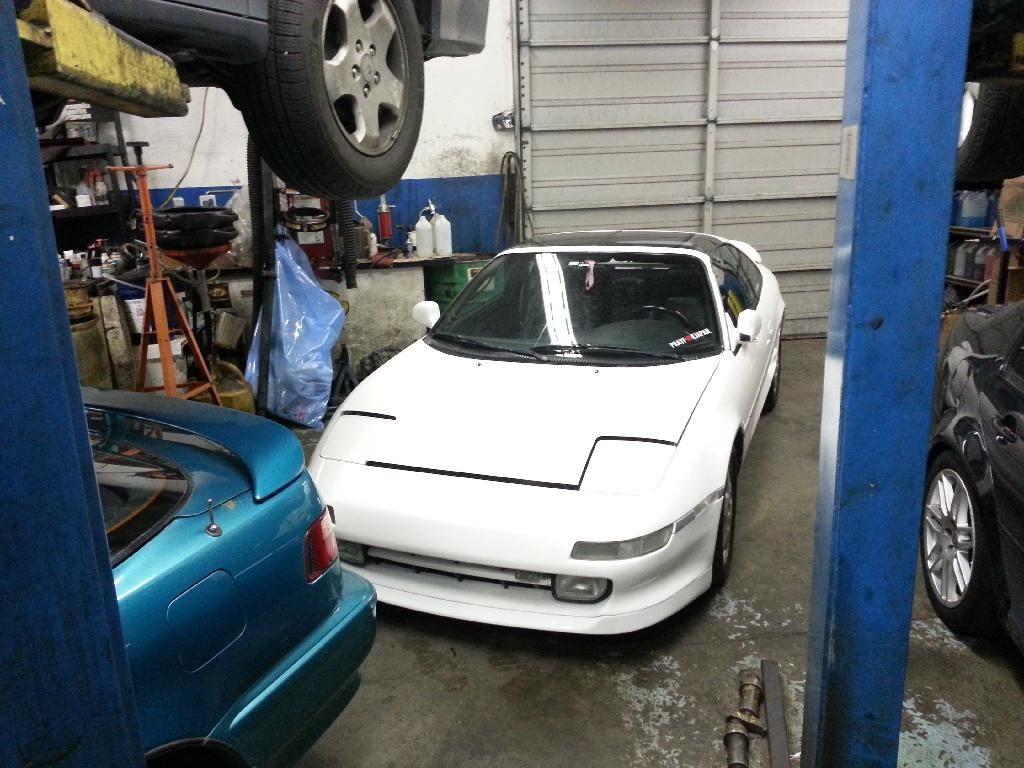
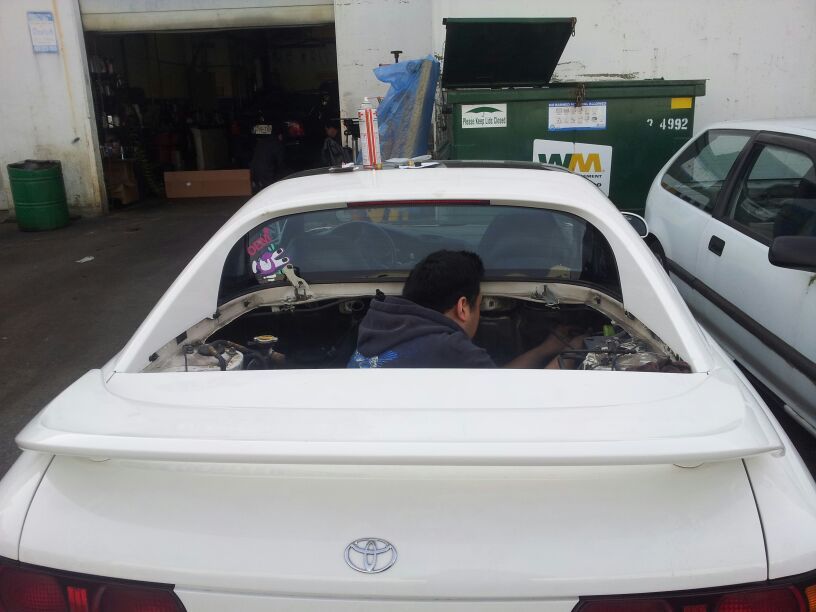
The car was then brought to the shop!

Image

Image

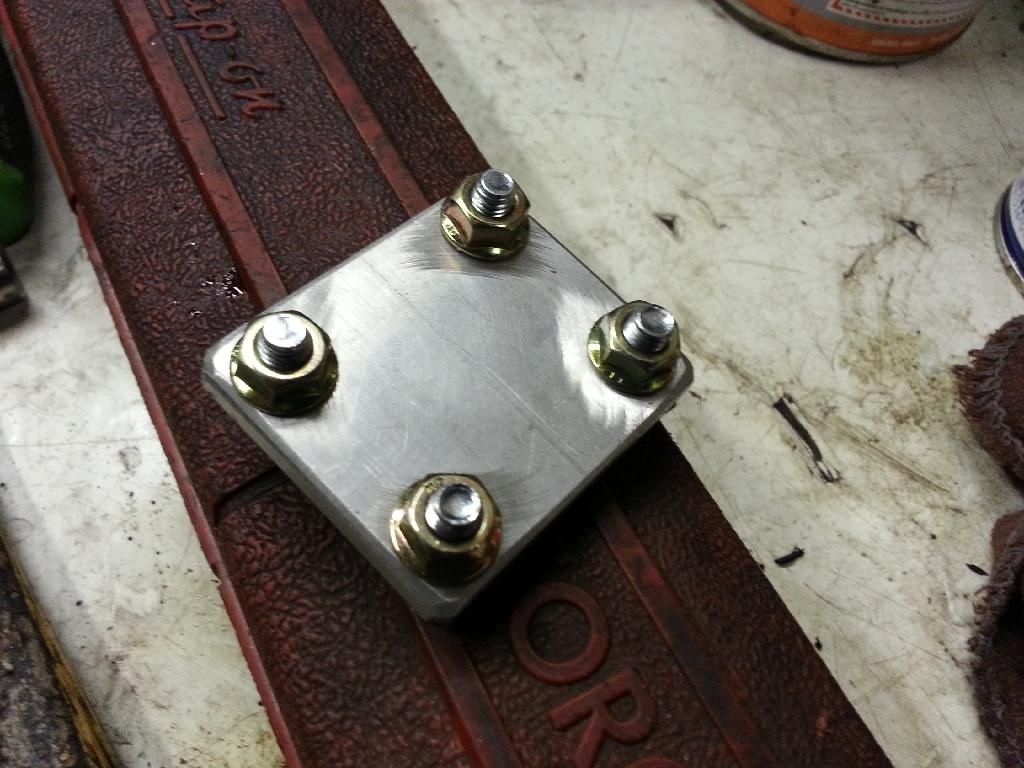
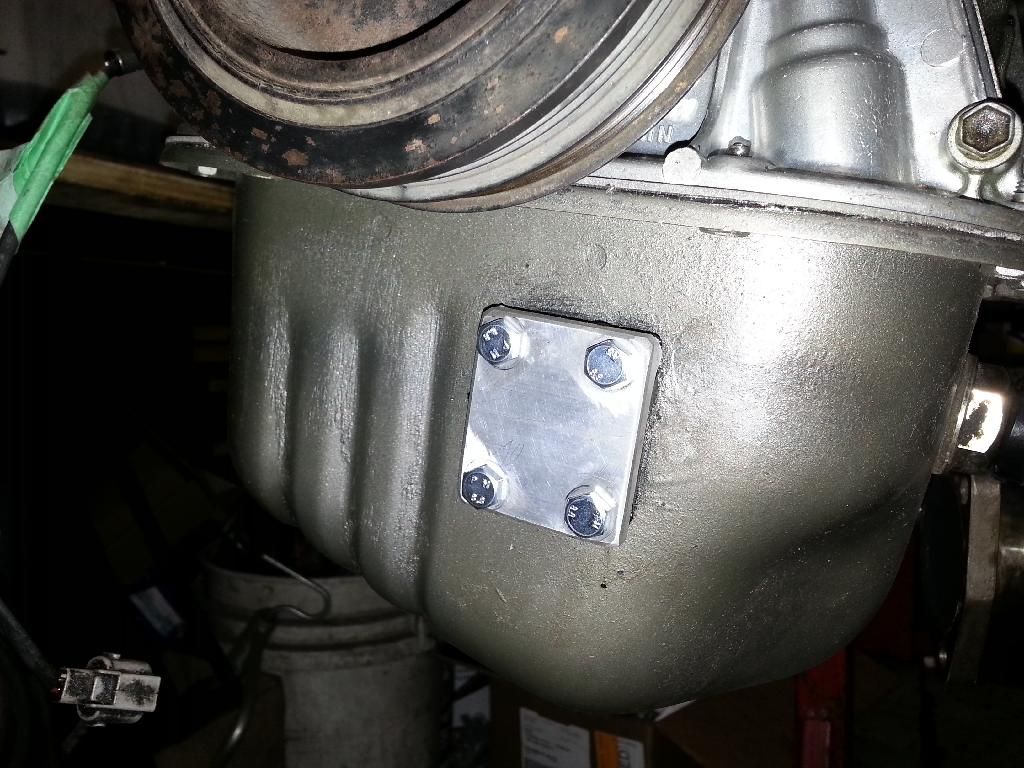
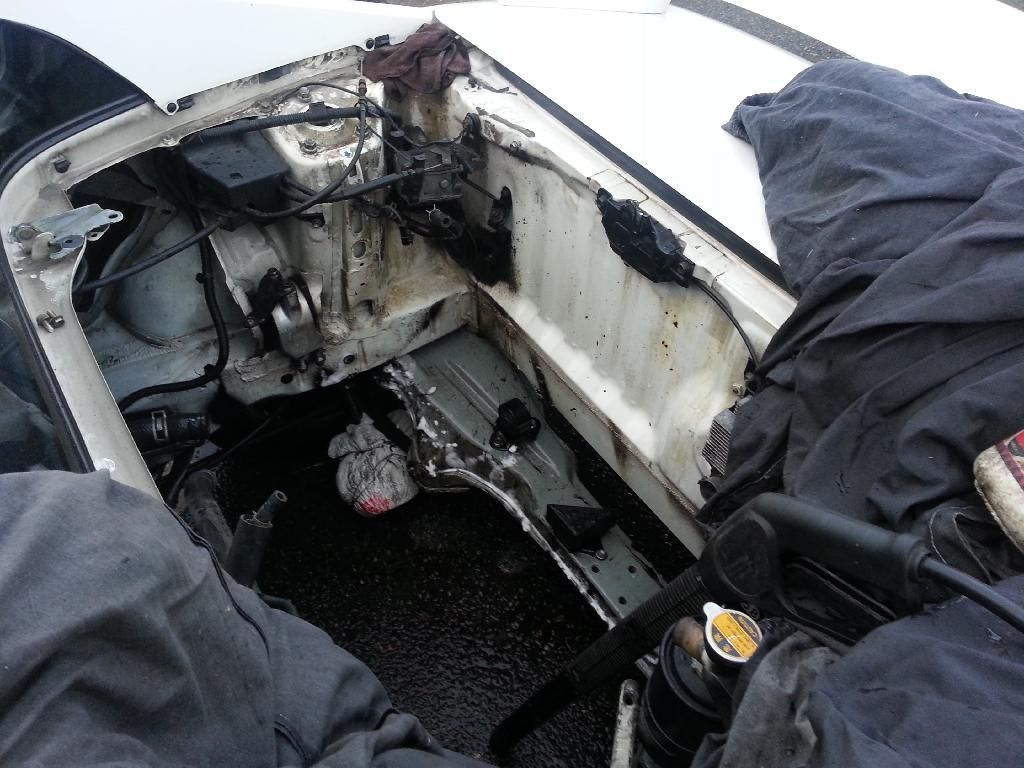
Fabbed up an oil sender block off plate. I broke the float when I pulled it out, and decided to just bypass it.

Image

Image

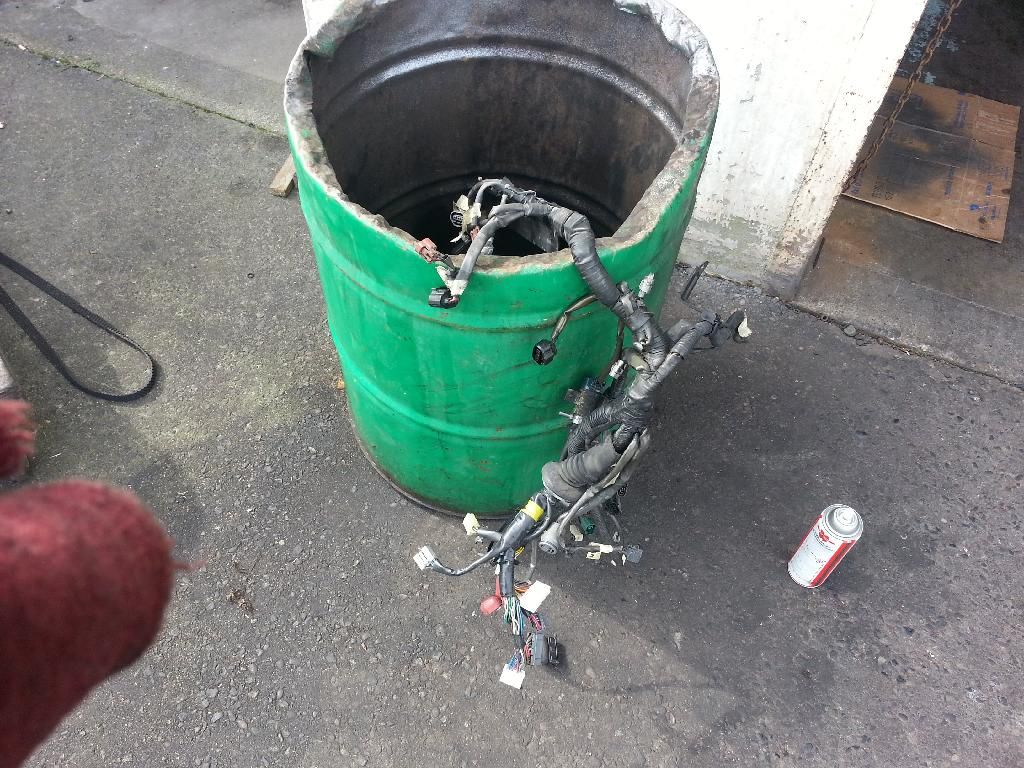
Cleaned the gunk off the harness as best as I could.

Image

And wrestled it in to place.

Image

Cold start injector.

Image

What a mess of wiring.

Image

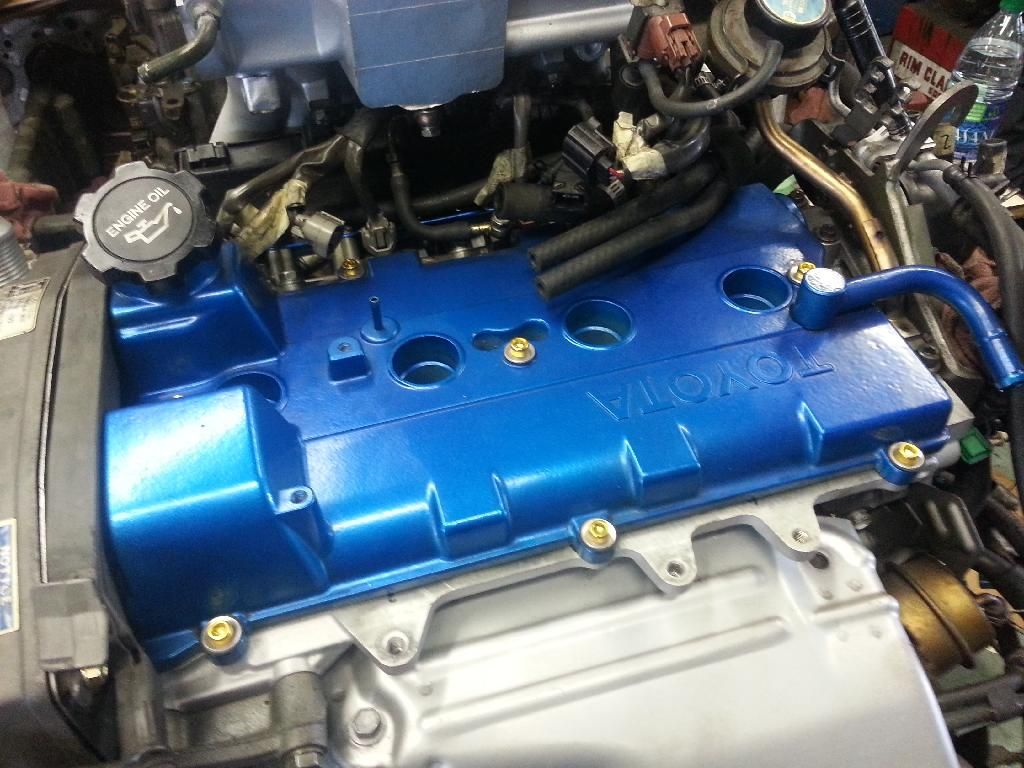
Installed the valve cover at last. Dabbed from RTV on the cam seals.

Image

Stuck in new gaskets, and put that sucker on.

Image

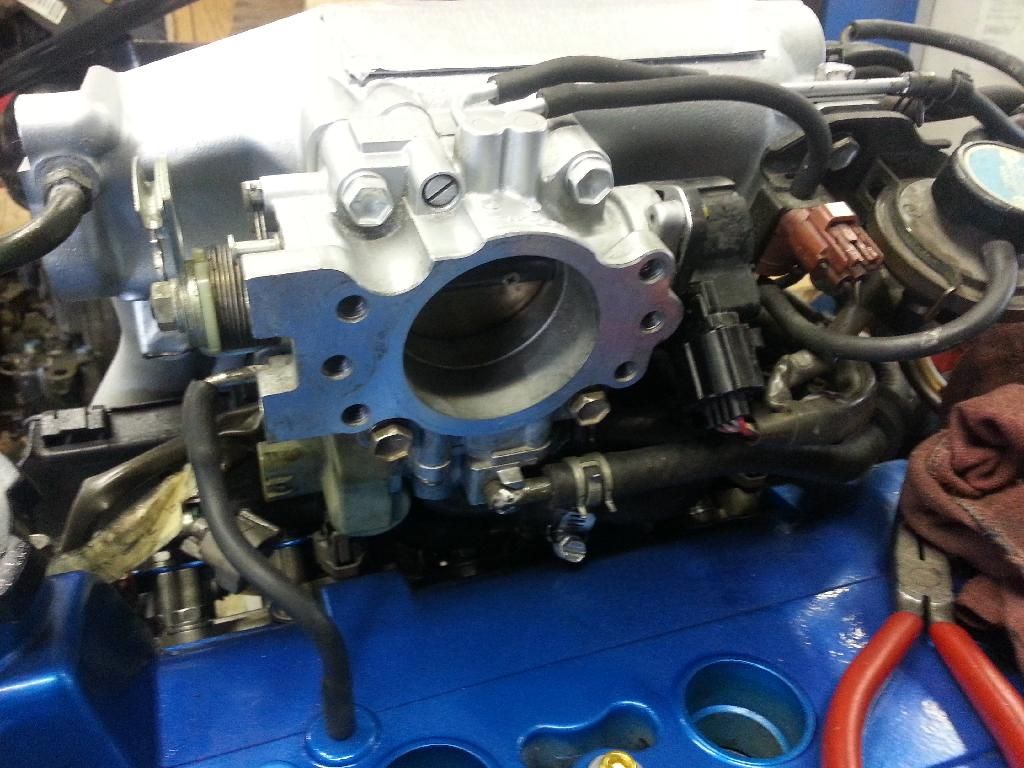
Forgot to paint the throttle body, so I quickly masked and painted that to match the intake manifold.

Image

Stuck all the vacuum lines on.

Image

Painted and installed support bracket.

Image

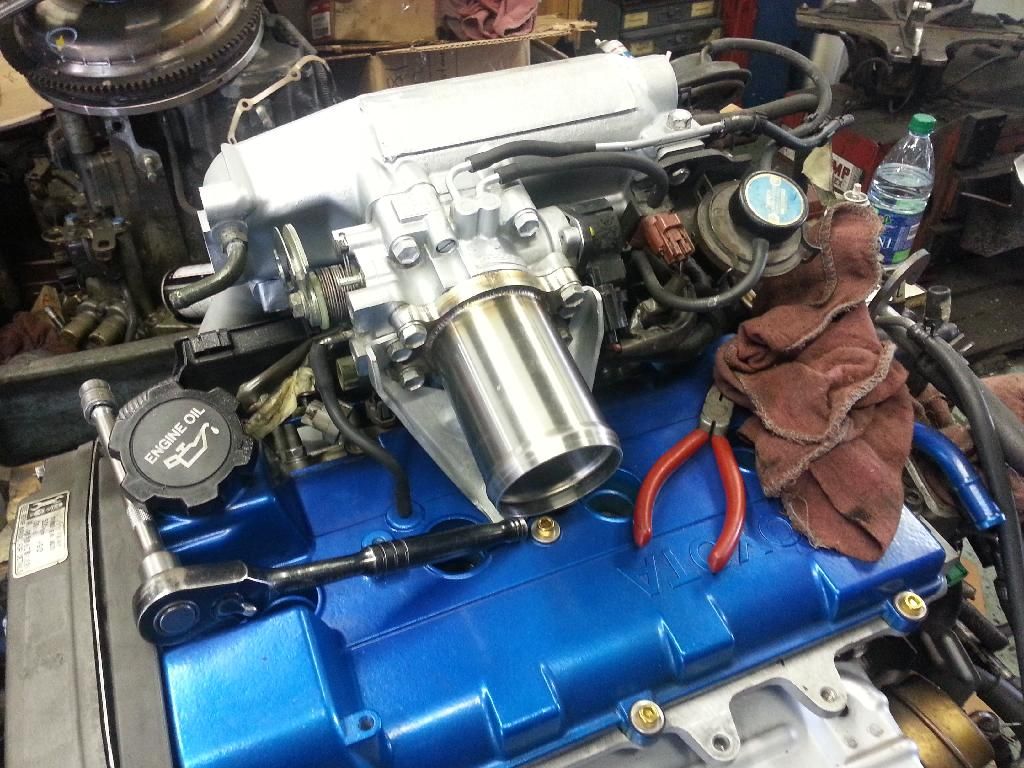
Mm, shiny KO Racing throttle body inlet.

Image

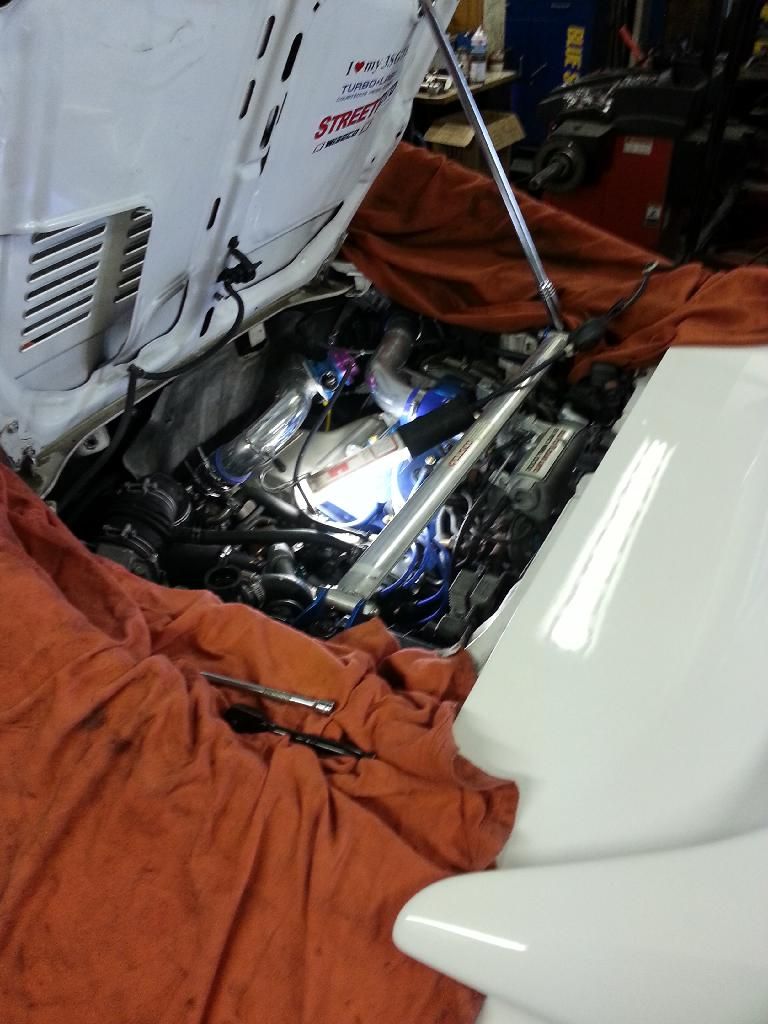
A friend randomly dropped by and took this picture of my installing my intercooler lol.

Image

Cleaned the engine bay as best as I could, with heavy duty degreaser and a pressure washer.

Image

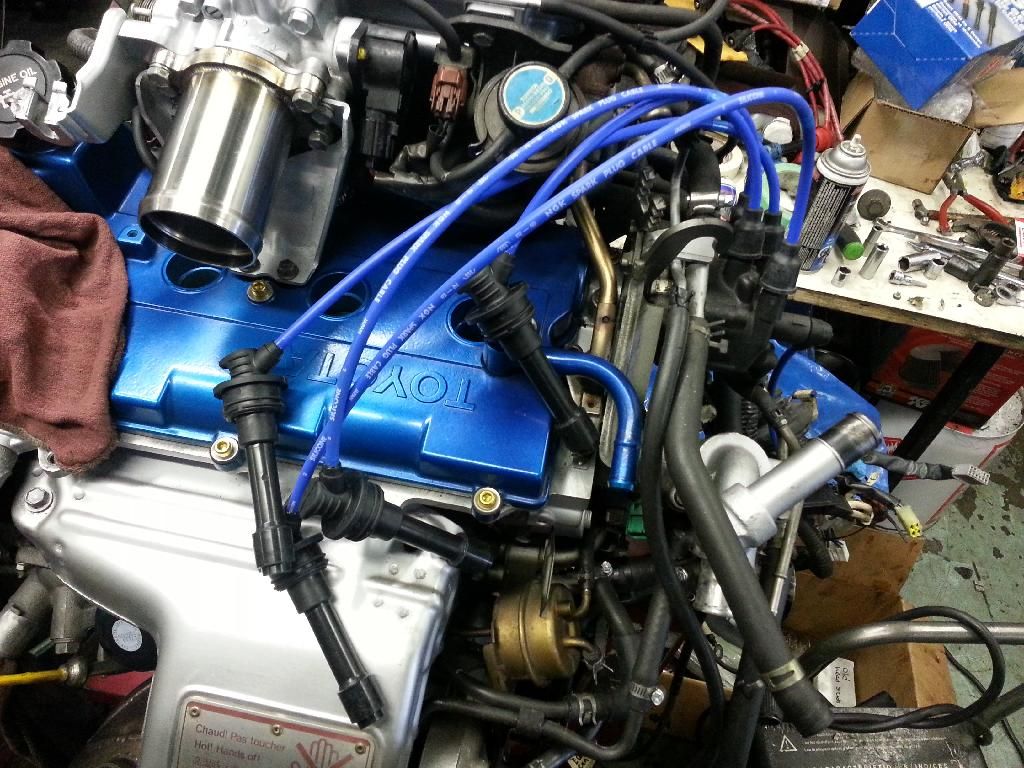
Got some NGK plug wires and slapped those in. I would have gone for TRD ones, but the red clashes against the blue. I'm weird.

Image

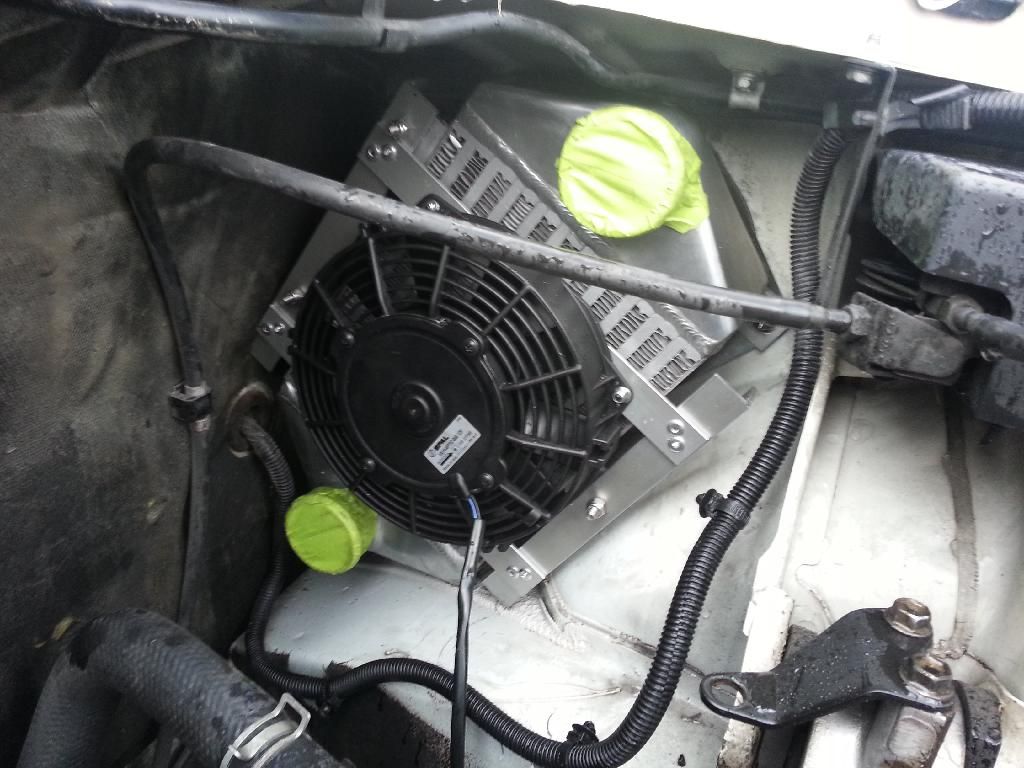
Fabbed up a bracket for the puller fan on the intercooler, and installed it.

Image

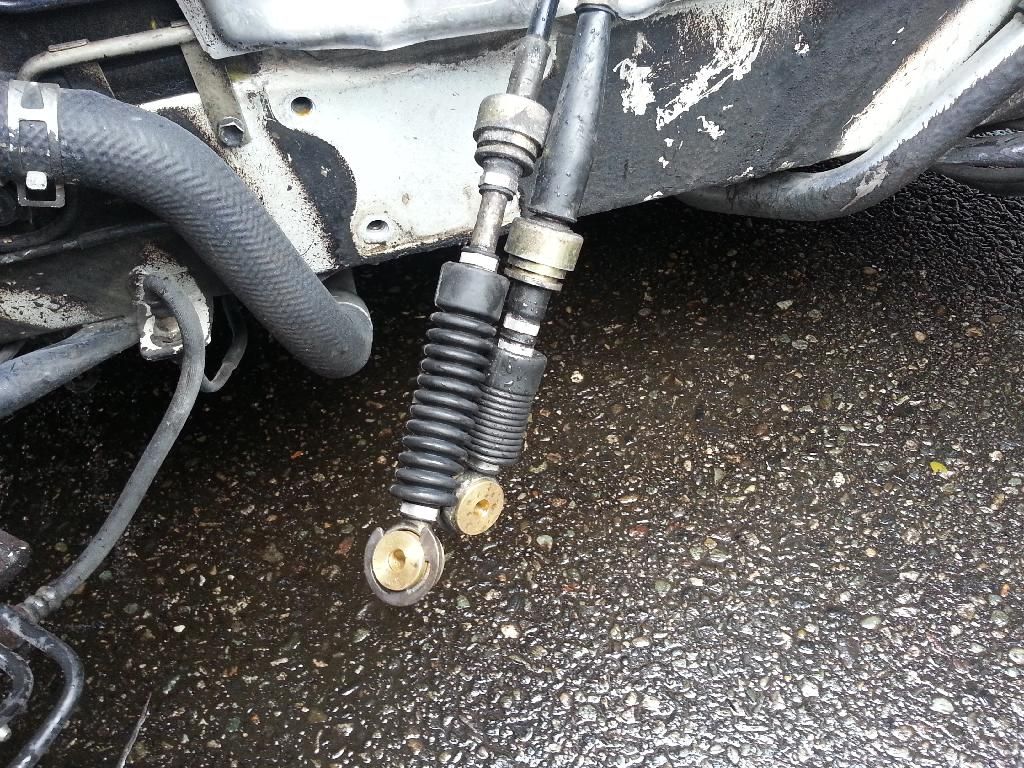
Stuck brass bushings in the shifter cables.

Image

Alternator belt on.

Image

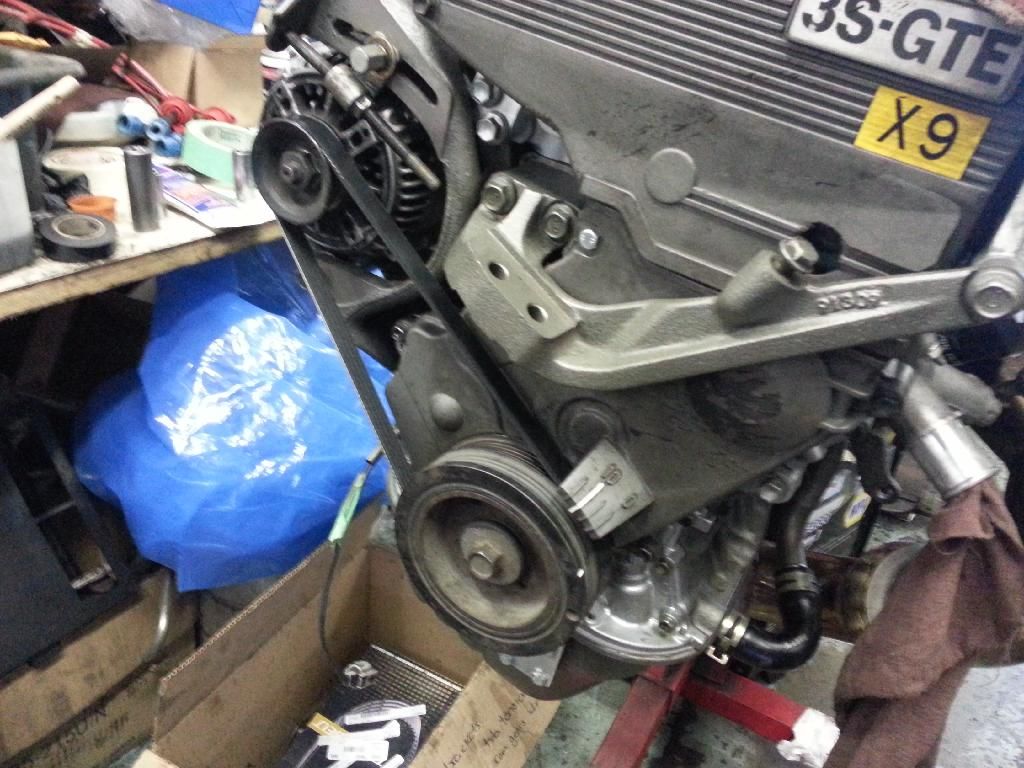
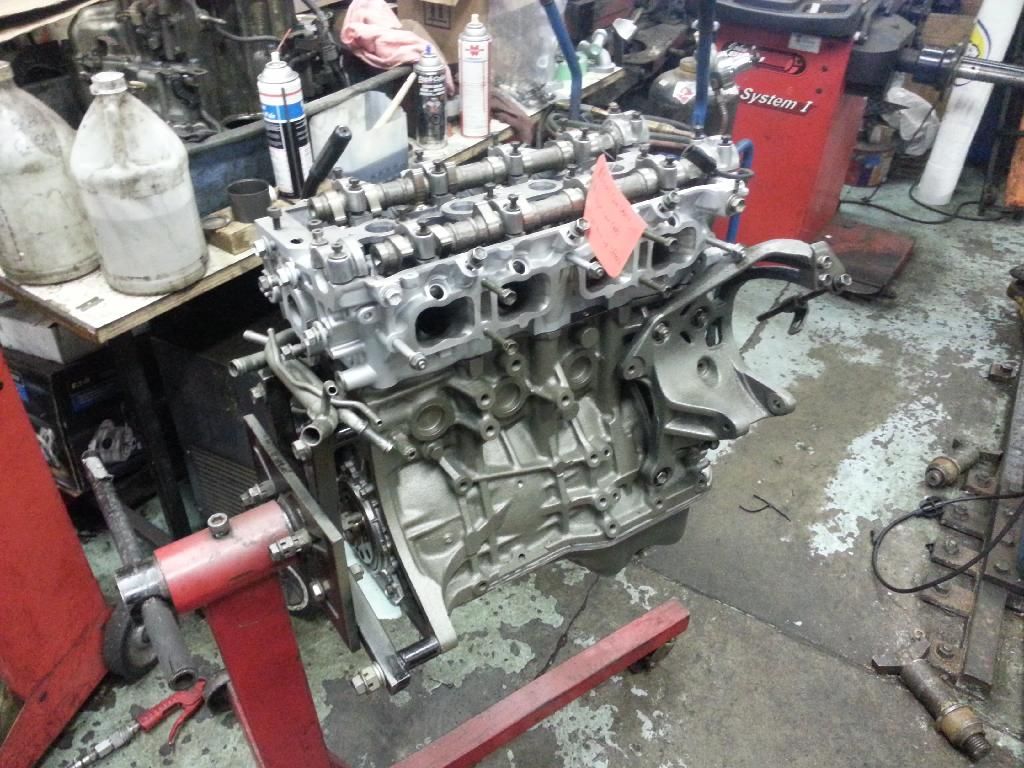
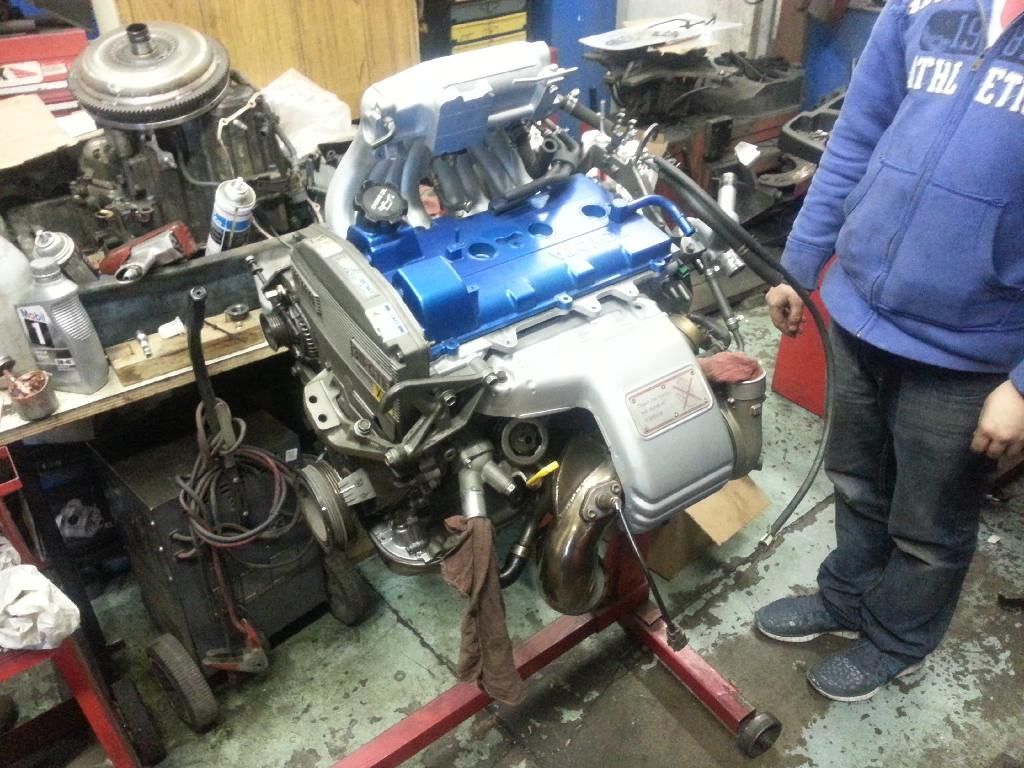
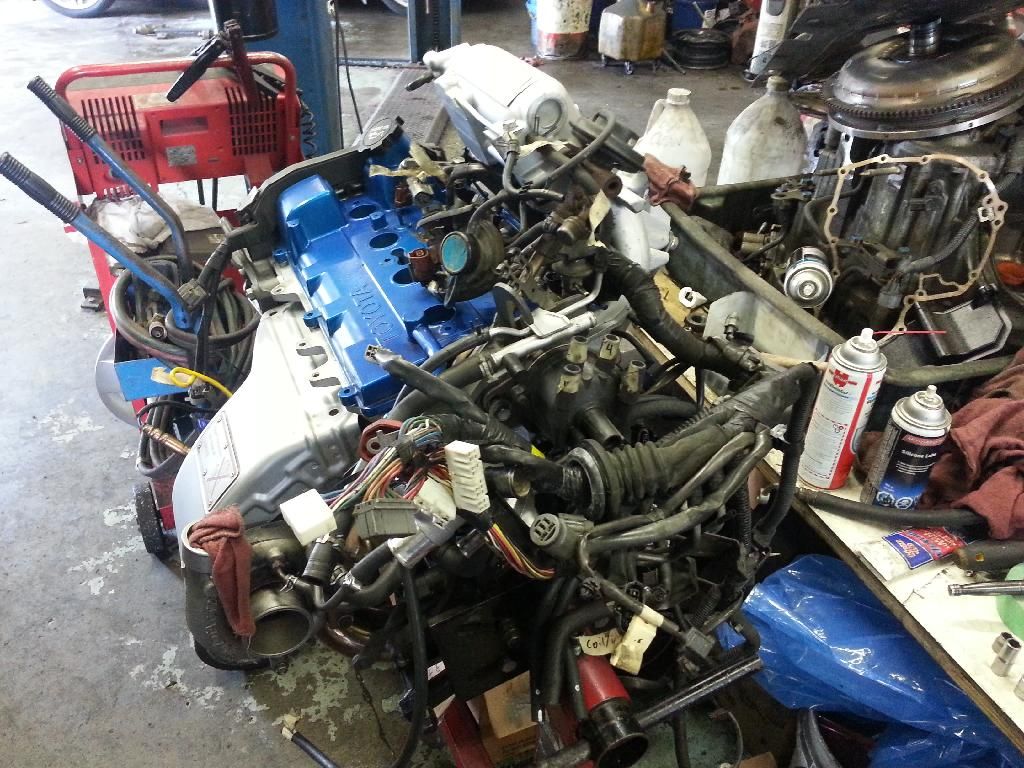
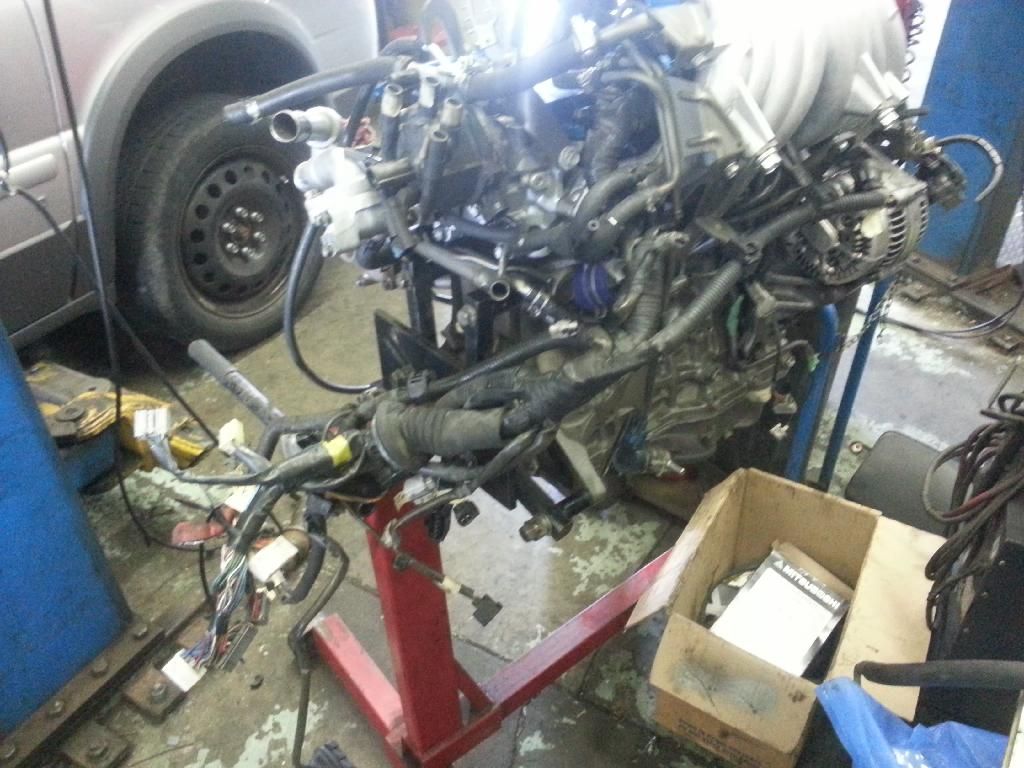
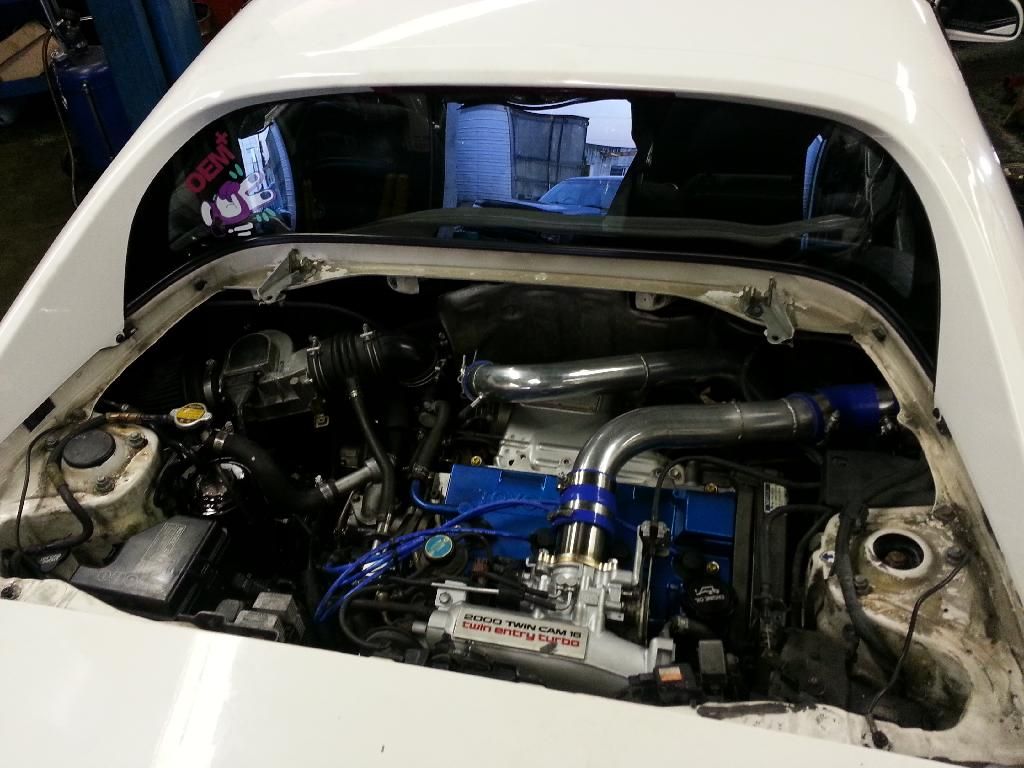
Picture of the engine again.

Image

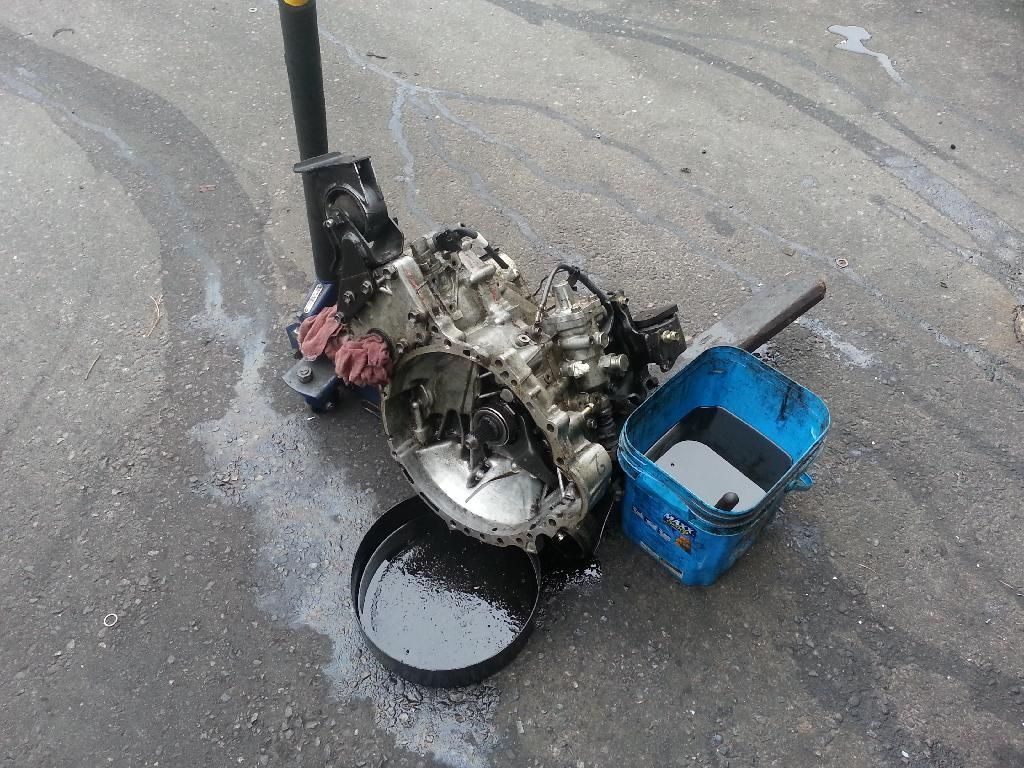
Cleaned the transmission. I failed to find one with good synchros, so I guess I'll deal with my 2nd gear grind until I can afford to swap in an LSD one.

Image

Image

Polished up the intercooler pipes.
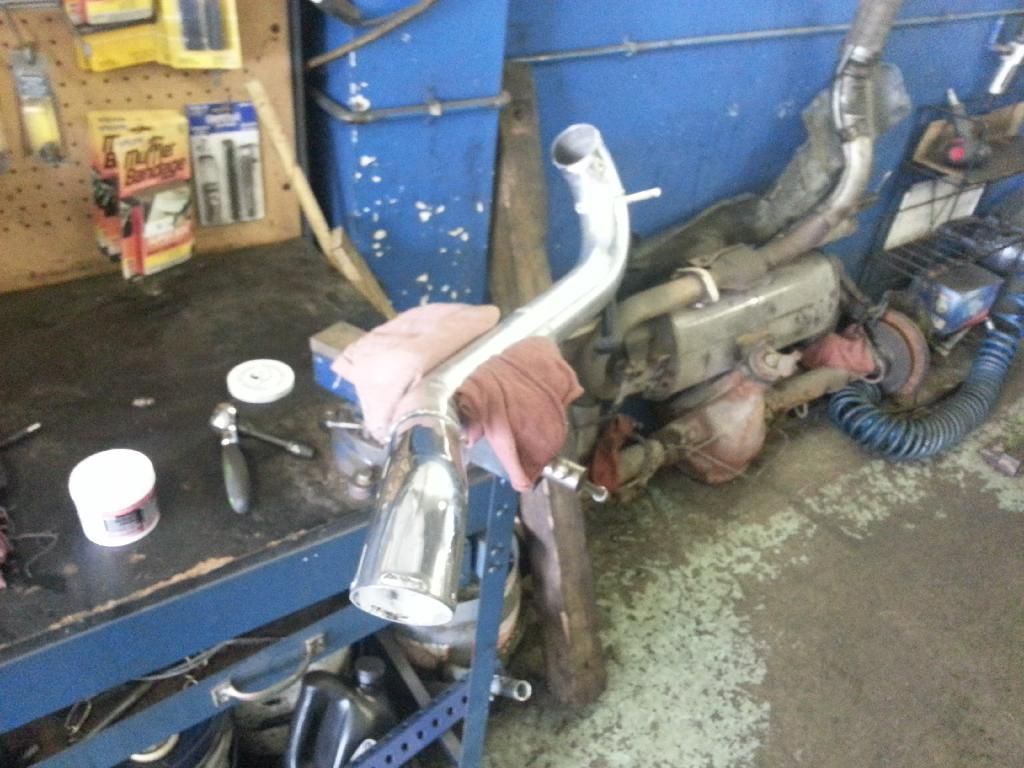
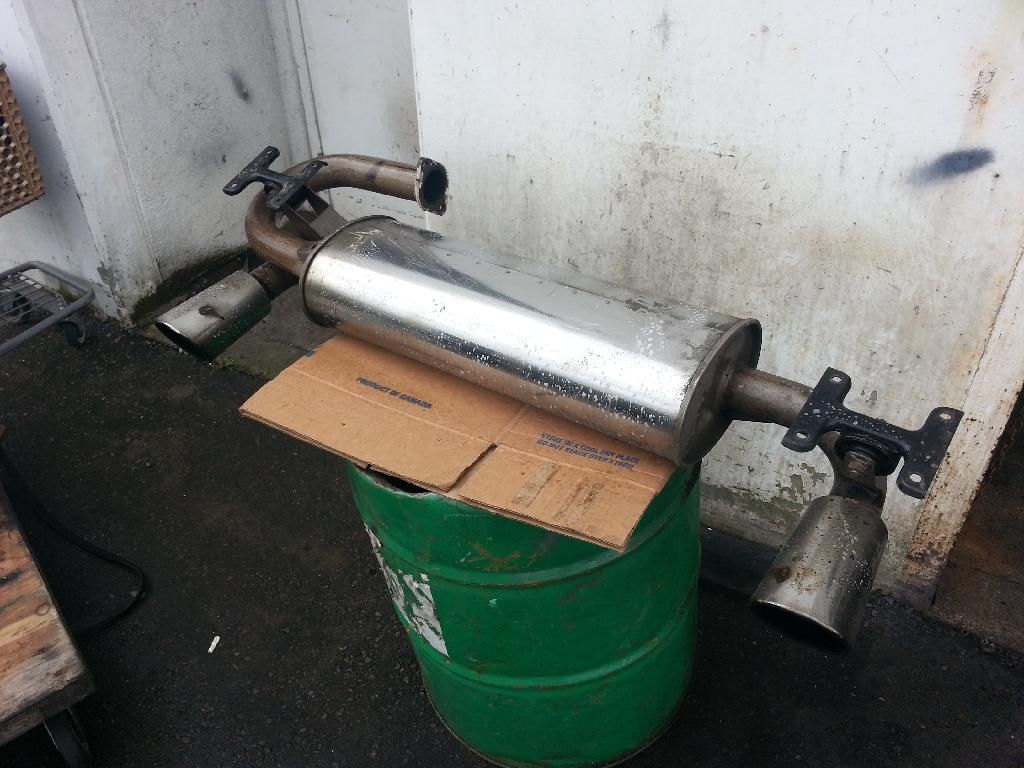
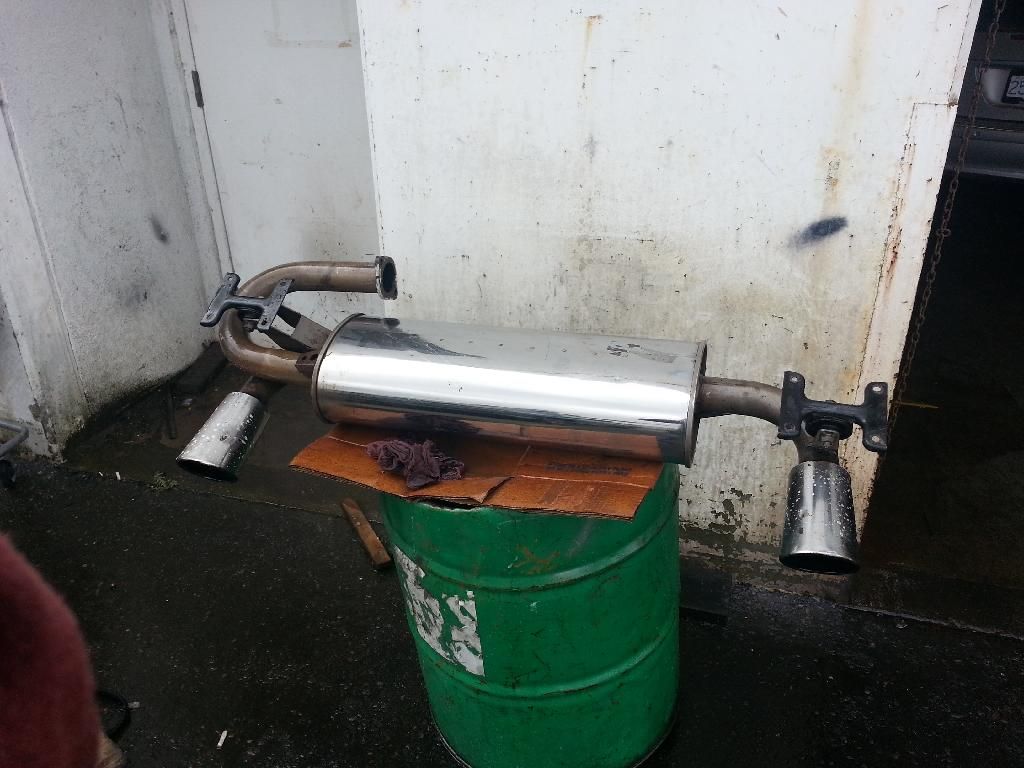
Image

And the SP as well.

Image

Image

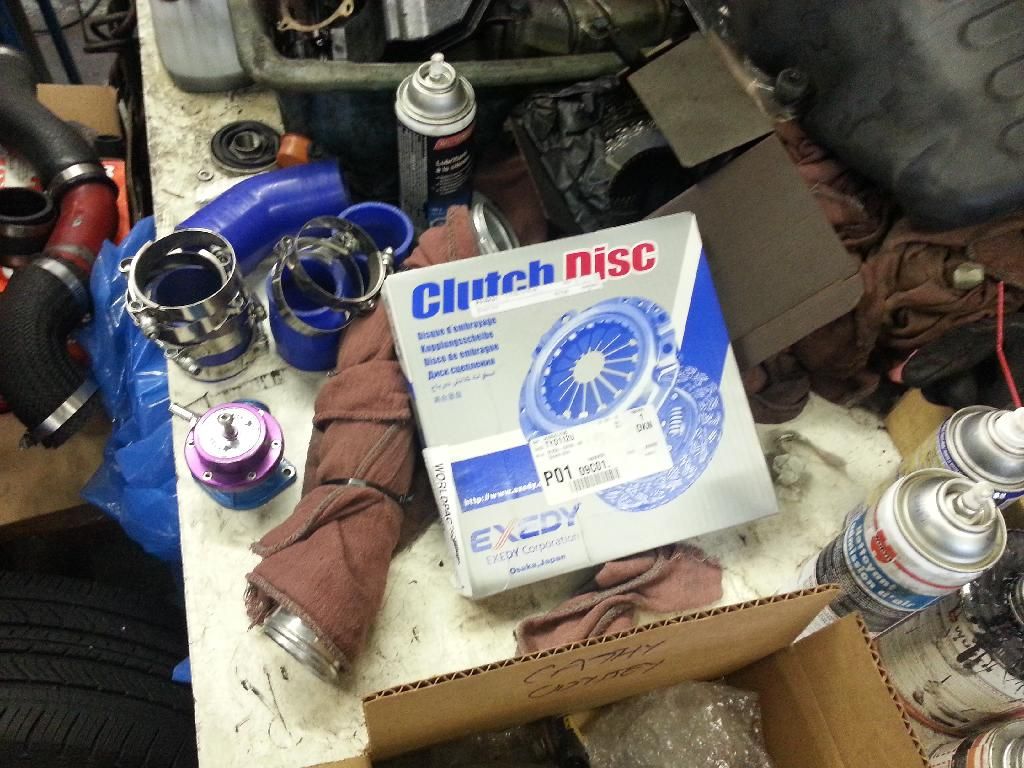
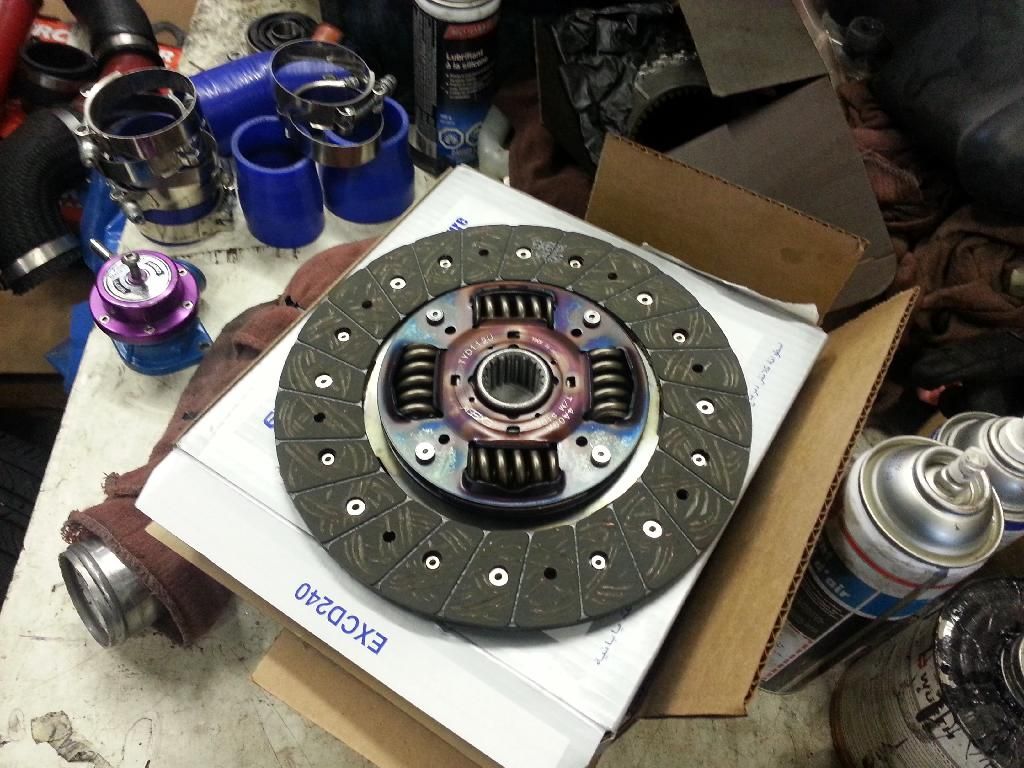
Ordered an OEM replacement clutch disk from Exedy. It's still pretty much stock, so that's why I went with this.

Image

Image

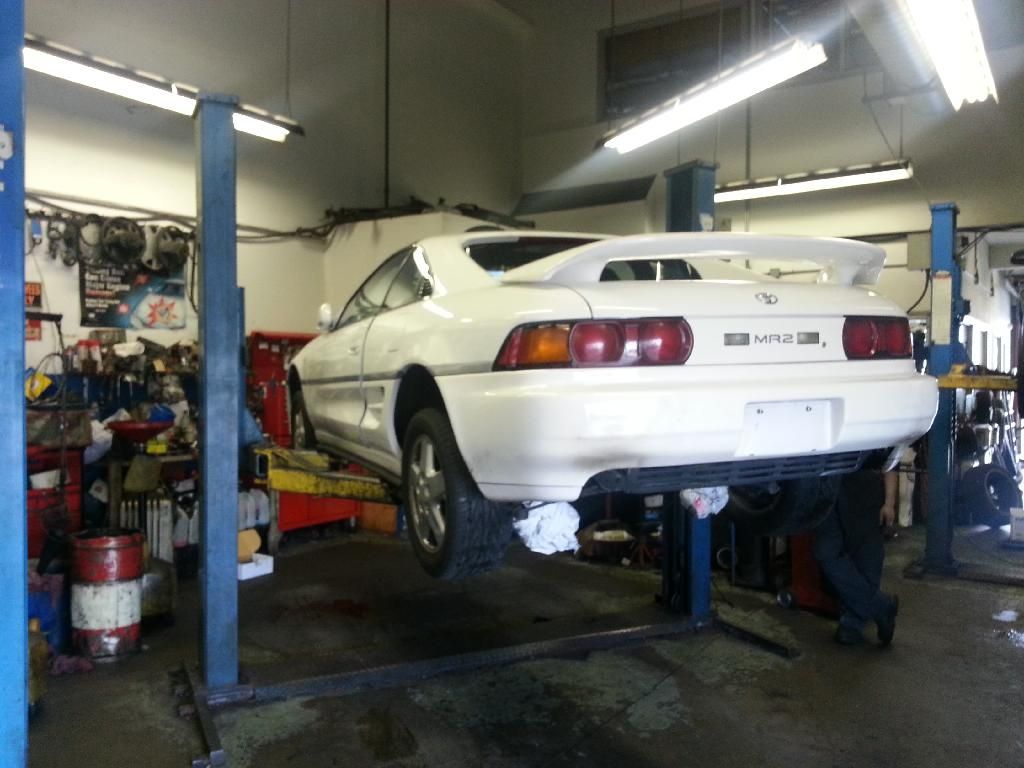
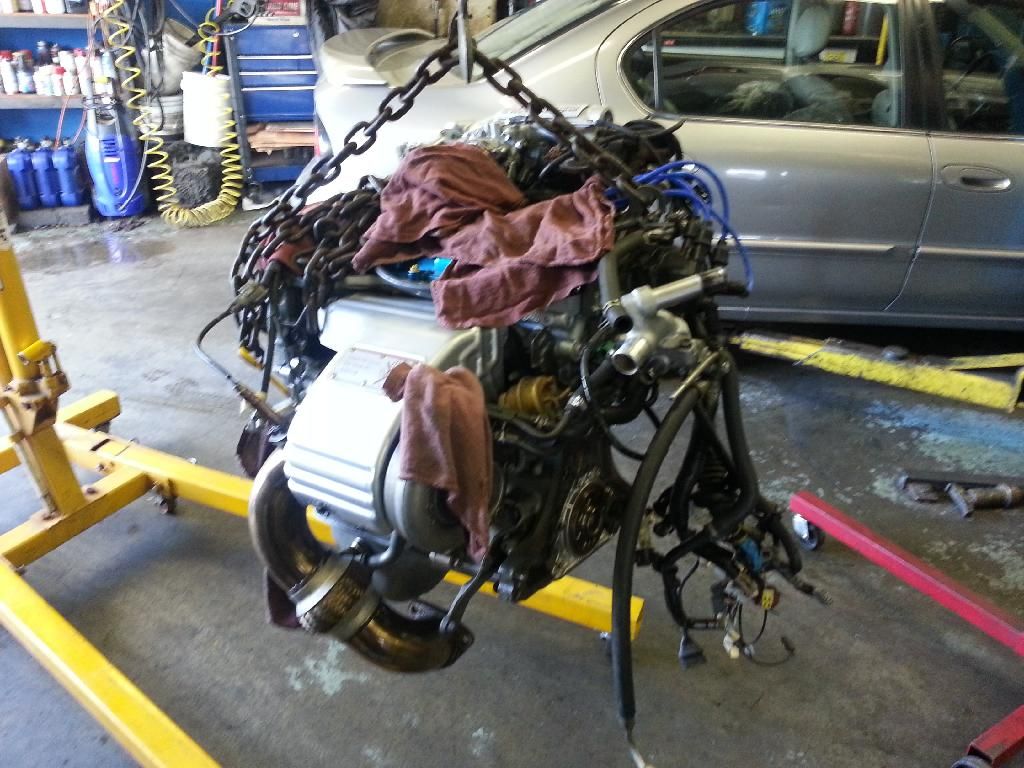
Car on lift, engine on crane!
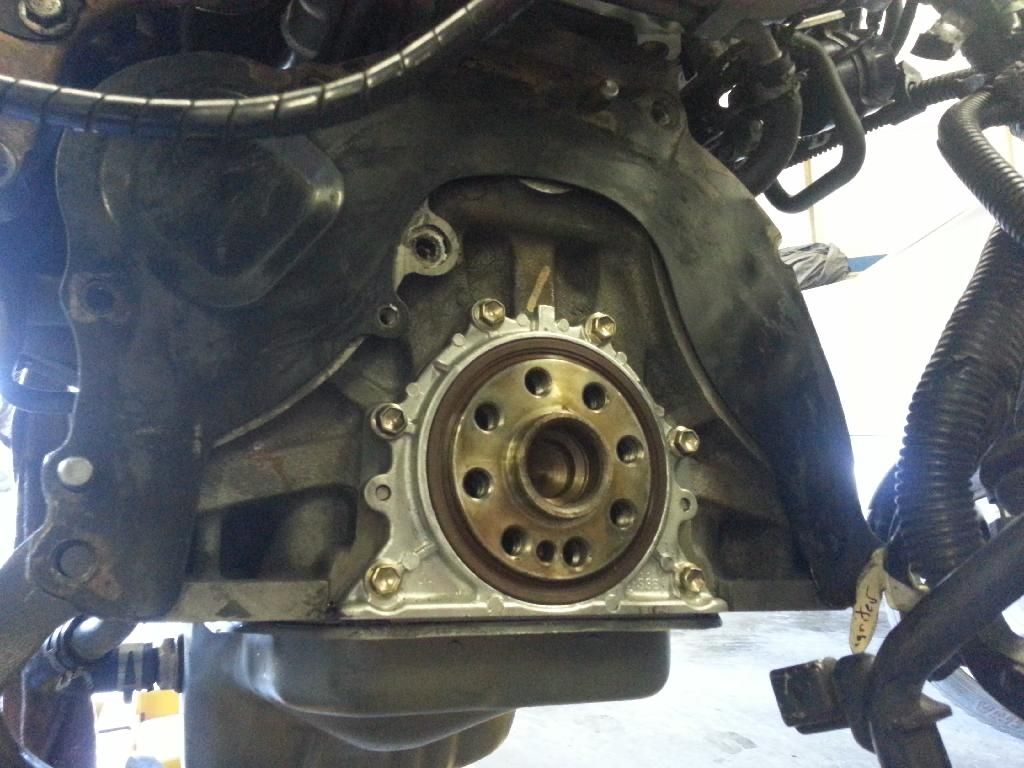
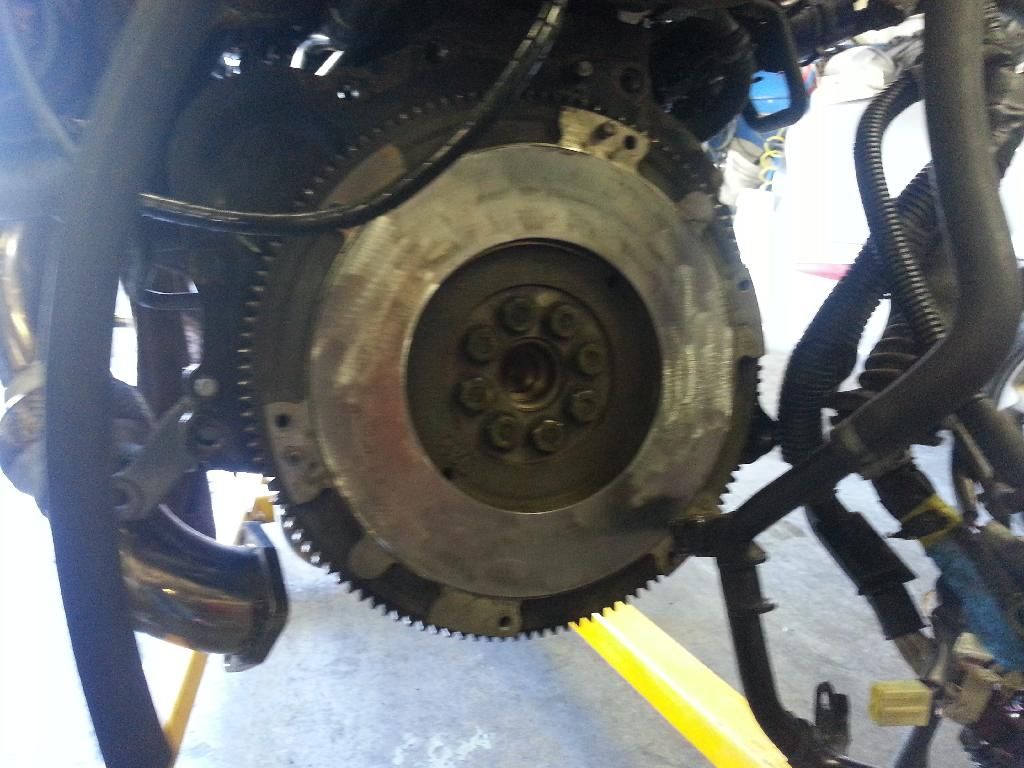
Image

Image

Flywheel installed.

Image

Image

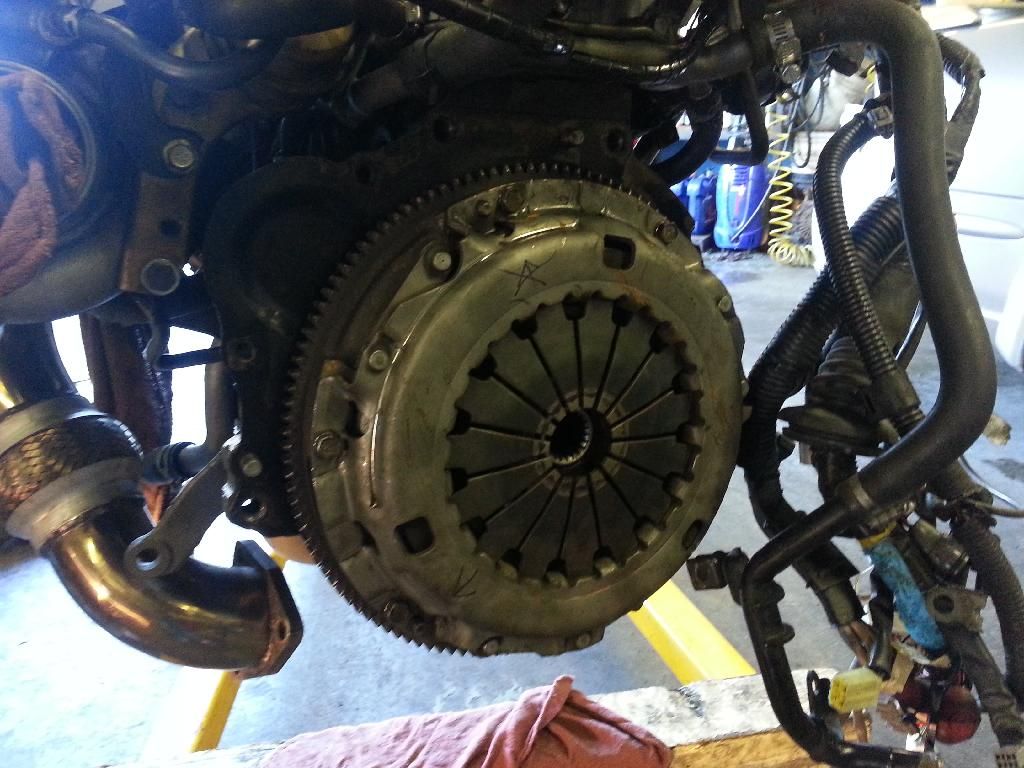
Disk and pressure plate on.

Image

It was then I realized I wanted a new throw out bearing, so I ordered one. It wouldn't come in till the next morning, and I couldn't come down to the shop until noon since I had something to do.
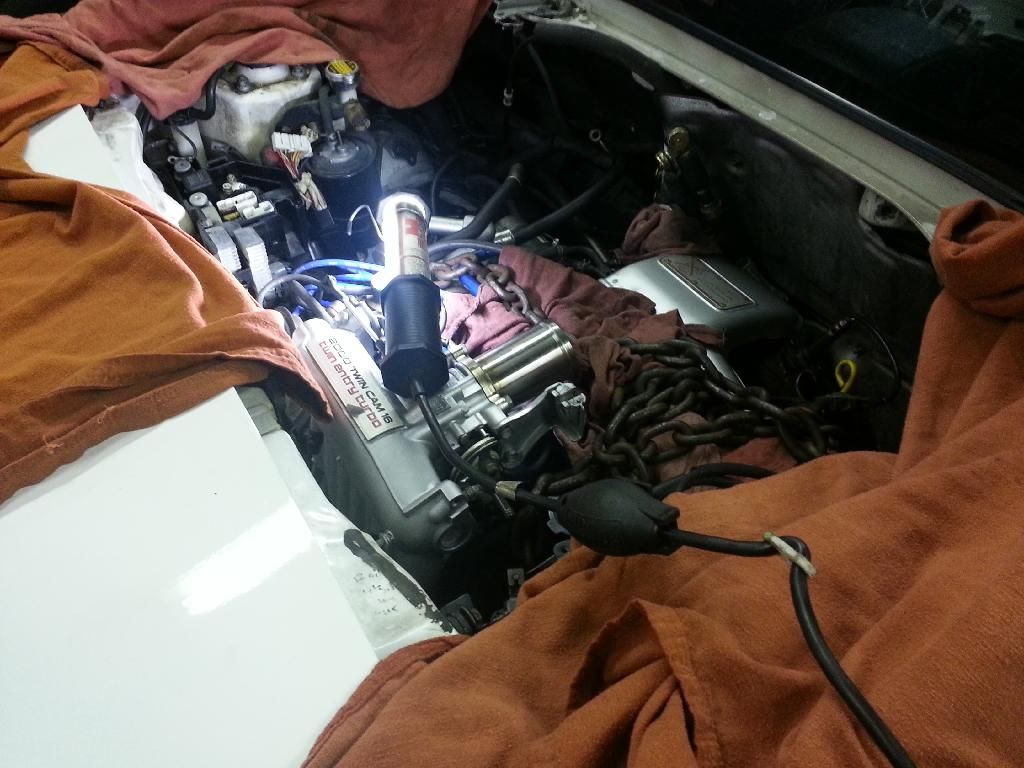
Came back to this.

Image

Subframe.

Image

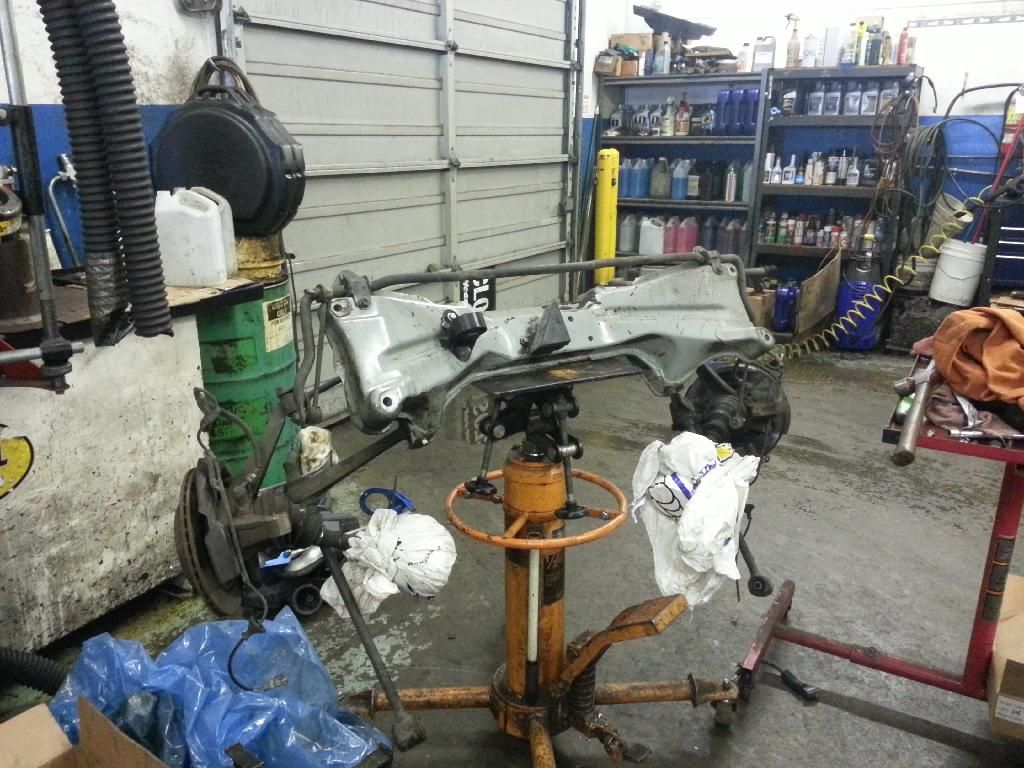
Installed that sucka.

Image

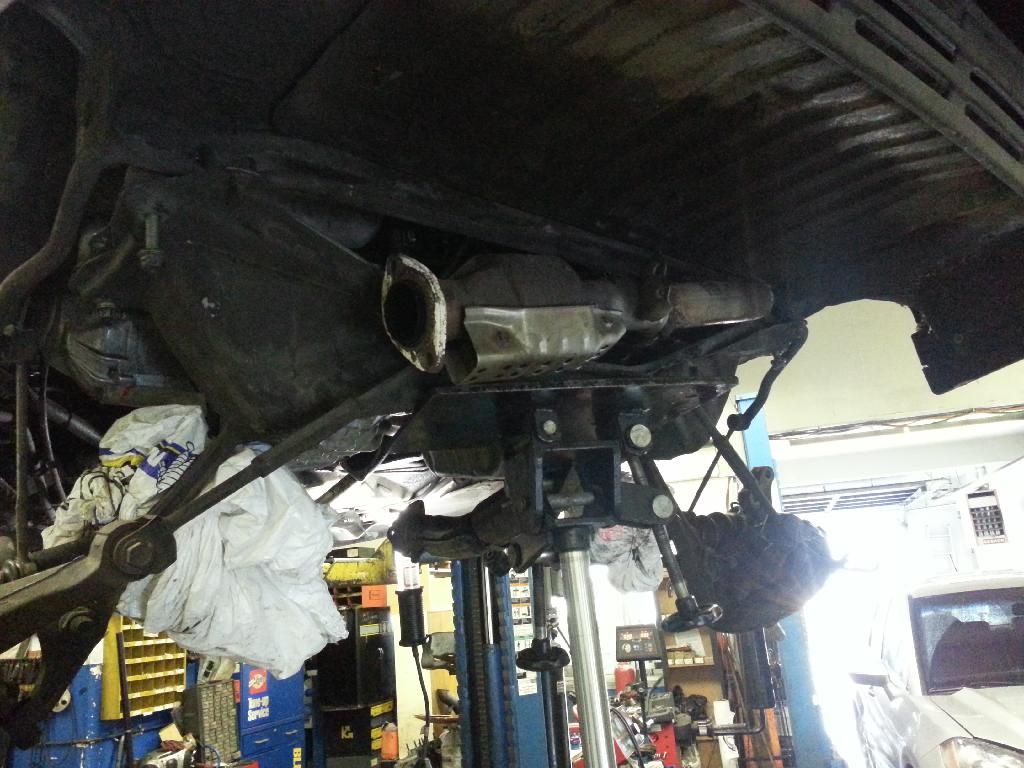
Buttoned everything up, attached intercooler hoses, all the other hoses, and bang, it's done.

Image

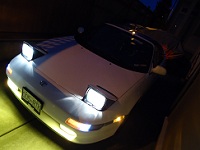
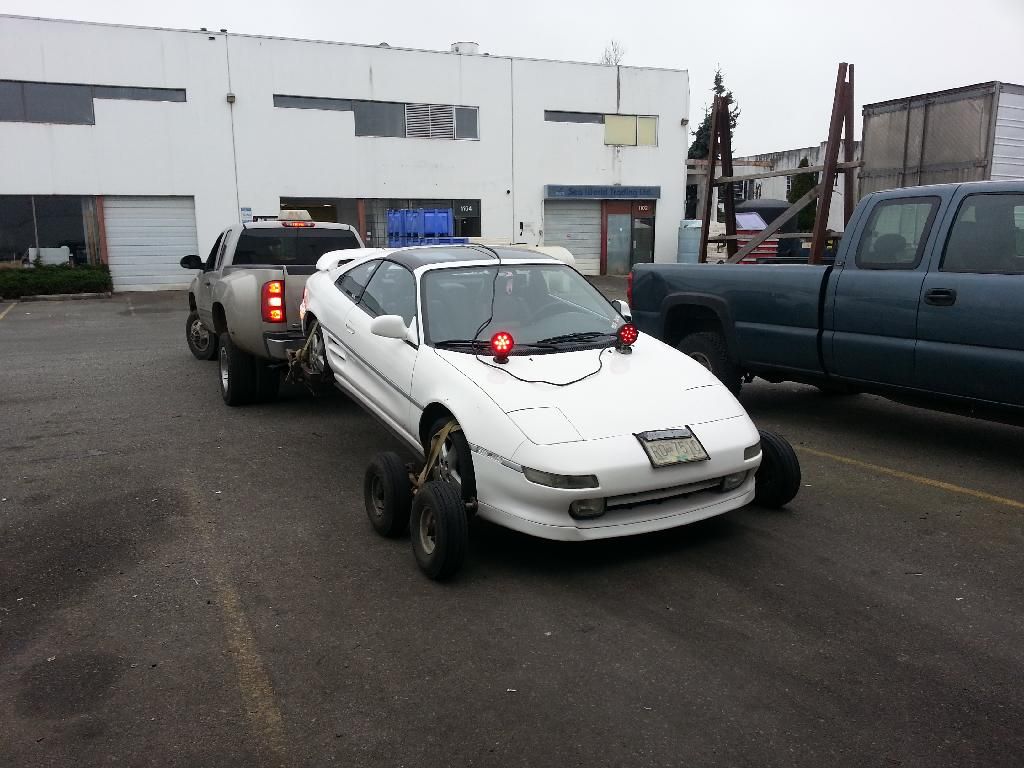
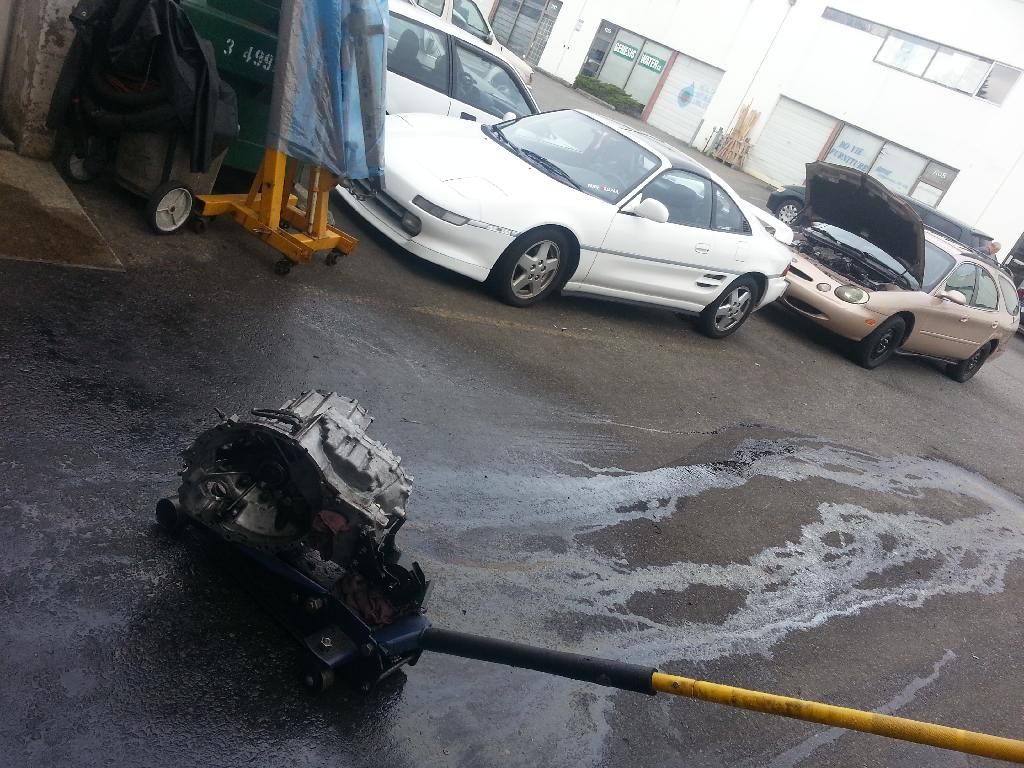
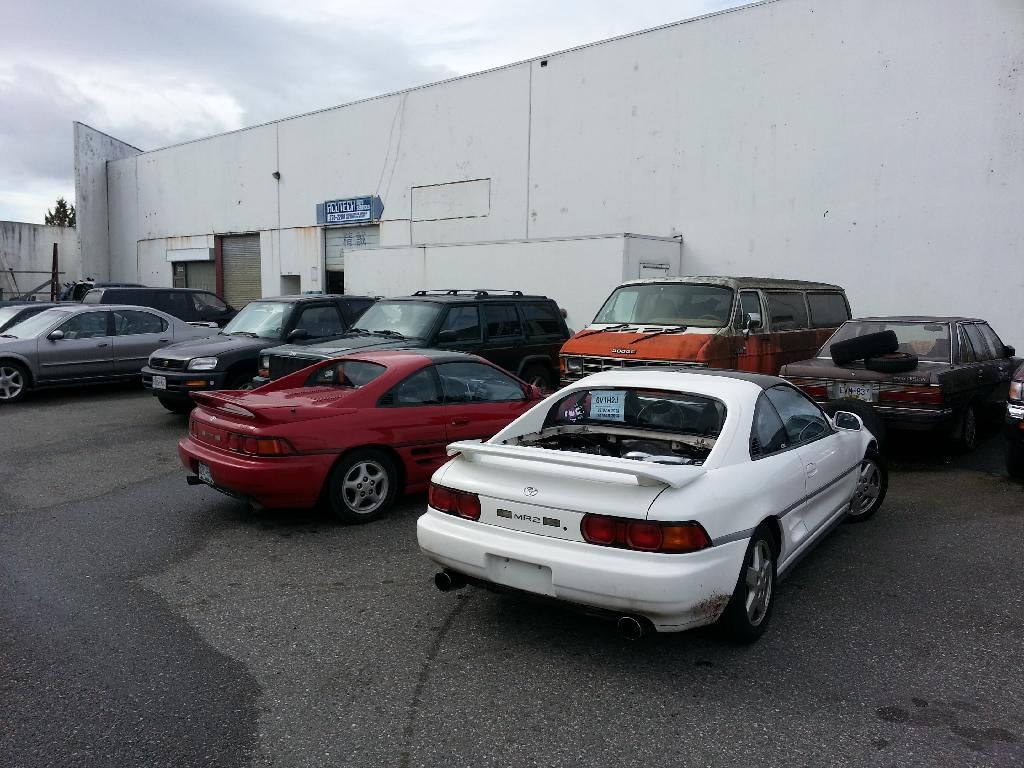
It moved out here on its own power!

Image

I don't have a video of the first start up, sadly. It puked oil everywhere though, so we looked for it. Had my dad look at it while I started it, and he screamed at me when I did, haha. I forgot to install the oil pressure switch. Of all things! In retrospect, it's pretty funny. At the time, I was extremely embarrassed LOL.

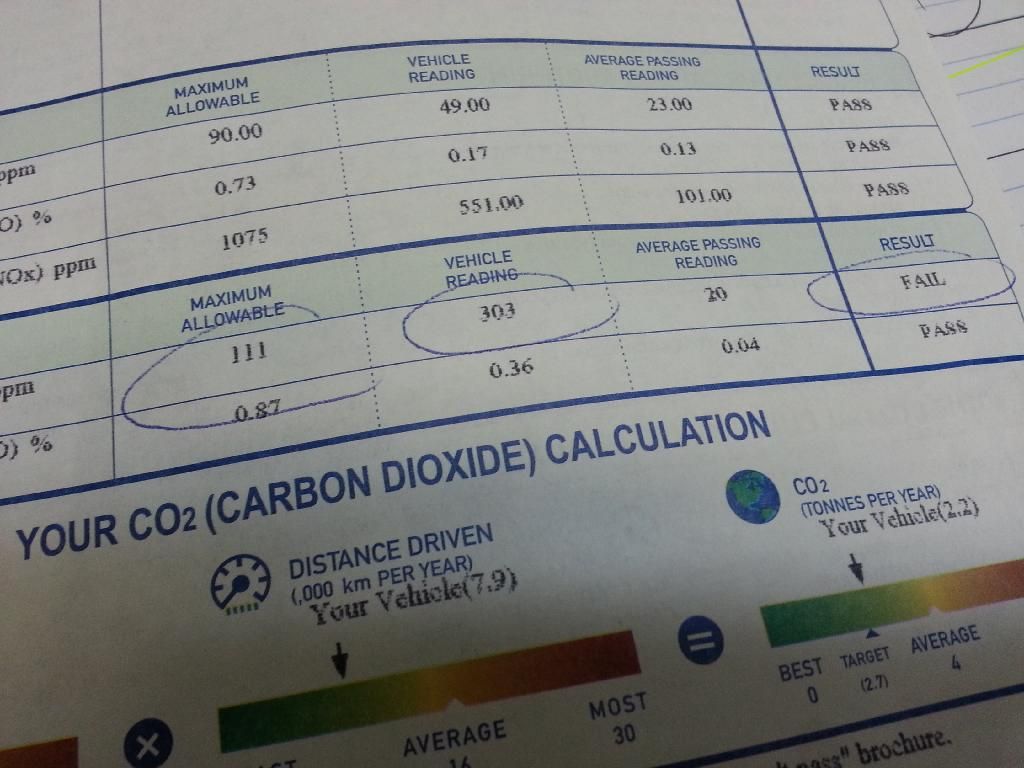
After putting coolant and more oil in it, I took it straight to Aircare, no fine-tuning timing or anything, LOL.
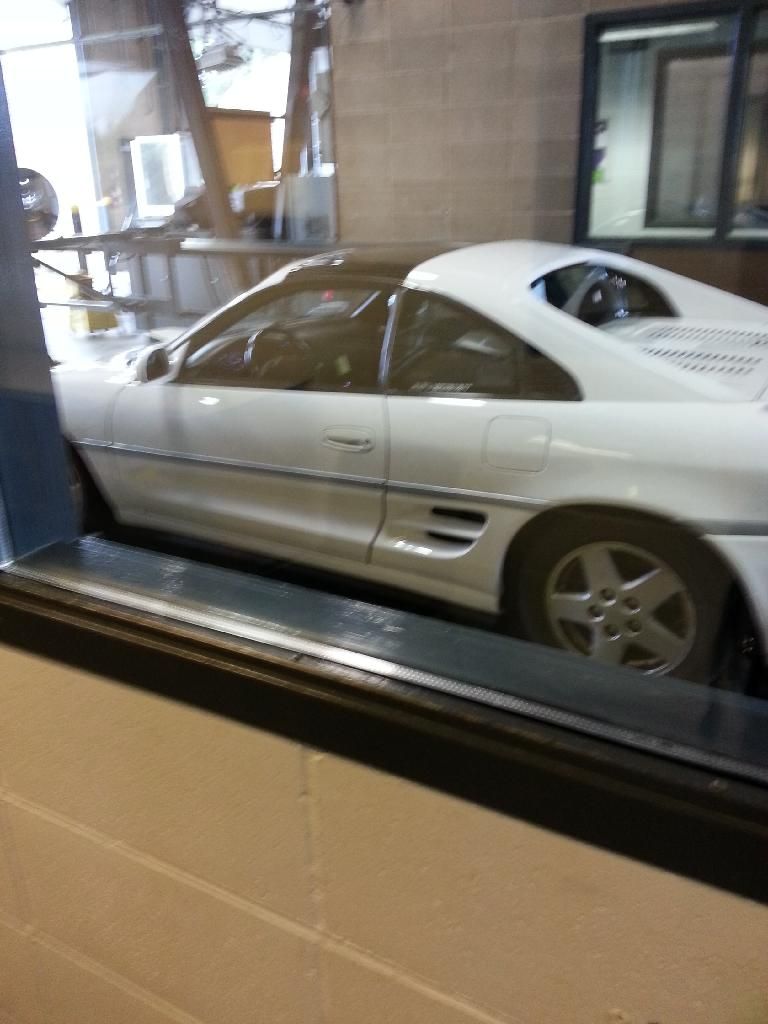
Image

And failed. LOL.

Image

Went back, and adjusted the dizzy. Could have gone back, but decided to just get 3 month insurance and call it a day.

Image
Dalton
1991 MR2 Turbo - Summer toy
1992 Acura Integra GSR - Winter/daily/passenger car
User avatar
kakucaekz
Papa '2
 
Posts: 780
Joined: Fri Jun 03, 2011 10:12 pm
Location: East Vancouver
Status: Offline

Re: My Mk2 MR2

Postby kakucaekz » Fri Jul 04, 2014 1:45 am

Got it done just in time for the RevScene Spring meet.

After that, I drove it around a bit, fixed a couple of little oil and coolant leaks, and then drove her down to Long Beach for ToyotaFest. That was an adventure.

Long story short, I shredded the timing belt about 100 miles north of Sacramento, and we had the car towed to a random town on I5. Bought a timing belt from AutoZone, and proceeded to change it out in the motel parking lot. Big thanks to Marc and Minna, I don't know what I would have done without them.

Image

ToyotaFest was something else. One of the best experiences of my life. I cannot wait to go back next year.

On the way back, another mishap. Not so big this time, so I had that going for me. Our convoy consisting of Marc, Minna and myself all hit a dead coyote on the road, about 20 miles north of the Oregon-California border. I was in the back, and took the brunt of it.

Image

Image

I cracked my precious 94 lip, and lost half my splash shield. I didn't realize it was missing until we pulled over and inspected under the car. I pulled the section that was still hanging off, stuck it in the car and continued home.

I had no money for a replacement lip, so I stitched it up as best as I could.

Image

I also somehow got a boost leak after the timing belt change, and went to inspect it while repairing my lip. Took it for a test drive, went over a pot hole and destroyed a rear tire.

Image

So out came the Meisters! Miguel gave me some 215/45/17s for test fitting on the front earlier, but I never got around to doing it. So I just stuck them on the front wheels, replaced my rear wheels and called it a day.

Image

I couldn't stand the black faces, so I spray painted them silver. Not bad for a rattle can job, I'm actually rather proud of the result!

Image

The lighting is a bit weird, but here's a comparison of the FS2 silver Meister S1R on the left, and my backyard job Duplicolor Silver Meister S1 on the right.

Image

Not bad, will do until I can get tires on all 4 wheels.

Image

Then the timing belt shredded again. Fffff-

Image

Turns out there was no washer behind the tensioner pulley, so it was putting resistance on the belt and shredded it from the inside out. At least, that was the theory. Replaced the washer, and it seems to be running super smooth now. Left the top timing cover off though, just so it's easier to inspect and make sure it's not shredding again.

Here is the bay all cleaned up.

Image

Took the car to AirCare again.

Image

And passed!

Image

In celebration, Miguel helped me install my ATS EGR block off plates. I can't stand how it looks, so it came out the day I passed AirCare LOL.

Image

Image

Image

Image

A bit of time passed, and I then installed my boost gauge.

Image

Image

It's just a temporary location, until I buy my other gauges and a proper a-pillar gauge pod.

Then Racing Greed had a dyno day. I just had to know what my car was making.

Image

A bit disappointing, but then again this was pretty much stock, with only 3rd gen cams pretty much. The boost also only peaked at about 9 PSI, probably because the car was heat soaking all day waiting for my runs.

165 rwhp and 158 lb.ft rwtq. Sounds about right.

Image

And that's pretty much where she sits about now. :D
Dalton
1991 MR2 Turbo - Summer toy
1992 Acura Integra GSR - Winter/daily/passenger car
User avatar
kakucaekz
Papa '2
 
Posts: 780
Joined: Fri Jun 03, 2011 10:12 pm
Location: East Vancouver
Status: Offline

Re: My Mk2 MR2

Postby Goopi » Sat Jul 05, 2014 2:01 pm

Wow great writeup, it's looking good!
User avatar
Goopi
Papa '2
 
Posts: 1015
Joined: Fri Nov 13, 2009 1:25 pm
Location: Surrey, B.C
Status: Offline

Re: My Mk2 MR2

Postby kakucaekz » Mon Oct 06, 2014 12:03 am

Another dump of photos, lol.

Marc sold me his S Drives, and I slapped them on the Meisters.

Image

Image

Image

215/40 on 17x8 +32 in front, 245/40 on 17x9 +35 in the rear.

The rears rubbed on the fenders, so I went to Serial Nine and had Gerard roll them. Amazing job, to say the least.

Image

Got a Campos 93 replica lip. It's more like a Holy or Stout lip.

Image

Image

Installed that sucker.

Image

Image

Didn't bother adjusting it, no trimming or anything. Fitment is meh. Good on the sides, not so much in the middle.

Image

Image

Painted it. It's so off, LOL. Ain't too bothered about it, for now.

Image

Image

Alternator then started to show signs of dying.

Image

Took it out and sent it to Brighouse in Richmond to rebuild it.

Image

Then came some 5 mm spacers for the rear.

Image

Really wanted to throw them on, but the trip to KO Racing with Russ was about then as well.

Image

Image

And then, I got backed into at a parking lot while rolling out with some PacNW MR2 members.

Image

It sucks, but it's all figured out with ICBC now. Just need to find time to give it to a shop and have them fix it.

Then I had a friend vinyl wrap the roof, since he had lots of extra material and figured why the hell not, lol.

Image

Image

Image

Colour is off, but I don't really mind. The vinyl is gonna get beat up anyway, and I'll take it off anyway lol.

And then I put the spacers on.

Image

Image

Rear fitment looking a tad better.

Image

And then a little autocross action.

Image

Image

I still baby it too much when I drive it, gotta let loose a bit more!

And then a little engine bay dress up. EMS Powered 3" intake pipe, bought it from a dude who bought all of their inventory when they went kaput. Spent like, 60 bucks or something on both pipe and filter.

Image

Bought the appropriate couplers, and went to work.

Image

This is how the intake was set up before... LOL.

Image

And this is how it is now.

Image

Image

Image

Image

Image

When I got home that day, I also rattle canned the little bracket black.

And that's where the car sits about now! I'm probably gonna store it before the month ends, and so will end 2014's driving season. For me, lol.
Dalton
1991 MR2 Turbo - Summer toy
1992 Acura Integra GSR - Winter/daily/passenger car
User avatar
kakucaekz
Papa '2
 
Posts: 780
Joined: Fri Jun 03, 2011 10:12 pm
Location: East Vancouver
Status: Offline

Previous

Return to Members MR2's & Build Threads

Who is online

Users browsing this forum: No registered users and 2 guests

cron